Introduction
Is your keyboard broken? Got a new one to replace it with? We'll show you how!
Tools
-
-
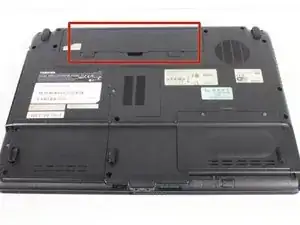
Close the laptop and turn it over so that the base is facing upwards and the spine is facing away from you.
-
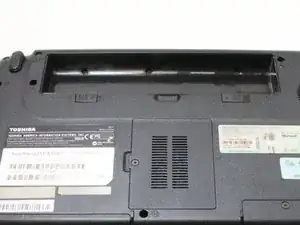
Find the battery compartment.
-
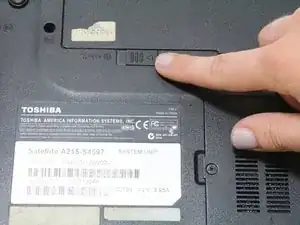
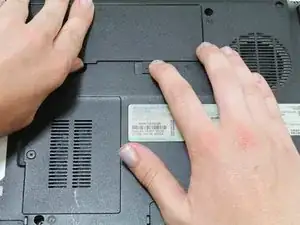
Slide the left slider which is just beneath the battery compartment into its leftmost position.
-
-
-
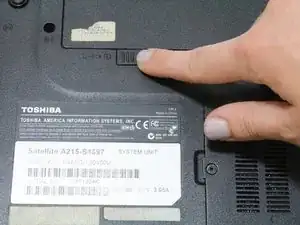
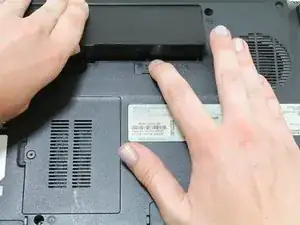
Slide and hold the right slider into its rightmost position. Lift the battery out of the compartment.
-
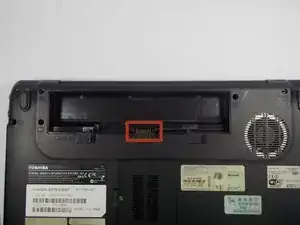
Do not touch the gold nodes inside the compartment.
-
-
-
Turn computer over so that the battery compartment is facing up and is at the top.
-
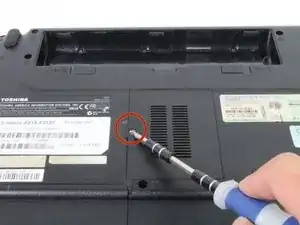
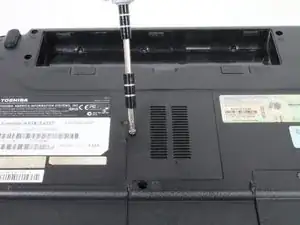
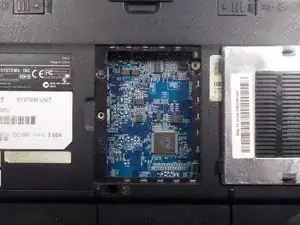
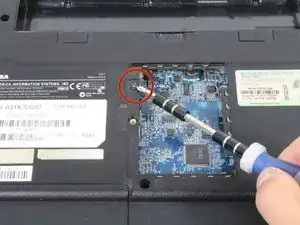
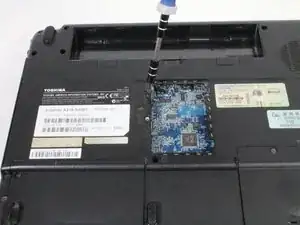
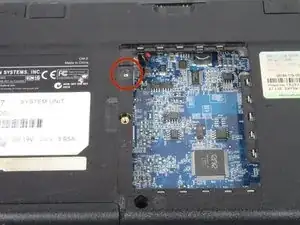
Locate and unscrew one captive Phillips #1 screw located at the center.
-
-
-
Flip your device right side up, and rotate it so that the optical drive is facing you.
-
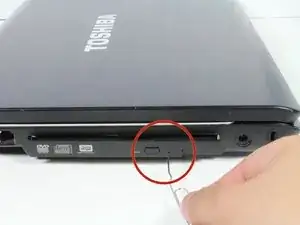
Insert a paper clip into a manual release switch located to the right of the automatic release button.
-
-
-
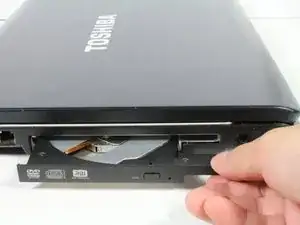
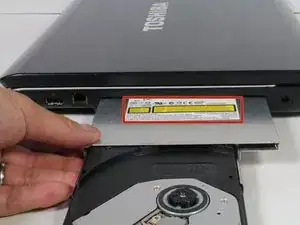
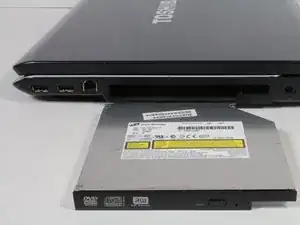
Gently pull out the disk drive until you can see the metallic case of the optical drive.
-
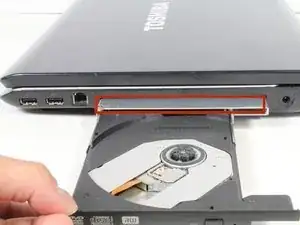
Hold the metal case and continue to pull the drive out toward you.
-
-
-
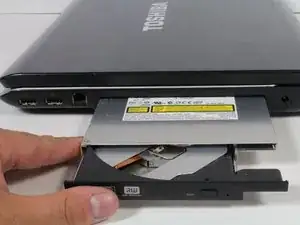
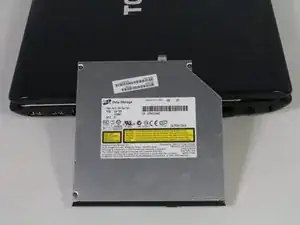
Once you see the yellow labels on the disk drive, fully retract the disk mount until you hear a click.
-
-
-
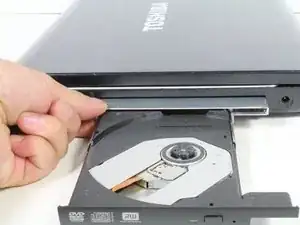
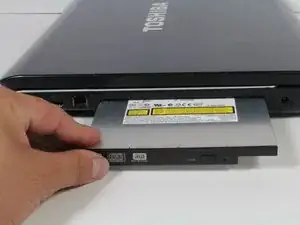
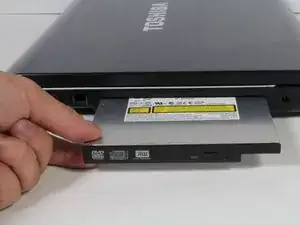
Continue to pull the disk drive toward you until it is completely removed from the laptop's housing.
-
-
-
Place laptop right side up on a flat and clean surface. Open the laptop.
-
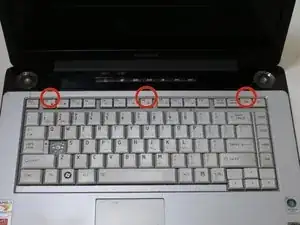
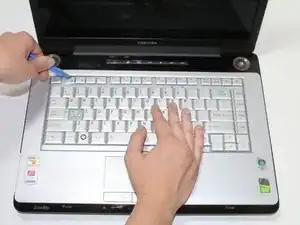
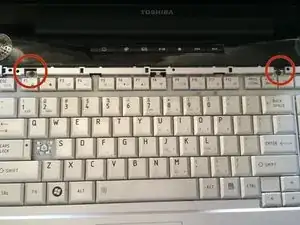
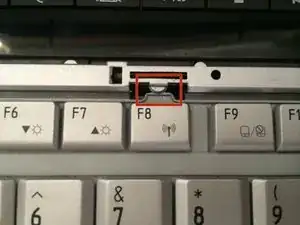
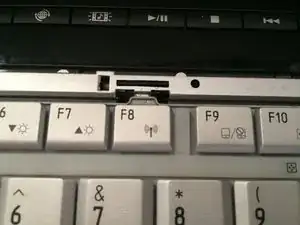
Find the strip just above the keyboard and locate the gaps behind the F1, F8, and Insert keys.
-
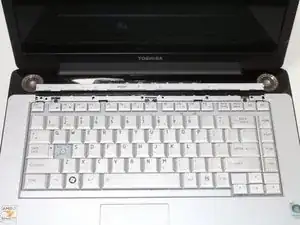
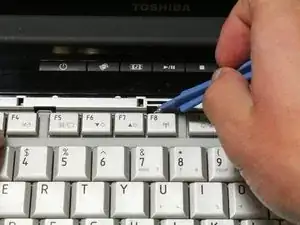
Remove the strip by sticking your plastic opening tool into these gaps in order, and pulling up.
-
-
-
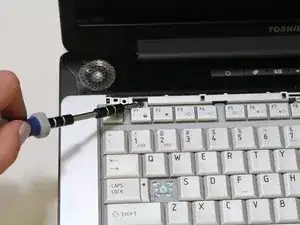
Locate the two 2.3mm Phillips #1 screws at the top of the keyboard that attaches the keyboard to the frame behind it.
-
Remove screws.
-
-
-
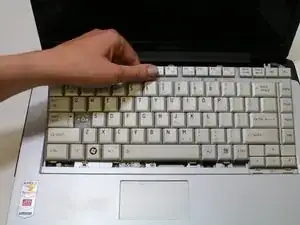
Pull the keyboard out by shifting it forward towards the screen and pulling up.
-
CAUTION: Do not pull it out all the way yet. It is still attached to the laptop by a cable.
-
-
-
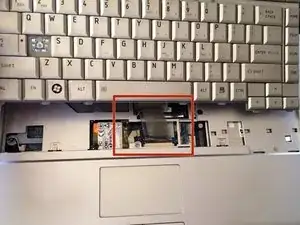
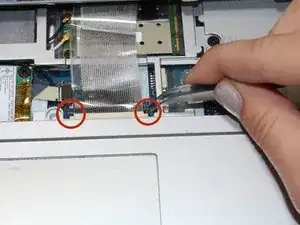
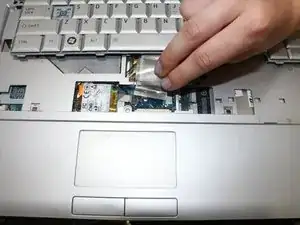
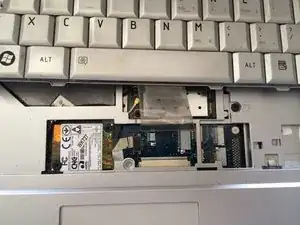
Find the ribbon cable that connects the keyboard to the laptop. Look for the black tabs on both sides of cable at the laptop end of the cable.
-
Using a pair of tweezers, pull the black tabs on both sides of the cable connector towards the screen until the cable can be pulled out easily.
-
Pull out the cable and completely remove the keyboard.
-
To reassemble your device, follow these instructions in reverse order.
