Introduction

In this guide you will learn how to remove a keyboard safely. Before you begin this guide you should have all required materials and tools necessary to properly remove the keyboard.

  1. WAOAhNaC5EgPygZs
    WAOAhNaC5EgPygZs
    RtbqRiEsNQCBsD1x
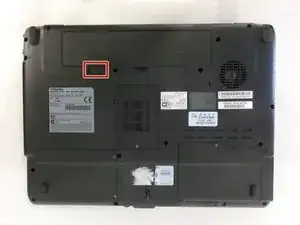
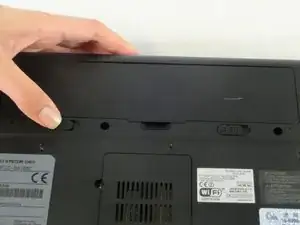
    • Unplug the AC adapter and all other auxiliary components from the laptop.

    • Slide the battery lock tab away from the center of the laptop to unlock the battery.

  2. JYhCcR4LB2INKWf2
    JYhCcR4LB2INKWf2
    kpykgGM3uQg5mDwV
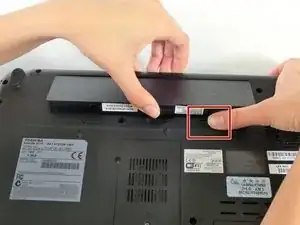
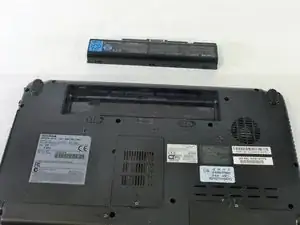
    • Slide the battery release tab away from the center of the laptop and hold it.

    • Lifting from the small notch between the two tabs, pull the battery out of the laptop.

  3. 3t5TgeELwfTM4Pea
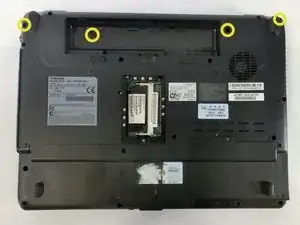
    • Unscrew the 4 highlighted screws with a PH1 screwdriver.

  4. e6PYvQYdVhxI25HQ
    e6PYvQYdVhxI25HQ
    GWCRQQlWqfQN6KP6
    wGAcObMxcbEOVN1D
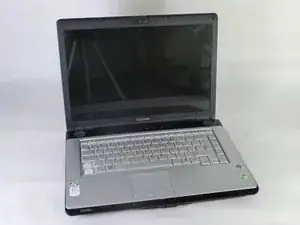
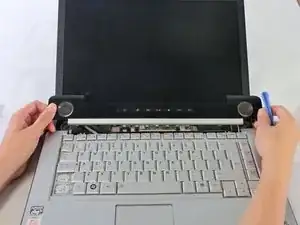
    • Orient the laptop so that the screen is open and facing you.

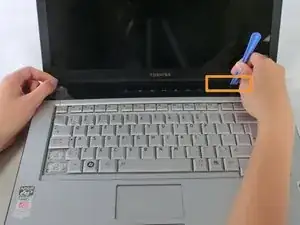
    • Slide the plastic opening tool underneath the top edge of the black plastic insert.

    • Pull it off and set aside.

  5. UHOWmWCPbpMTAjKT
    UHOWmWCPbpMTAjKT
    I1jWI3ERTxccxpTl
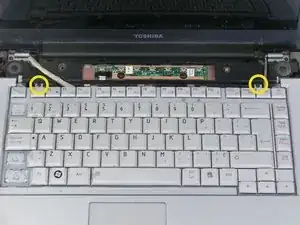
    • Remove the 2 PH1 screws.

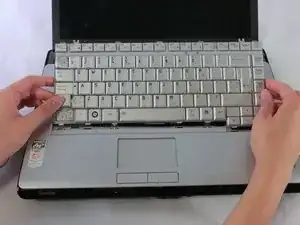
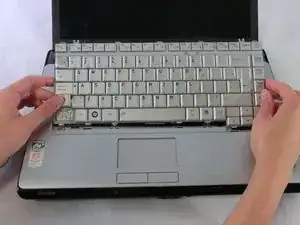
    • Lift the keyboard from the top being carful not to remove it fully. There is still a ribbon cable that connects the keyboard to the laptop.

  6. lE3my51j4WHQPp3K
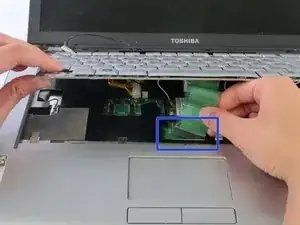
    • Disconnect the keyboard ribbon cable and remove the keyboard from the laptop.

Conclusion

To reassemble your device, follow these instructions in reverse order.

Youlen

Member since: 12/04/13

40 Reputation

One comment

very useful. THANKS

ANDREAS -