Introduction
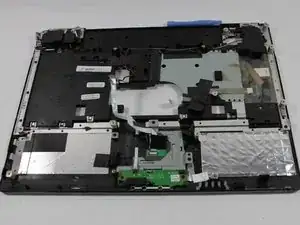
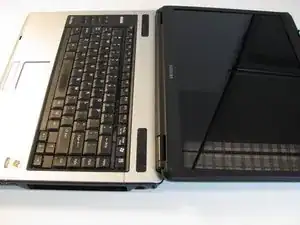
Speakers tend to degrade with time, which can result in a loss of audio quality. Speakers can also accumulate layers of dust and debris that lessens their quality. Occasionally a speaker will altogether stop working. in each of these cases it can be helpful to remove the offending speaker. The speakers in this laptop are hard to get to but, with the proper tools and instructions can be removed.
Tools
-
-
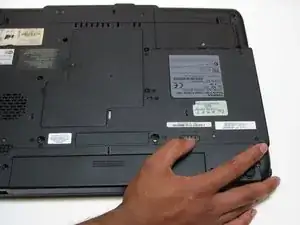
Turn your laptop upside down, and slide the right release tab outward.
-
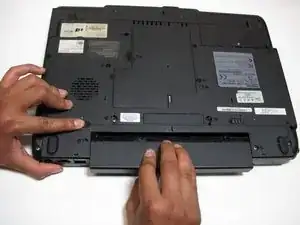
Using you left hand, hold the left release tab towards the left side and then pull the battery out.
-
-
-
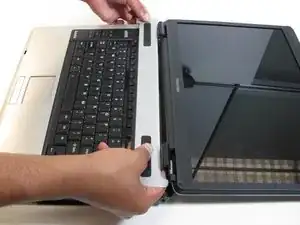
Using the plastic opening tool, pry off the panel above the keyboard, starting near the right front speaker.
-
Use the plastic opening tool to pop off tabs along the length of this panel.
-
-
-
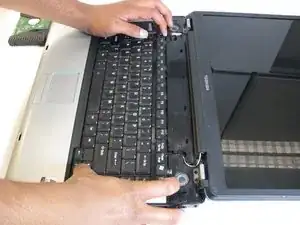
Lift the keyboard gently from the side closest the screen.
-
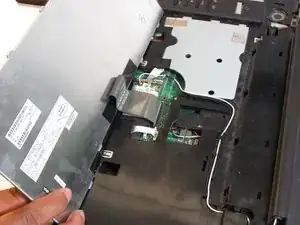
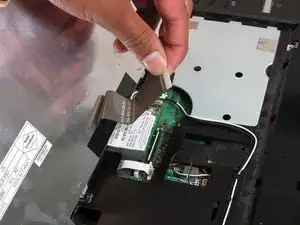
Pull out the ribbon connecting the keyboard to the laptop.
-
-
-
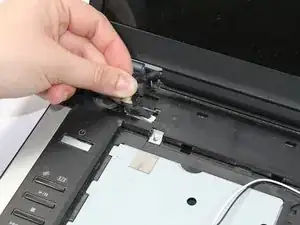
Disconnect wire attaching LCD to motherboard
-
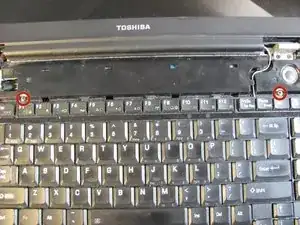
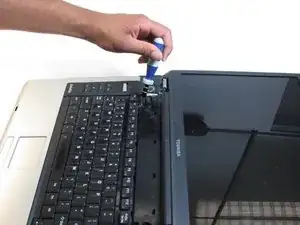
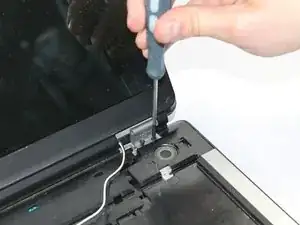
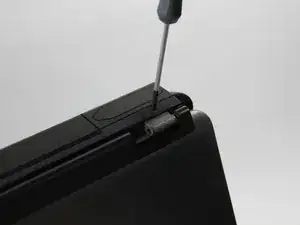
Using the Phillips screwdriver remove the two 4.0mm screws from each hinge above speakers
-
Partially close the lid and remove the last two 4.0mm screws from the back of the laptop.
-
-
-
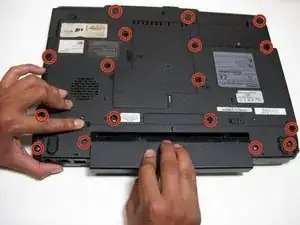
Remove the seventeen 4.5mm phillips screws on the bottom of the laptop.
-
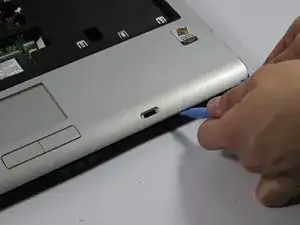
Using the pry tool separate the two halves of the laptop base.
-
-
-
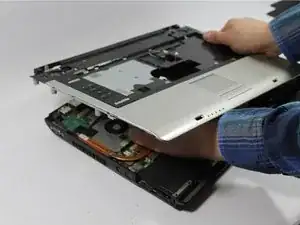
Lift the top half of the case enough to get your hand beneath it, and then remove the two ribbon cables that connect it to the motherboard.
-
-
-
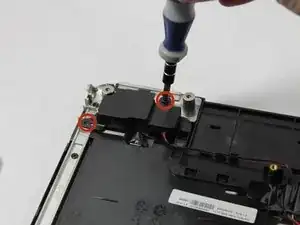
Using the Phillips screwdriver remove the two 4.0mm screws holding each of the speakers housings to the case.
-
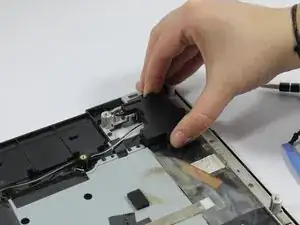
Remove the speakers from the case being careful of the wires.
-
-
-
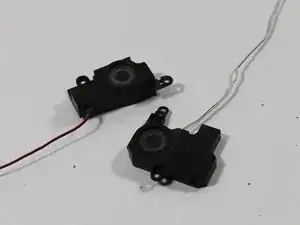
The wires for the speakers are color coded.The red and black wires are for the right speaker, and the black and white wires are for the left speaker.
-
To reassemble your device, follow these instructions in reverse order.
