Introduction
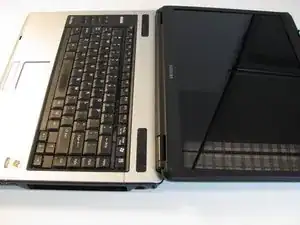
If your keys are not typing anything or the way they should, then check this guide to see how to safely remove and replace the keyboard input device on the computer. It will also contain detailed pictures on what to expect and watch out for, such as ribbons or wires.
Tools
-
-
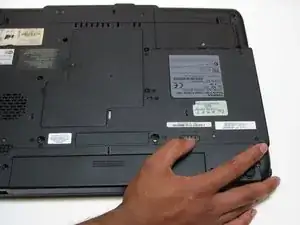
Turn your laptop upside down, and slide the right release tab outward.
-
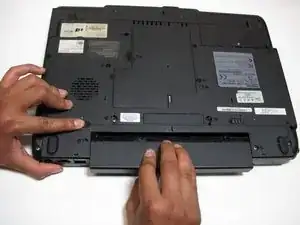
Using you left hand, hold the left release tab towards the left side and then pull the battery out.
-
-
-
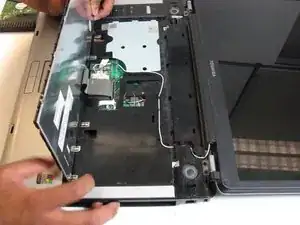
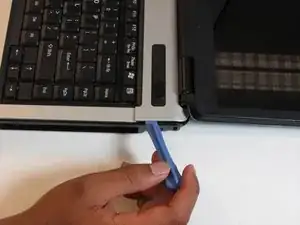
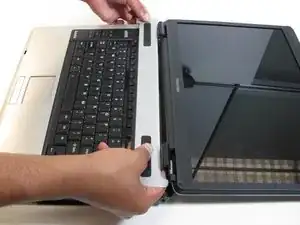
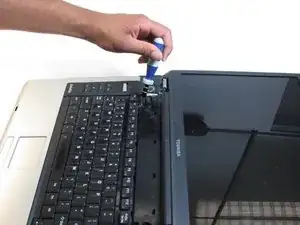
Using the plastic opening tool, pry off the panel above the keyboard, starting near the right front speaker.
-
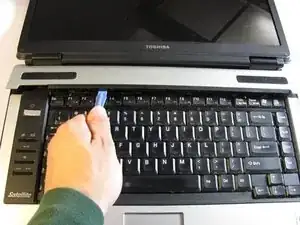
Use the plastic opening tool to pop off tabs along the length of this panel.
-
-
-
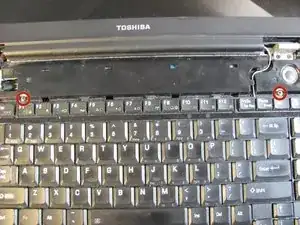
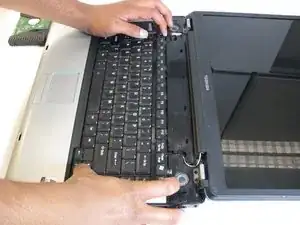
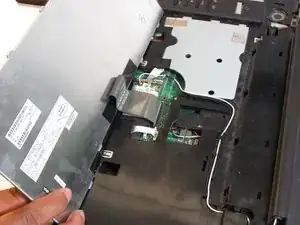
Lift the keyboard gently from the side closest the screen.
-
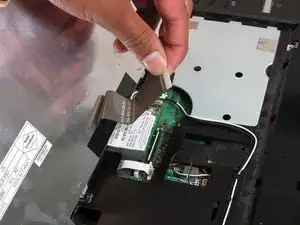
Pull out the ribbon connecting the keyboard to the laptop.
-
To reassemble your device, follow these instructions in reverse order.
