Introduction

If your CDs or DVDs are not running correctly or at all on your computer, then it is either due to the disc drive being dirty, loose parts and/or broken. This guide will show the user how to safely remove the disc drive.

  1. KqU1FprsE2NlWUsA
    KqU1FprsE2NlWUsA
    EbLDN1YNTbGQFkxh
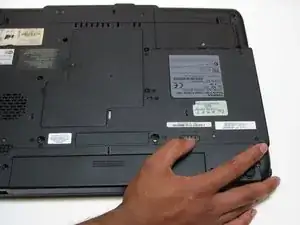
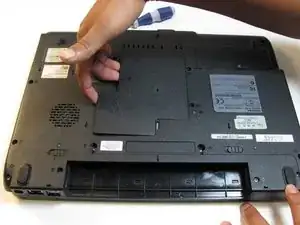
    • Make sure your computer is turned off and the computer is not plugged in.

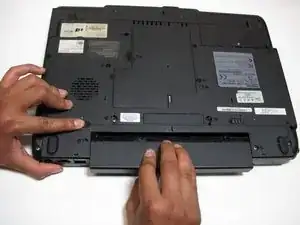
    • Turn your laptop upside down, and slide the right release tab outward.

    • Using you left hand, hold the left release tab towards the left side and then pull the battery out.

  2. d2HXjnCPHrBOGQA2
    d2HXjnCPHrBOGQA2
    LWkThdOVIMd3MwR2
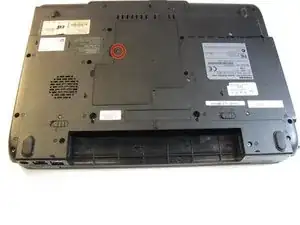
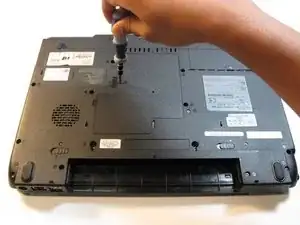
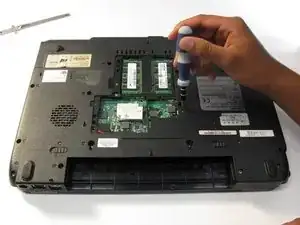
    • Loosen the screw located on the cover of the RAM using Phillips #1 screwdriver.

    • You will not be able to remove the screw from the panel as it is designed to stay in the panel.

  3. aJKWjyYcSELBCMJk
    aJKWjyYcSELBCMJk
    FHQEniOqBaxUn6Ut
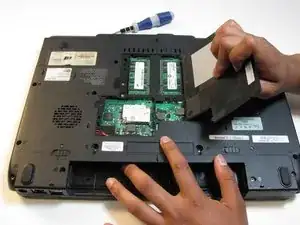
    • With your fingers, carefully remove the middle panel by lifting the edge with the indent.

  4. TQ1PVO5GftBZWAlm
    TQ1PVO5GftBZWAlm
    HARC5tP1Qu2cZlZs
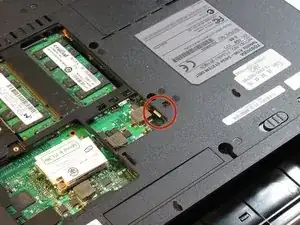
    • Remove the 4.0 mm screw above the small metal tab with a Phillips 00 screwdriver.

  5. xS5EVnjREDnGTUk2
    xS5EVnjREDnGTUk2
    k5HGBRjQO2PkpJKd
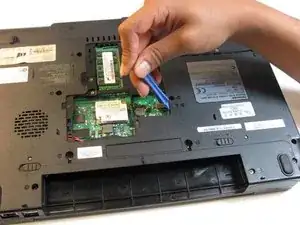
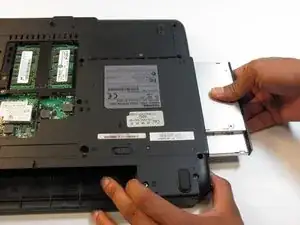
    • Push down on the metal tab under the cover with the plastic opening tool and push the disc drive partially out.

    • Grab the drive and pull it out of the laptop.

Conclusion

To reassemble your device, follow these instructions in reverse order.
pfedigan

Member since: 12/04/13

11 Reputation

0 comments