Introduction
Tools
-
-
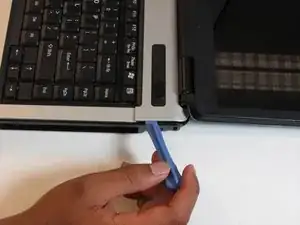
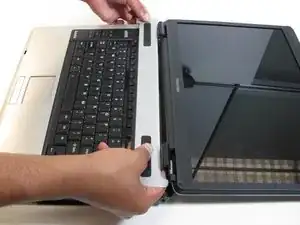
Using the plastic opening tool, pry off the panel above the keyboard, starting near the right front speaker.
-
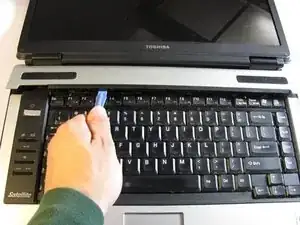
Use the plastic opening tool to pop off tabs along the length of this panel.
-
-
-
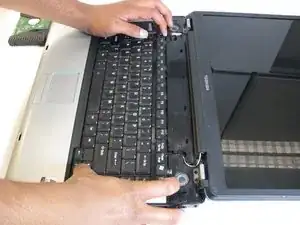
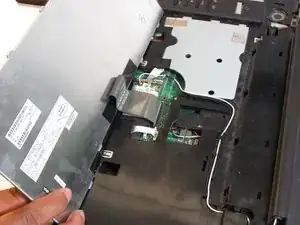
Lift the keyboard gently from the side closest the screen.
-
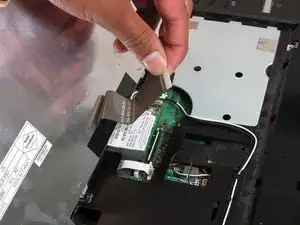
Pull out the ribbon connecting the keyboard to the laptop.
-
-
-
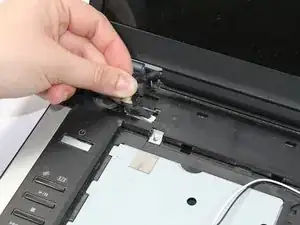
Disconnect wire attaching LCD to motherboard
-
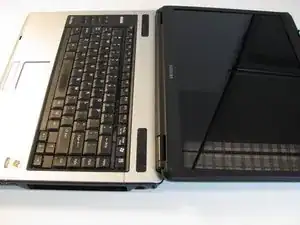
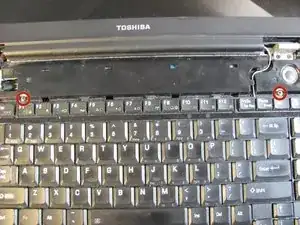
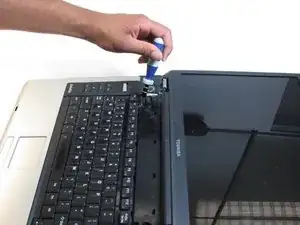
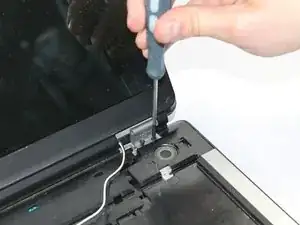
Using the Phillips screwdriver remove the two 4.0mm screws from each hinge above speakers
-
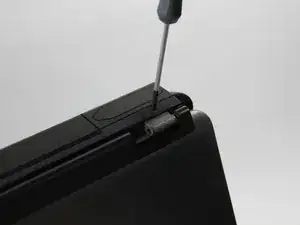
Partially close the lid and remove the last two 4.0mm screws from the back of the laptop.
-
-
-
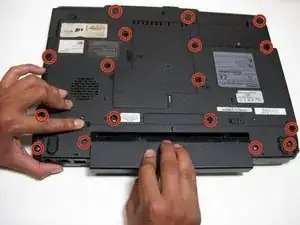
Remove the seventeen 4.5mm phillips screws on the bottom of the laptop.
-
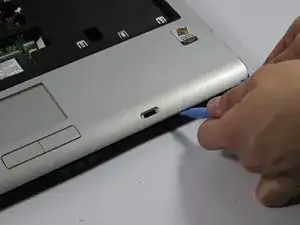
Using the pry tool separate the two halves of the laptop base.
-
-
-
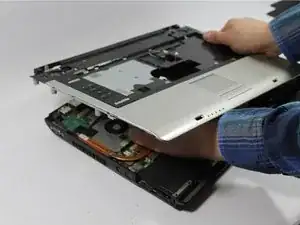
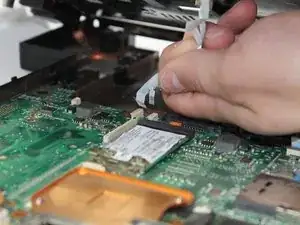
Lift the top half of the case enough to get your hand beneath it, and then remove the two ribbon cables that connect it to the motherboard.
-
To reassemble your device, follow these instructions in reverse order.
