Introduction
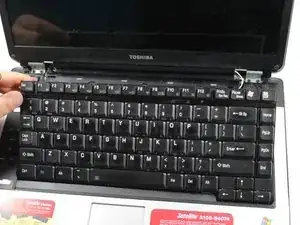
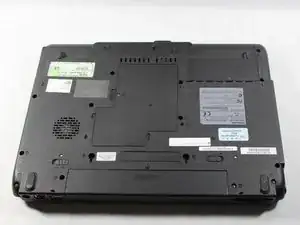
Should the keyboard of your Toshiba Satellite A105-S4074 become non-responsive—one or more keys slow, stuck, or producing multiple characters; or the entire keyboard is not functioning—and need to be replaced, these easy to follow instructions will guide you through the process.
Tools
Parts
-
-
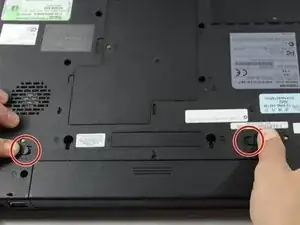
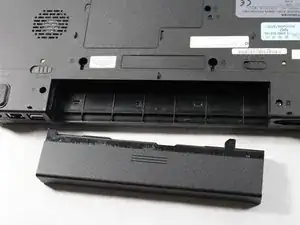
Slide both the left and right battery release tabs outwards away from center of the laptop.
-
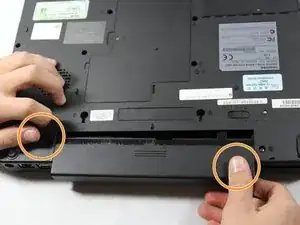
While still holding the left release tab, slide the battery towards you using your right hand.
-
Fully remove the battery from the laptop.
-
-
-
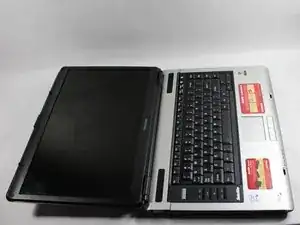
Turn the laptop back over so it is right-side up, with the cover facing up.
-
Open the laptop all the way so that the screen is horizontal with the body.
-
-
-
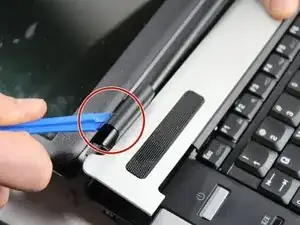
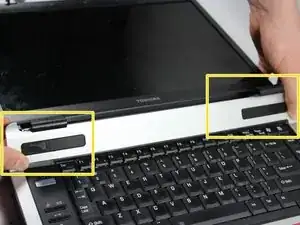
Using the iFixit plastic opening tool, pop up the left tab along the top of the panel that is connected to the hinge for the widescreen display.
-
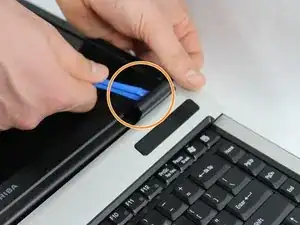
Using the plastic opening tool, pop up the right tab along the top of the panel that is connected to the hinge for the widescreen display.
-
Pry up and remove the cover panel that is located above the keyboard.
-
-
-
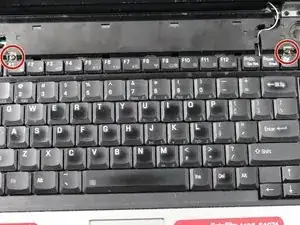
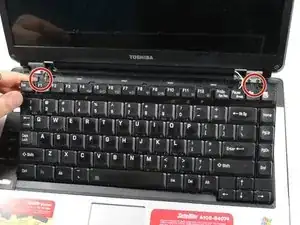
Position laptop so that both screws connecting the keyboard to the laptop are visible.
-
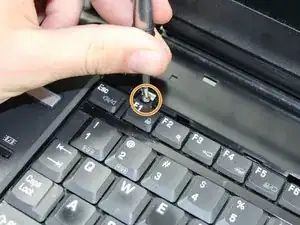
Unscrew the left 3.0 mm screw that is holding the keyboard onto the laptop using the Phillips #0 screwdriver.
-
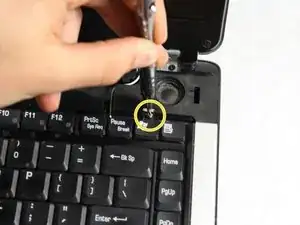
Unscrew the right 3.0 mm screw that is holding the keyboard onto the laptop using the Phillips #0 screwdriver.
-
-
-
Gently lift the keyboard from either side where the screws were located.
-
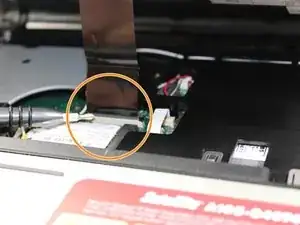
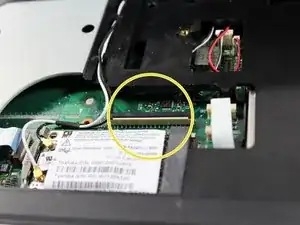
Locate where the ribbon cable connects to the motherboard, and gently open clamp.
-
Pull out the ribbon cable connecting the keyboard to the laptop.
-
To reassemble your device after replacing the keyboard, follow these instructions in reverse order.
