Introduction
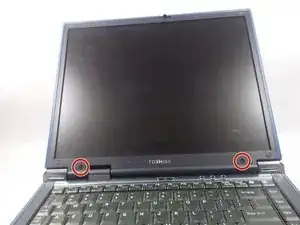
This repair guide is for replacing a screen that may have been damaged or otherwise no longer functions. Before beginning this guide, make sure you have a Spudger and a Philip's Head 0 screwdriver bit.
To make sure the screen is not properly working and is in need of replacement, refer to this troubleshooting guide
Tools
-
-
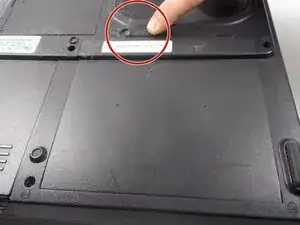
Locate the battery locking mechanism on the back side of the laptop. It is labeled with a lock and unlock symbol to indicate its function. The mechanism also has a serrated texture to increase grip.
-
-
-
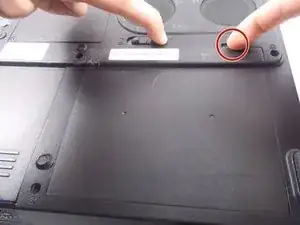
Place your left hand on the locking mechanism and slide it all the way to the left. This will move it into the unlocked position. While holding the mechanism in the unlocked position place another finger in the cavity to the right of the locking mechanism.
-
-
-
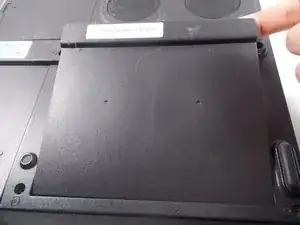
Pulling up with your right hand while the locking mechanism in in the unlocked position will release the battery from its socket.
-
-
-
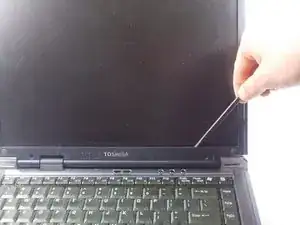
Take the spudger and insert it between the screen and plastic frame
-
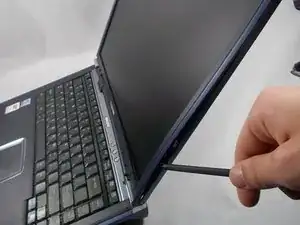
Tilt the spudger towards you until your hear a click, this means that a clasp has been released
-
Do this process along the right side, going up, across the frame, and back down to the left side.
-
-
-
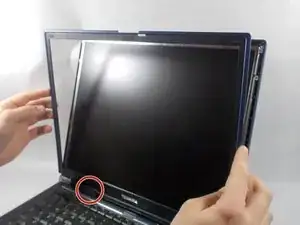
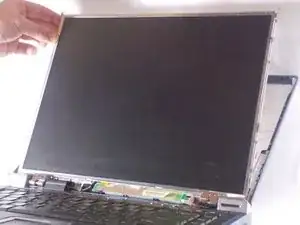
Once all of the clasps have been released, the screen should be able to swivel back and forth from the bottom frame.
-
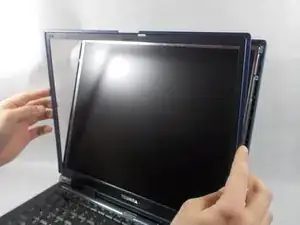
Place a hand on either side of the plastic frame, and lift up and away from the screen to release the last two hinges on the left side of the screen.
-
-
-
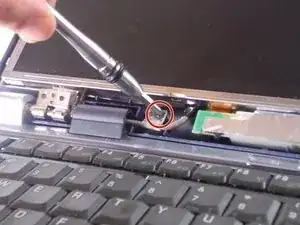
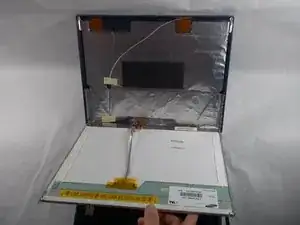
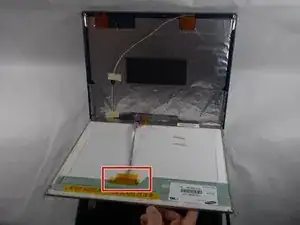
Place the edge of the spudger against the edge of the connector.
-
Push towards the right side of the frame with a light force until the cable comes loose.
-
-
-
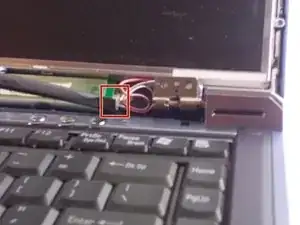
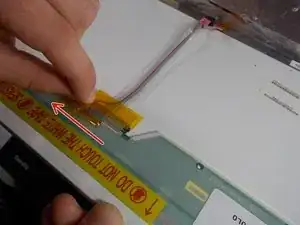
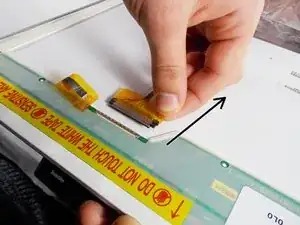
To remove the ribbon cable, peel away the ESD tape.
-
Hold one side of the tape on the cable, and gently pull down along the screen.
-
To reassemble your device, follow these instructions in reverse order.
