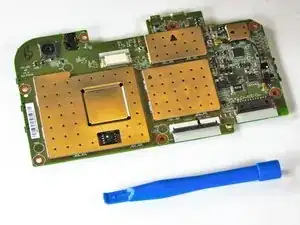
Introduction
Tools
-
-
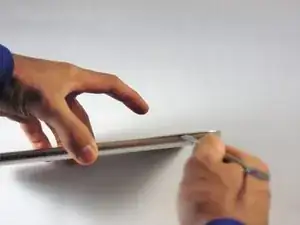
Use the nylon spudger to completely separate the back of the device.
-
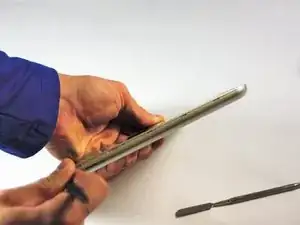
Take the nylon spudger around the outside of the device cover until it comes free.
-
-
-
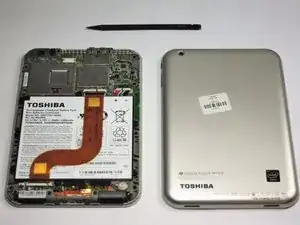
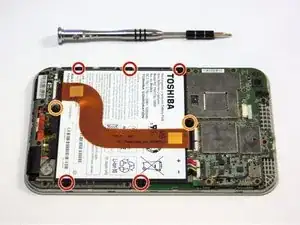
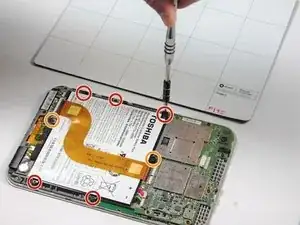
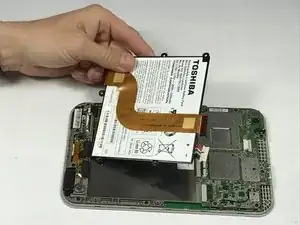
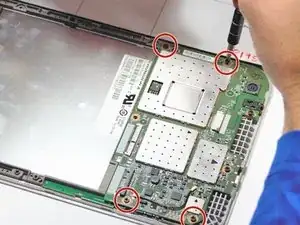
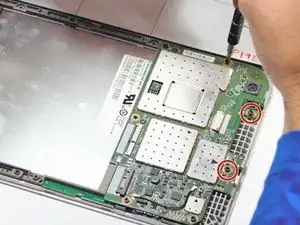
Use the Phillips head PH0 to remove the 7 battery screws.
-
The 5 side screws measure 3.5mm.
-
The 2 top and bottom screws measure 4.5 mm.
-
-
-
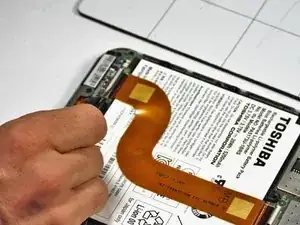
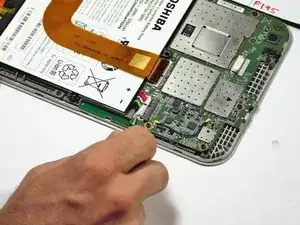
To disconnect the cable, use the fine tweezers to flip up the small retaining flap. Then, you can safely pull the ribbon cable out.
-
-
-
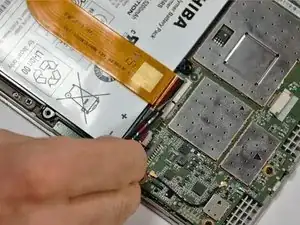
Remove the colored power cable from its connector.
-
To disconnect it safely, use the pointed tip of a spudger to carefully push on each side of the connector.
-
Alternating from one side to the other, gently “walk” the connector out of its socket.
-
-
-
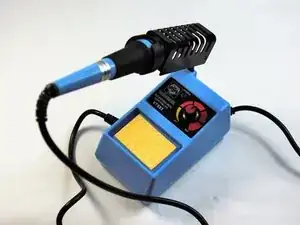
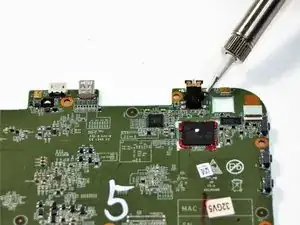
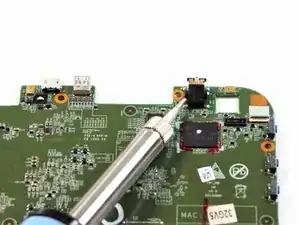
Use the soldering iron to melt the metal connection from the motherboard to the audio jack.
-
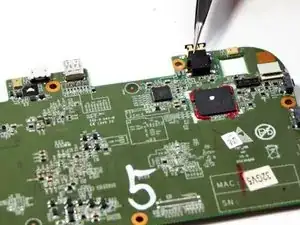
Use the fine pointed tweezers to pull the audio jack away from the motherboard.
-
To reassemble your device, follow these instructions in reverse order.
