Introduction

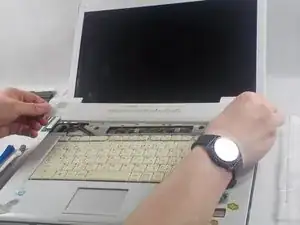
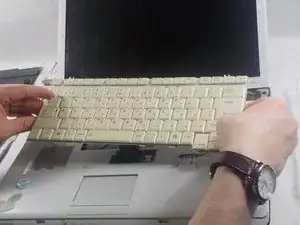
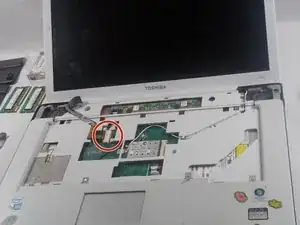
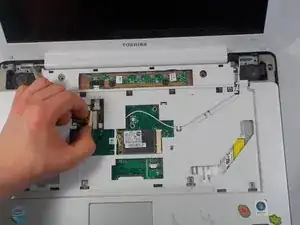
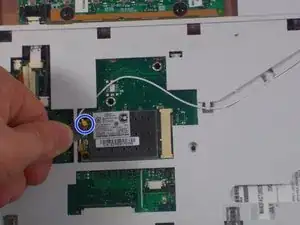
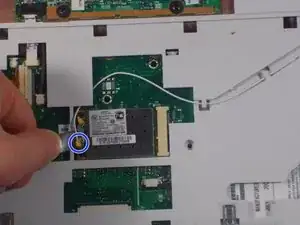
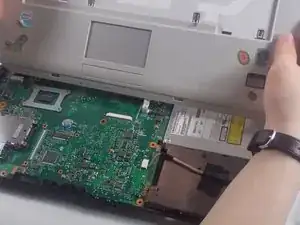
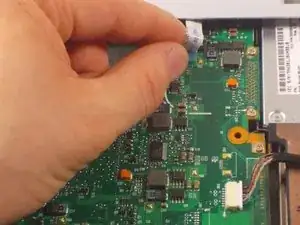
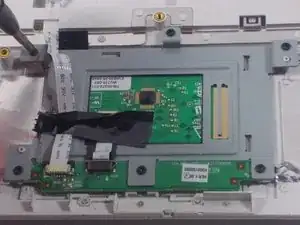
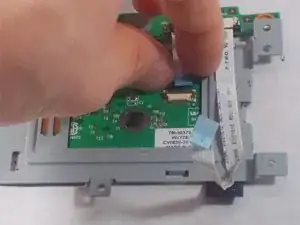
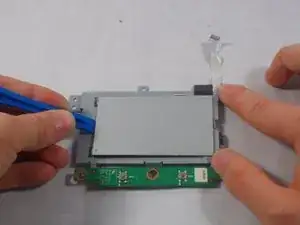
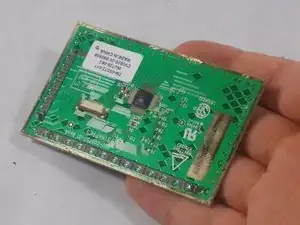
In this guide users will replace the touchpad in the Toshiba Dynabook AX 53D. This process includes removing the top panel screws under the laptop, removing the media bezel, unscrewing the keyboard, popping the top panel off, and disconnecting the touchpad.

  1. VqCSqOPDiEvIaQLs
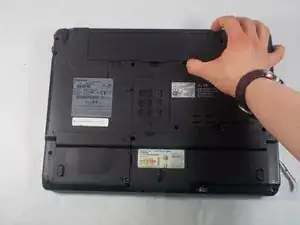
    • Push apart the two spring loaded plastic tabs labeled #1 and #2.

    • Make sure to unplug any external power sources before working on the computer.

  2. LitTWkbDAMoJkDwU
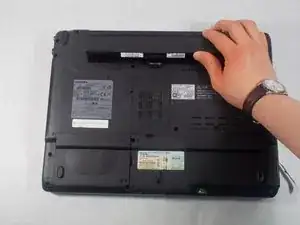
    • The battery is now easily removed by pulling up from the notched tab on the inside edge.

  3. i4ciBbSVoAv2EtEL
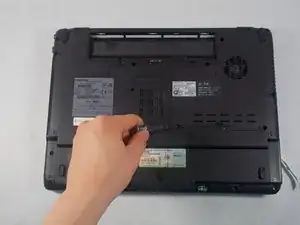
    • Using the #J1 bit, remove the 17 recessed 7.3 mm B6 screws from the underside of laptop and the 3.1 mm #J0 F3 screw inside the battery compartment.

  4. UVMyIfUjTNgJRgGB
    UVMyIfUjTNgJRgGB
    y4rOG4BSTlXUeb3k
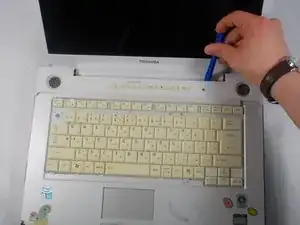
    • Run the blue plastic opening tool underneath the media bezel and gently pry from the front panel.

  5. ZBoD1dVYDJsu6YgW
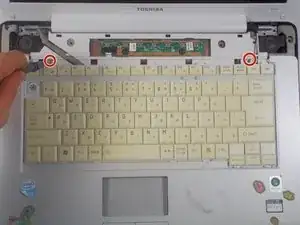
    • Using the #J0 bit, remove the two 3.1 mm screws securing the top of the keyboard.

  6. lFKX5Cf1DUee3OQc
    lFKX5Cf1DUee3OQc
    2GLgGyL2UPxV1BVo
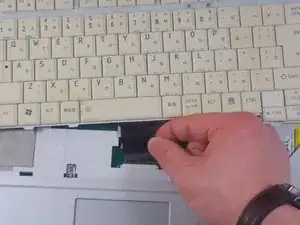
    • Pop out the black plastic tab on either side of the ribbon cable. Holding the cable on each side, detach from laptop.

  7. FjXx4lXTHFOFu2m1
    FjXx4lXTHFOFu2m1
    cwnWRRxassqu1pMW
    • Detach the white plastic end of the braided LCD cable.

  8. 5RrVtNnSTLPeqdyL
    5RrVtNnSTLPeqdyL
    N2krcZI26hs6WFBQ
    • Using the flat metal spatula tool, detach the thin white and black wires from their pop connectors.

  9. T6LUpBRanUFn3dw2
    T6LUpBRanUFn3dw2
    imUOIpAE6Dw1xmda
    AyXuJgfUAwr1KYSw
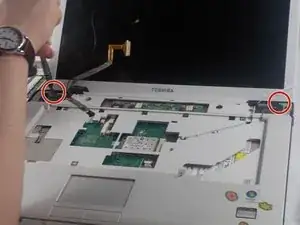
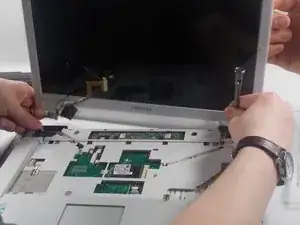
    • Using the #J1 Phillips Screwdriver, remove the four 7.6 mm screws that secure the monitor to rest of laptop.

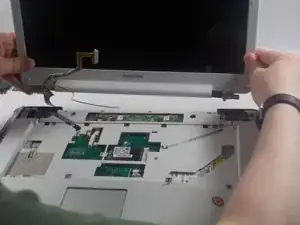
    • The monitor can now be gently removed by lifting upwards.

  10. UUAUqfGDNDQNVKSm
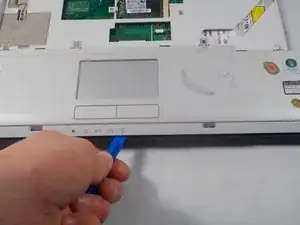
    • Run the plastic opening tool along the crease between the top touchpad bezel and bottom section of laptop.

  11. NNAwsYmILRwtfwjm
    NNAwsYmILRwtfwjm
    42oplLWnYGnBdEuH
    • Gently detach the touchpad bezel.

    • The ribbon cable may break if removed roughly.

    • Gently remove the white ribbon cable.

  12. ebmVX1xIe6IXykPe
    • Remove the six 3.7 mm #J1 screws holding the touchpad in place.

  13. MKfpLTJufaSOXwGk
    • Gently pull the ribbon cable to disconnect it from the touchpad.

  14. GKveS5TgSuk2yuNK
    • Carefully pry up the touchpad with a plastic opening tool.

  15. BjgnFuZiKHJuSqYr
    • The touchpad has been removed.

Conclusion

To reassemble your device, follow these instructions in reverse order.
Christopher

Member since: 20/03/17

510 Reputation

0 comments