Introduction
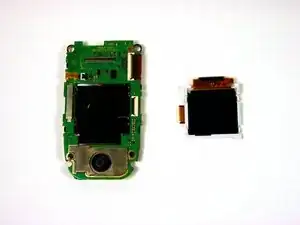
Use this guide to replace the mini front LCD screen.
Tools
Parts
-
-
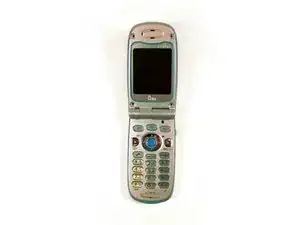
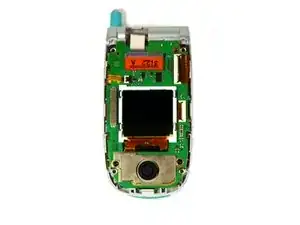
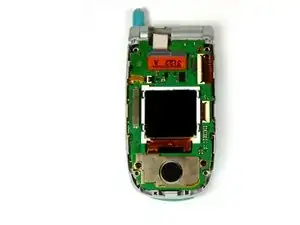
Open the phone so that it matches the photos to the left.
-
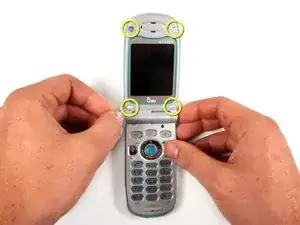
Using a thumb-tack, push-pin, or similar pin, remove the four plastic stoppers located around the main LCD screen.
-
-
-
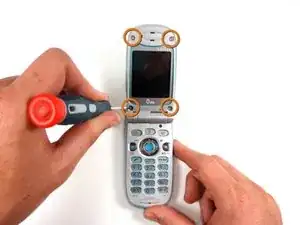
With the T8 Torx Security Bit Screwdriver, remove the four screws in the designated locations.
-
-
-
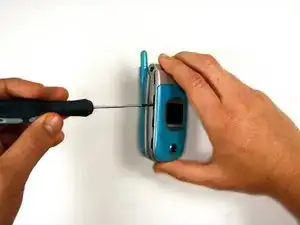
Insert the head of a flathead screwdriver into the seam between the front cover and the phone.
-
Pry gently until the cover gives slightly to create a slightly wider opening. You may hear a distinct pop as you pry.
-
Remove the screwdriver and re-insert it into another portion of the seam. Continue making gaps around the cover of the phone until it is completely detached from the body.
-
-
-
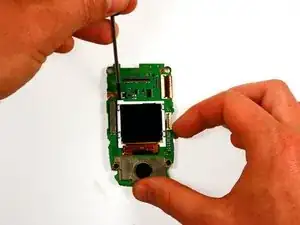
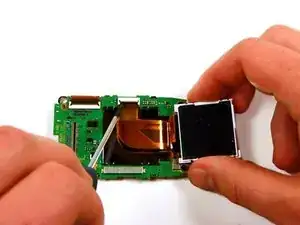
Using the head of the screwdriver, flip up the black tab connecting the ribbon-wire.
-
Gently pull the LCD screen away from the board, the cable should come off with nearly no resistance.
-
To reassemble your device, follow these instructions in reverse order.
