Introduction

Use this guide to replace your Toshiba AT1304T keypad

  1. GAEaNIETmjREvNaU
    • Using a thumb-tack, push-pin, or similar pin, remove the four plastic stoppers located on the back panel.

  2. gM4KqEDlSoy4srBq
    • With the T8 Torx Security Bit Screwdriver, remove the four screws in the designated locations.

    • The T8 Torx Security Bit Screwdriver can be substituted with a small flathead screwdriver. Screw removal may be slightly more difficult however.

  3. oAXNjnqWHWI164up
    oAXNjnqWHWI164up
    IOIa5Tn612hHFuJG
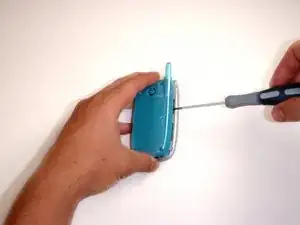
    • If needed, use the flathead screwdriver to gently pry the panel from the phone.

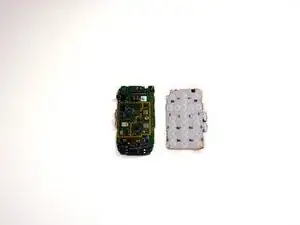
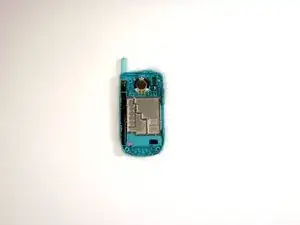
    • Using your fingers, lift the panel from the device.

  4. GuujeuxDffICKXbN
    GuujeuxDffICKXbN
    4PHPlWvdeEhkfNKy
    yV45urccNTMrQ1gW
    • Use your fingers to detach the ribbon wire located on the top of the logic board, as shown.

  5. 1IpfxWtDPD4MZixS
    1IpfxWtDPD4MZixS
    HSJLSNIPchircePL
    • Use a flathead screwdriver to gently pry the logic board and keypad from the device.

  6. HQRmTDNyviPnUfLy
    HQRmTDNyviPnUfLy
    VZYpZ4KnsVJrdBF4
    • Peel the keypad from the logic board using your thumb.

Conclusion

To reassemble your device, follow these instructions in reverse order.

Christopher

Member since: 22/04/10

90 Reputation

0 comments