Introduction

This guide shows how to replace the rear height-adjustable axle on the Toro Walk Behind Mower 21199HD 2018.

Note: This procedure requires two people.

  1. OQZtGFtkEF4vBvq4
    OQZtGFtkEF4vBvq4
    dACKYQwkbMXRhRdD
    • Before you begin, ensure that the mower is powered down and cool to the touch.

    • Grab the plastic housing at the end of the spark plug wire and pull firmly to disconnect it.

  2. 363TiR4yDRMrpZjN
    • Chock the rear wheels to prevent the mower from rolling during service.

    • If the blades are extremely dirty, you can clean them using the washout fitting so the bolts on the underside of the blade guard are accessible.

  3. r4FAZqANvZOFfbU6
    r4FAZqANvZOFfbU6
    mpPFBORU2IhiTIxL
    • Lift up the plastic deflector.

  4. xknjbavIsPvnHD5B
    xknjbavIsPvnHD5B
    UpQo4tj3Xwr5X56o
    HbnY1bo3DsGj4bmX
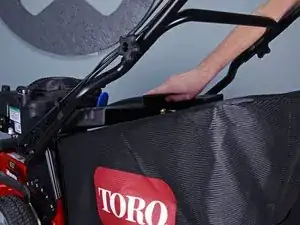
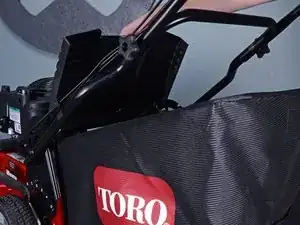
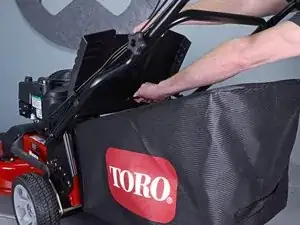
    • While holding the deflector up and out of the way, lift the grass bag handle away from the mower to detach it.

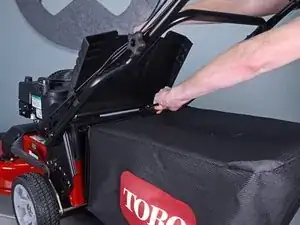
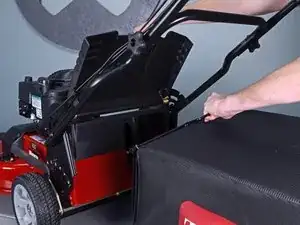
    • Remove the grass bag.

  5. hNELUVM15YDQEYqH
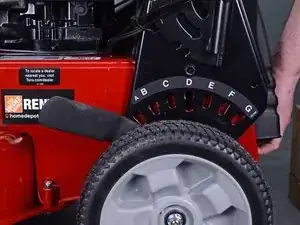
    • Set the height adjustment lever all the way forward, past the "A" setting, to loosen the axle spring underneath the mower.

  6. MYW4xqGf5f6alc1t
    • Tilt the mower onto its side so the blades are facing out.

    • This may require two people.

  7. BZ4aSrDUmBojsbi4
    BZ4aSrDUmBojsbi4
    CcjWlISaSiPFPEX3
    lUF2LDxkYTrDdoIC
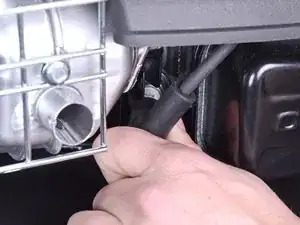
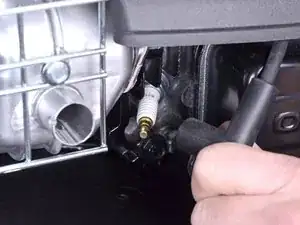
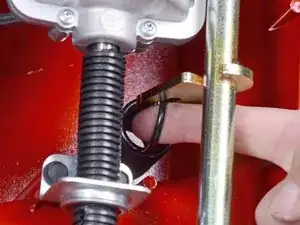
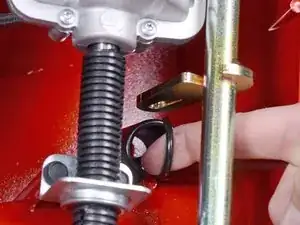
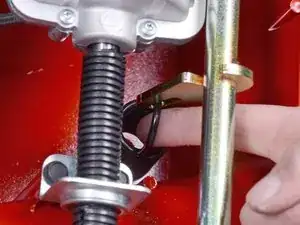
    • Reach underneath the axle, near the transmission, and pull the axle spring out towards the axle and down to unhook it.

    • Return the mower back to an upright position.

  8. 2aqpYMUnEA2BGCfU
    2aqpYMUnEA2BGCfU
    5nKILo6nPiXYAndr
    • Place the mower on blocks so each wheel is above the work surface and can rotate freely.

  9. kVCMbDqnMRV2Qe23
    • Use a 9/16 inch socket to remove the wheel nut.

  10. bDEPeZUZZSO5yEk6
    bDEPeZUZZSO5yEk6
    K5NoVh4Tt2dPhQwx
    • Remove the wheel.

  11. yxdtEkmNbHdyemCL
    yxdtEkmNbHdyemCL
    JUOFiDiPYaLVGWuw
    • Remove the wheel washer.

  12. TNhI2R3Qr5ZNEtDG
    TNhI2R3Qr5ZNEtDG
    ScLbFQfEcYEOFXXM
    USUUhOUTEpUJ2oxl
    • Remove the dust cover.

  13. dIi5jgqRvksOuP2P
    dIi5jgqRvksOuP2P
    MilcOuATJaQOJAp1
    klUJqUEIPrqX3HAF
    • Use a pair of needle nose pliers to remove the gear retaining pin.

  14. YSBL6MElfqUBvFbv
    YSBL6MElfqUBvFbv
    BHCKFBU4OmDtclDa
    XVcGXTalCId1PE3j
    • Remove the drive gear.

  15. EqZiRQjSOWxRl36W
    EqZiRQjSOWxRl36W
    ZOxq2wSBVK3wdZRa
    lDNIAhFR4DJPqtyW
    • Use a pair of snap ring pliers to remove the snap ring from the driveline.

  16. LHeQBVywArbmYZFb
    • Remove the snap ring washer.

  17. KTMRoDMesFvttZDs
    • Use a 1/2 inch socket to remove the driveline bearing retaining bolt.

  18. PSMOK1FPnCSnKFhB
    PSMOK1FPnCSnKFhB
    MRbKHVUwuFpt6RfX
    mQIjADSAcdQo5JsN
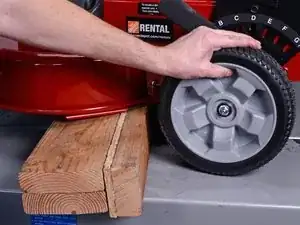
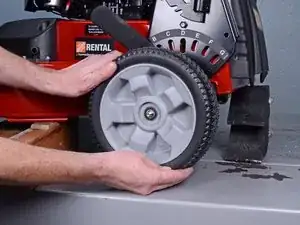
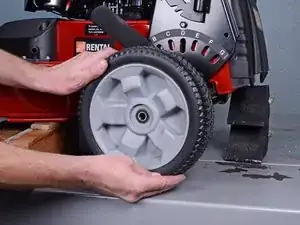
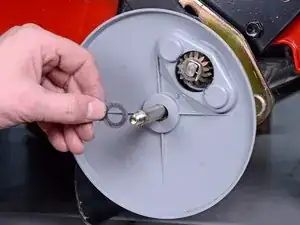
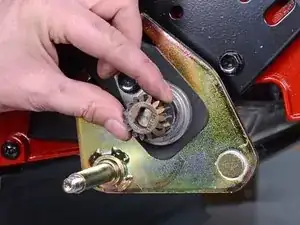
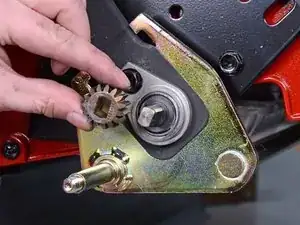
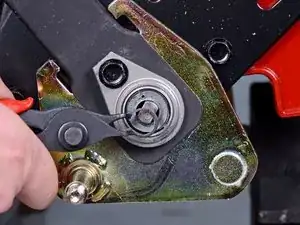
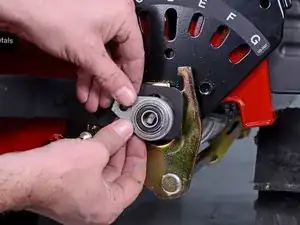
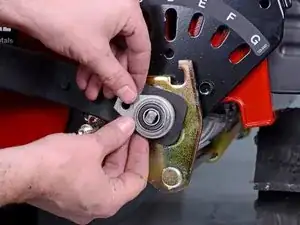
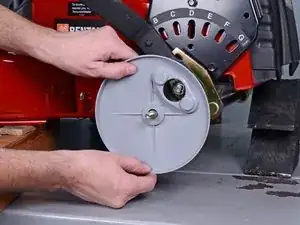
    • Firmly pull the driveline bearing away from the mower.

    • This bearing is holding the driveline in place, so some components may shift around during removal.

    • This may require some force.

    • Repeat the last nine steps for the right side of the mower, starting with removing the right wheel. Once complete, continue to the next step.

  19. YaEO5mn4NIXW2gqt
    YaEO5mn4NIXW2gqt
    llJWKmel2qsPNREc
    • Remove the height adjustment lever from the left side of the mower.

  20. SFJKwTxJogPEf2FH
    SFJKwTxJogPEf2FH
    A2CyGPipNvIVvUxN
    P5MmZHQsQCpPKWGH
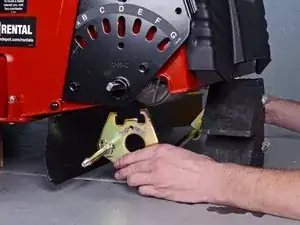
    • Holding the left end of the axle with your left hand and the right end of the driveline with your right hand, firmly pull them in opposite directions—the axle to the left, and the driveline to the right.

    • While maintaining these opposing forces, squeeze both axles together.

  21. 2JlpB3llLUfmPbVu
    2JlpB3llLUfmPbVu
    k2Aa2T2KCwTmakYJ
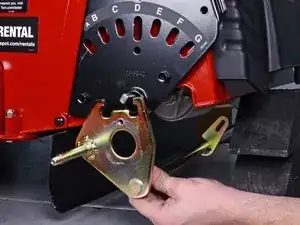
    • With the axle being pulled left and driveline being pulled right, force the left end of the axle out and down, around the end of the driveline.

    • If done correctly, there will be enough of a gap for the axle to clear the end of the driveline and drop down towards the work surface.

  22. ReJverGaEwJc2ISF
    ReJverGaEwJc2ISF
    2VYPKCSM4vnECJMC
    • Remove the axle.

  23. EgZEkQZpabZDp4YG
    EgZEkQZpabZDp4YG
    SxGF3APUM3QCIXFx
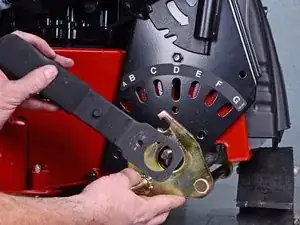
    • With the new axle hooked over the protruding end of the driveline on the right side of the device, pull the axle left, up, and over the driveline on the left side.

    • You may need to grip both rods together in order to pull the axle into position.

  24. FbeLhKfWykfWSLUI
    FbeLhKfWykfWSLUI
    pfUATSSOrDKpuHsG
    • Place the height adjustment lever into position.

  25. tdI5NLDQwpXaeiro
    tdI5NLDQwpXaeiro
    QNuJIQBW1WYIBcx2
    4KDfqNXHmmUEAUJi
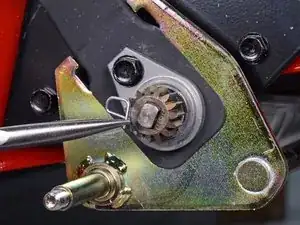
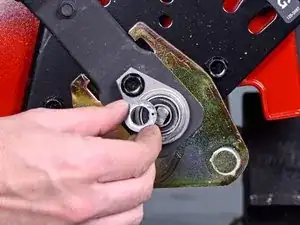
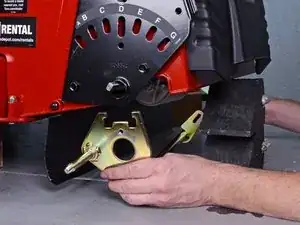
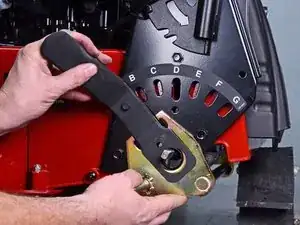
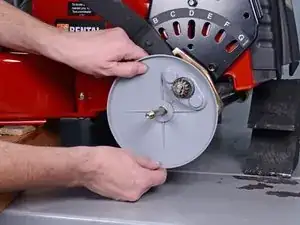
    • Push the driveline bearing onto the protruding end of the driveline.

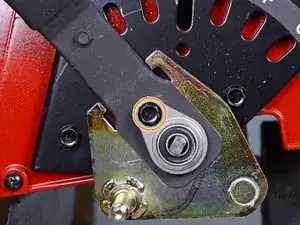
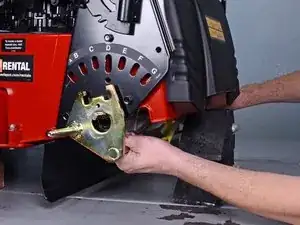
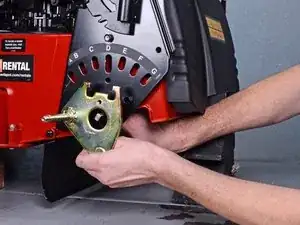
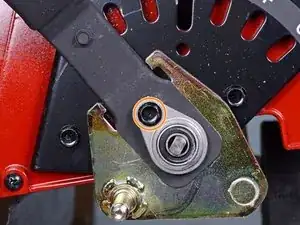
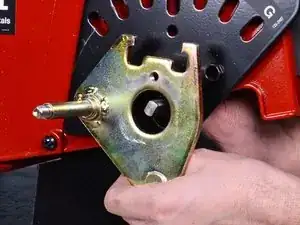
    • Align the height adjustment lever and driveline bearing bolt with the hole on the axle.

    • Align the components such that the height adjustment lever falls into the "A" position.

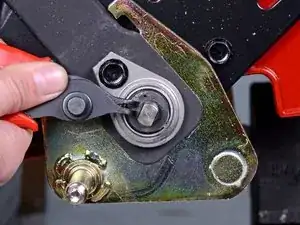
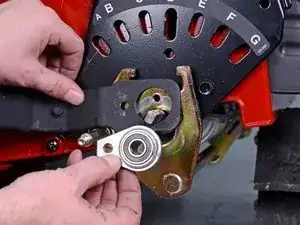
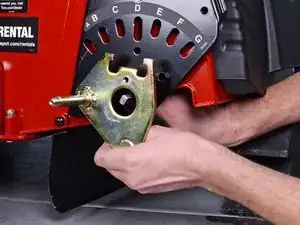
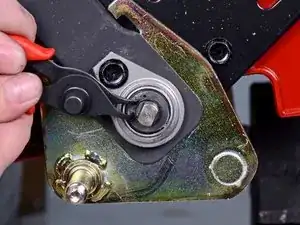
    • Using a 1/2 inch socket, secure both in place with the driveline bearing bolt, but don't tighten it all the way yet.

    • Install the right driveline bearing onto the right side of the mower, securing it in place with the 1/2 inch driveline bearing bolt.

    • Now, securely tighten both left and right side driveline bearing bolts

  26. SLFoSWHZdrUt2kIa
    • Install the snap ring washer on the driveline.

  27. CubJZRILKwdLrmrk
    CubJZRILKwdLrmrk
    jSZ4gMpUNmgIUCJo
    BWZH5mHnEBVSld4S
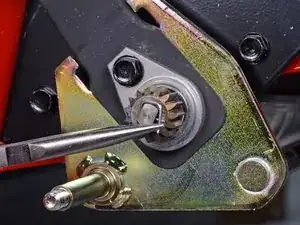
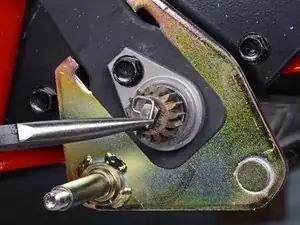
    • With another person pushing on the driveline from the other side, use snap ring pliers to install the snap ring into the groove on the driveline.

    • This can be difficult, and can require a fair amount of force.

    • The snap ring groove on the left side of the driveline will not be visible until the driveline is pushed far enough left.

    • You may need to push back against the axle during this process so the height adjustment lever and driveline bearing stay against the frame.

  28. 3MWaJWjovegsX6tI
    3MWaJWjovegsX6tI
    IUQH32KDJHFFV6VP
    • Install the two drive gears, one on each side of the axle.

  29. JdOw2kEhUVktELbw
    JdOw2kEhUVktELbw
    aXTgqVKcnuINDjTk
    iPSDXhvg5xN3MruN
    • Secure both gears to the driveline with a retaining pin.

    • If this pin is worn out or doesn't lock into place, replace it.

  30. RTiuLBMuAJnGhfb4
    RTiuLBMuAJnGhfb4
    Uhj3cxLiIcq5bxwD
    • Install both dust covers, one on either side of the axle.

  31. QcmtWwZOVpRf2Xre
    QcmtWwZOVpRf2Xre
    uQphRSQl4JGlnDwx
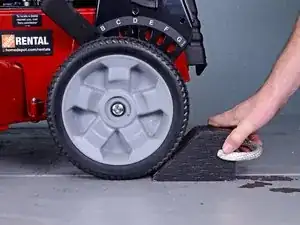
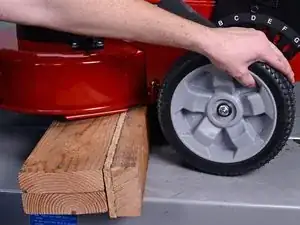
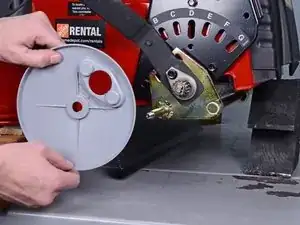
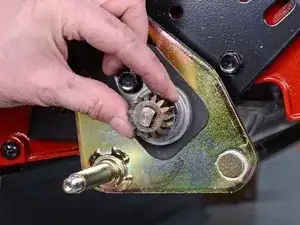
    • Place both wheels back onto the axle, aligning the drive gear teeth with the gears inside the wheels.

  32. qIcQCqFwTlLsfQxD
    • Use a 9/16 inch socket to reinstall both wheel nuts, securing the wheels to the axle.

  33. MiTGOrWoMBjXLgYQ
    • Flip the mower on its side, blades facing out.

  34. 2GXyXVcpEhGo2N6n
    2GXyXVcpEhGo2N6n
    JyogWLNr4eWnTCcl
    15JwxWBsMdyv41rc
    • Hook the height adjustment spring back onto the axle.

    • This will be difficult if the height adjustment lever isn't in the "A" position.

Carsten Frauenheim

Member since: 10/03/20

110978 Reputation

0 comments