Introduction

Prerequisite only! This guide shows how to remove and replace the engine guard on the Toro Walk Behind Mower 21199HD 2018.

  1. OQZtGFtkEF4vBvq4
    OQZtGFtkEF4vBvq4
    dACKYQwkbMXRhRdD
    • Before you begin, ensure that the mower is powered down and cool to the touch.

    • Grab the plastic housing at the end of the spark plug wire and pull firmly to disconnect it.

  2. 363TiR4yDRMrpZjN
    • Chock the rear wheels to prevent the mower from rolling during service.

    • If the blades are extremely dirty, you can clean them using the washout fitting so the bolts on the underside of the blade guard are accessible.

  3. r4FAZqANvZOFfbU6
    r4FAZqANvZOFfbU6
    mpPFBORU2IhiTIxL
    • Lift up the plastic deflector.

  4. xknjbavIsPvnHD5B
    xknjbavIsPvnHD5B
    UpQo4tj3Xwr5X56o
    HbnY1bo3DsGj4bmX
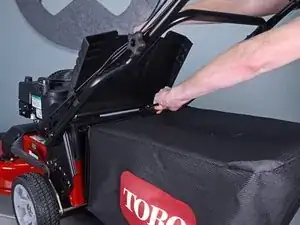
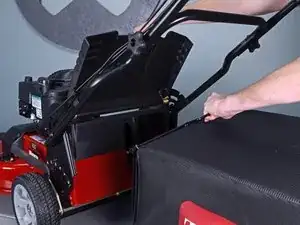
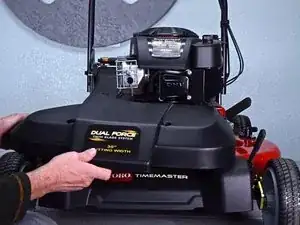
    • While holding the deflector up and out of the way, lift the grass bag handle away from the mower to detach it.

    • Remove the grass bag.

  5. OtZDf6pEoYlDCoHj
    OtZDf6pEoYlDCoHj
    CAum1c454yfKO2wP
    Wv4PTu2ryYYPL3rK
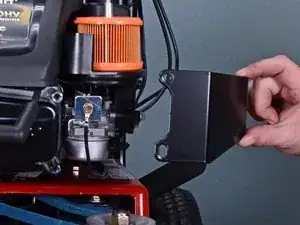
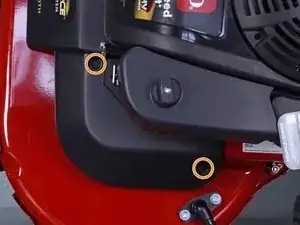
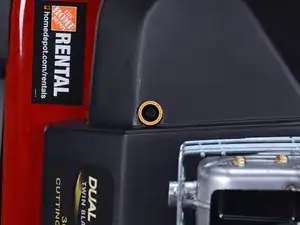
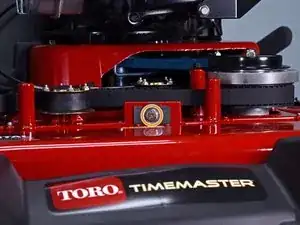
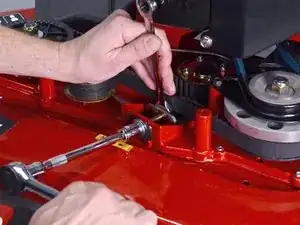
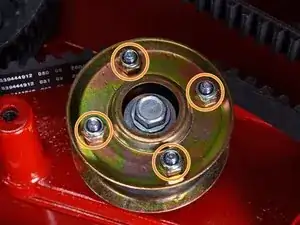
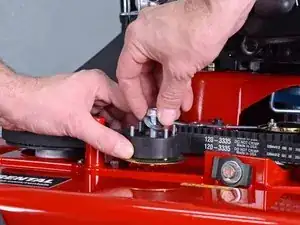
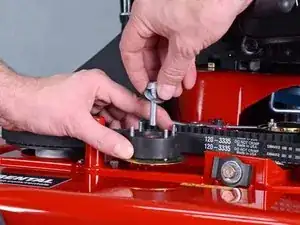
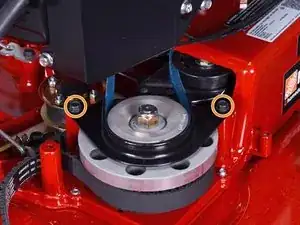
    • Use a 3/8-inch socket to remove the four bolts securing the belt guard:

    • Three 1 inch-long recessed bolts

    • One 1 1/2 inch-long bolt

  6. jlByBSnSo1PVxIrq
    jlByBSnSo1PVxIrq
    KBWWgcKaFjMj3h5u
    • Pull the belt guard straight off the front of the mower to remove it.

  7. IJboZ1ZdAbaTpGdm
    IJboZ1ZdAbaTpGdm
    ePQXZithLxXHsLI6
    • Loosen, but don't remove, the belt tensioner to give the belt some slack.

    • Use a 1/2 inch socket and 1/2 wrench simultaneously to loosen the tensioner.

  8. PdwCw3nWZGvl5p2k
    PdwCw3nWZGvl5p2k
    Icq2XbjEuIFCDs2n
    • Use a flathead screwdriver to pry off the plastic plug cap.

    • Remove the plug cap.

  9. tGRkrYp4dhogwklB
    • Use a 3/8 inch socket to remove the four bolts securing the upper belt guide to the pulley.

  10. s1rEHx1XHIm2w21r
    s1rEHx1XHIm2w21r
    N1XIpbupXkgheQwf
    • Remove the upper belt guide from the pulley.

  11. UZYoBQIsJIDV3TKu
    • Use a 1/2 inch socket to remove the left pulley bolt

  12. HrY2GbVYyXJDa2Qg
    HrY2GbVYyXJDa2Qg
    NNnPN3MPrHWGBT1A
    • Remove the pulley bolt and washer.

  13. ximMsAHRrKjA1tsF
    ximMsAHRrKjA1tsF
    cpu4KJHq4Iy516cT
    JQtUHPIZJHEXFj1q
    • Remove the left pulley.

    • Remove the bushing from the pulley.

  14. eiJZeHlveA5popMH
    eiJZeHlveA5popMH
    xaiXjbETgBo66um6
    gYV5pjGh41vGPR4k
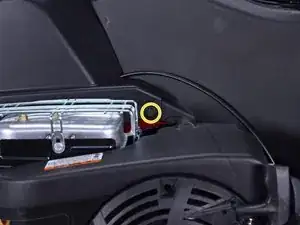
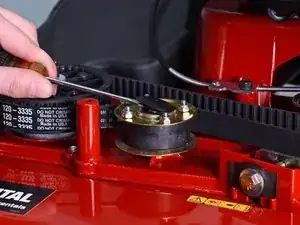
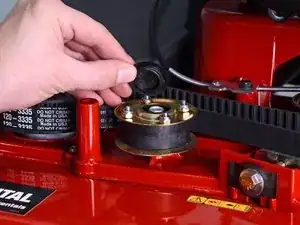
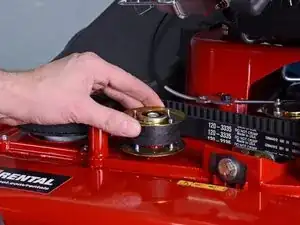
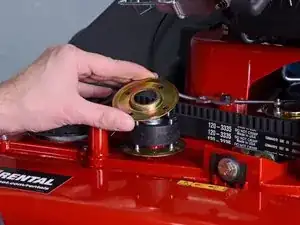
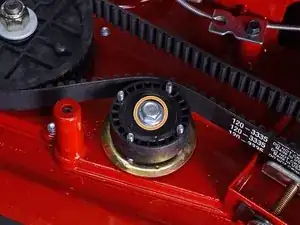
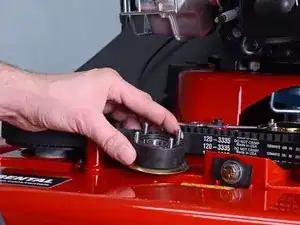
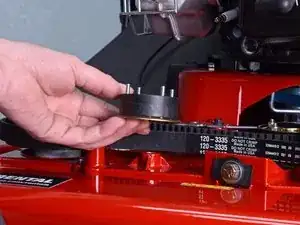
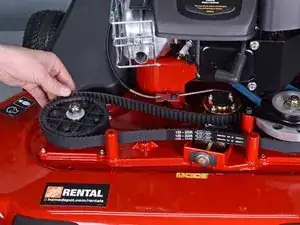
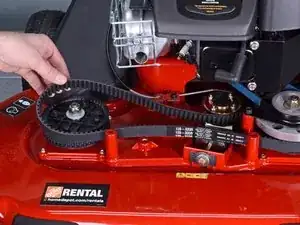
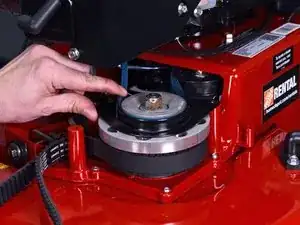
    • Lift the belt up and over the left sprocket.

    • Move the belt to the front of the mower, out of the way of the belt tensioner.

    • During reassembly, ensure all belt teeth are fully seated, otherwise there will not be enough slack for the belt to be installed.

    • During reassembly, ensure that the blades are oriented perpendicularly to one another so they don't collide.

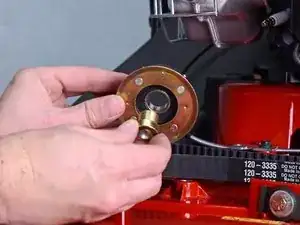
    • Spin the left sprocket, with the blade attached underneath, until it is in a safe position, then place the belt on the sprocket.

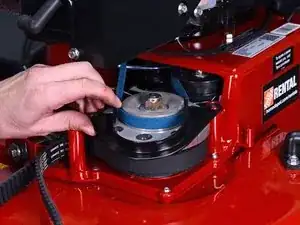
    • Spin both blades to ensure they don't touch during a 360˚ rotation.

  15. uIyCG1RZV6WPV2JR
    • Use a 3/8 inch socket to remove the two screws securing the belt guide.

  16. LEBI2F3jUCEEAYlW
    LEBI2F3jUCEEAYlW
    ArXLIxroSElw5jLa
    • Remove the belt guide.

  17. 5KxC6QD1e3AgFEcr
    • Loosen the knob on top of the air cleaner cover, on the top side of the motor.

  18. KTgbrl5aSMKXregm
    KTgbrl5aSMKXregm
    2A1opaniCL2jJFl1
    • Lift the cover up and off of the air cleaner to remove it.

  19. RvYyXDceMOuJLYoA
    RvYyXDceMOuJLYoA
    lGDSFNtbdq6FtJmr
    • Remove the three metric bolts securing the engine guard:

    • Two 10 mm bolts

    • One 8 mm bolt

  20. RJgSwGoglKwabDJP
    RJgSwGoglKwabDJP
    JDfucKK5l4nkcOkb
    • Remove the engine guard.

Conclusion

To reassemble your device, follow these instructions in reverse order.

Carsten Frauenheim

Member since: 10/03/20

110978 Reputation

0 comments