Introduction

This is a prerequisite-only guide! This guide is part of another procedure and is not meant to be used alone.

  1. 3aNRQaFN3Fo1TtLl
    3aNRQaFN3Fo1TtLl
    KNFYASGBVPOjYptx
    • Use a Phillips screwdriver to remove the three 1.2 mm screws securing the top cable shield.

  2. gVG2Aro3GDLLQjWy
    gVG2Aro3GDLLQjWy
    FVGBlDmdXoSBtpvN
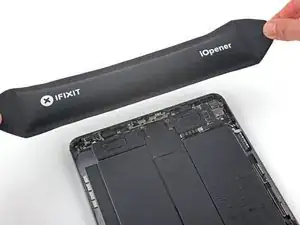
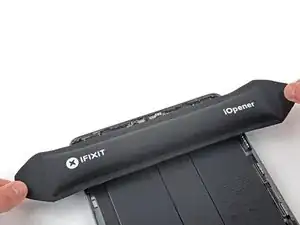
    • Apply a heated iOpener to the top cable shield for one minute to soften the adhesive securing it to the logic board.

  3. Wq4mxgRZVQfULSNR
    Wq4mxgRZVQfULSNR
    YVaShXAEfRQSHrIB
    5JLgQJsgtNtdeMP4
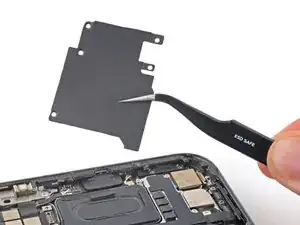
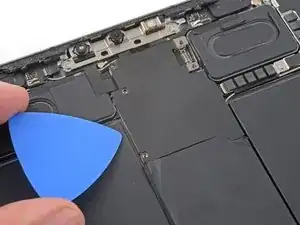
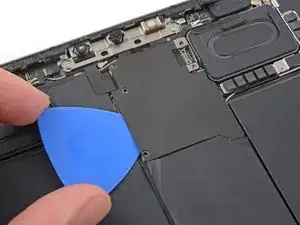
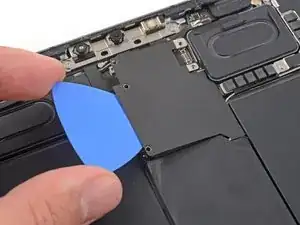
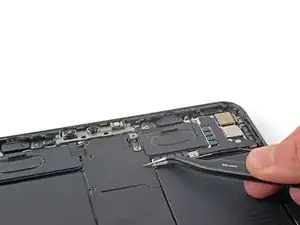
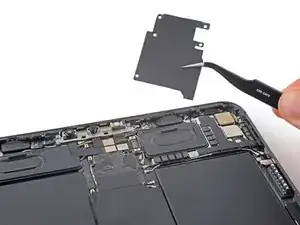
    • Insert an opening pick under the top cable shield and gently pry up to separate the adhesive.

  4. rcdDpkGhyBTNDw2B
    rcdDpkGhyBTNDw2B
    Gr2TqabCdcChaPog
    • Use tweezers or your fingers to grab and remove the top cable shield.

Conclusion

To reassemble your device, follow these instructions in reverse order.

Chayton Ritter

Member since: 21/08/20

17428 Reputation

0 comments