Introduction

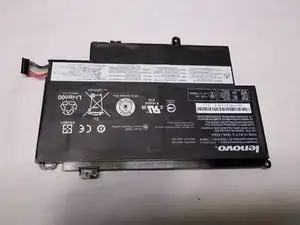
Now your computer battery power will finally last over 1 hour!

  1. yldDMOPKWoaQEtwx
    yldDMOPKWoaQEtwx
    J5exZLGFRxGLfqlU
    DkfSXHYCiGIYIJdA
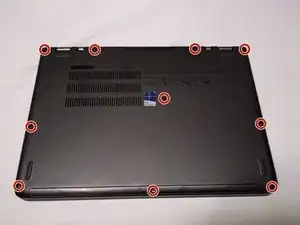
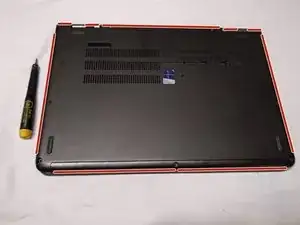
    • Remove the ten Phillips screws using a Philips 00 screwdriver

    Ten screws, but who’s counting. Thank you!

    jthrall -

  2. MixZp1s4J1VRHO3V
    MixZp1s4J1VRHO3V
    wZPD3XcfOn4YPcES
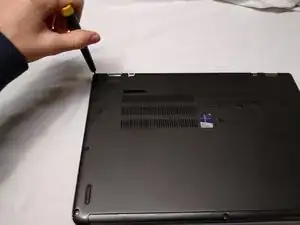
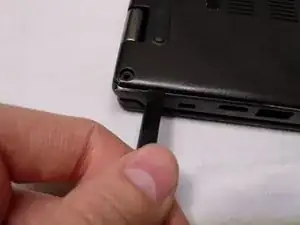
    • Pry up the case carefully using a spudger.

    • Make sure to not push the spudger in too far, as this could result in internal damage

  3. LhFyJSOS6WcLrdAi
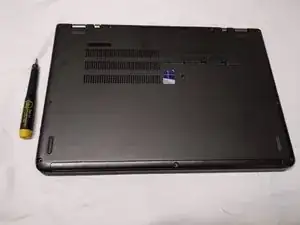
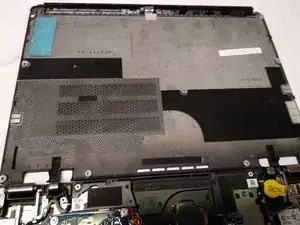
    • Lift off the cover, and you're done!

  4. OWxRl1F6YTuAJlej
    OWxRl1F6YTuAJlej
    mnWpTB2otrPyBruW
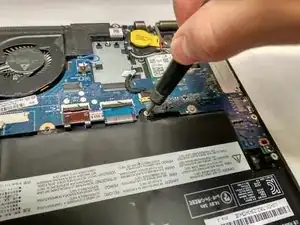
    • Remove the one and only Phillips screw with a Phillips 0 screwdriver.

  5. QvUT3HOcQa5ZEYIW
    QvUT3HOcQa5ZEYIW
    qKDZ4jhCOdQxHubX
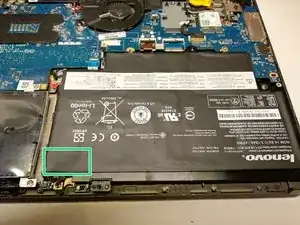
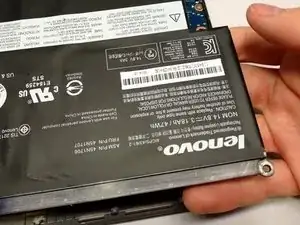
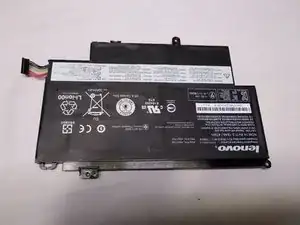
    • Carefully lift the battery. There is a small bit of adhesive underneath the green.

    • Make sure to not bend the battery! This can result in a violent explosion with flames and shrapnel!

  6. FTvHrnDWL6ZXsdGj
    FTvHrnDWL6ZXsdGj
    iSvcbkekhMRoNmTK
    ooAeFDYfOQN6Caou
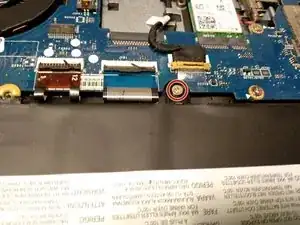
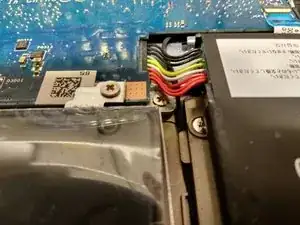
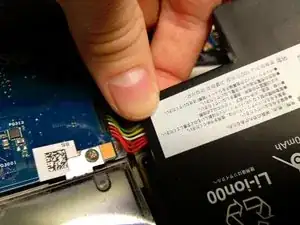
    • Carefully pull the connector out from underneath the logic board to remove the battery.

Conclusion

To reassemble your device, follow these instructions in reverse order.

[deleted]

Member since: 18/03/18

1324 Reputation

One comment

These directions (and those for replacing the SSD) were very helpful. Everything worked well for about a week after which time the battery started having charging problems (again). The computer will start to charge, get to ~25% at which point the machine reports that it’s charging, but doesn’t get beyond ~25%. “Troubleshooting” in Win 10 doesn’t reveal any troubles to shoot. I am now trying to figure out whether the problem is with the new (supposedly Lenovo-brand) battery or perhaps the power cord. Any suggestions?

ellamama -