Introduction
The Sharper Image Literati Tablet may need a screen replacement years or months after purchase, according to reviews online. The screen replacement for The Sharper Image Tablet can be done in approximately 30 minutes to a hour with difficult level in seventeen steps. Screen replacement for The Sharper Image Literati
Tools
-
-
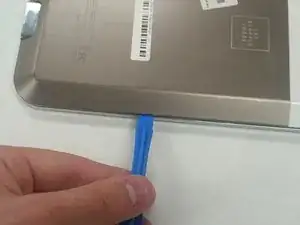
Wedge plastic spudger tool between the back panel and the body of device.
-
Pry apart the back panel and the device.
-
-
-
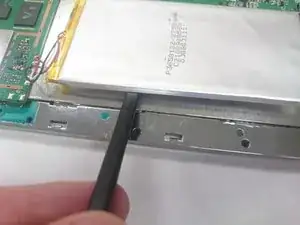
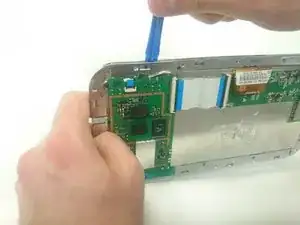
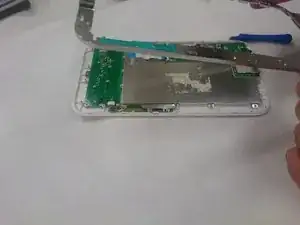
Gently wedge a spudger or thin plastic card between the battery and the body of device. Work the spudger or card along the length of the battery to free it from the adhesive.
-
-
-
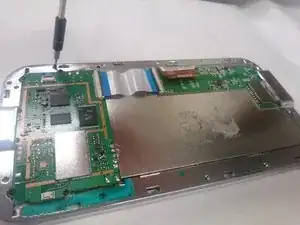
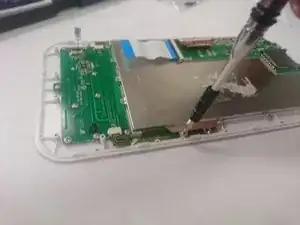
Use a Phillips #00 screwdriver to remove the fifteen 4mm screws from the silver peripheral edging.
-
-
-
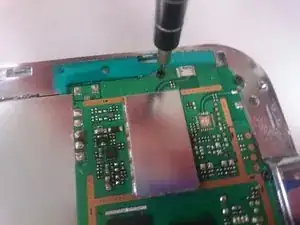
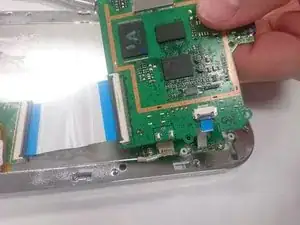
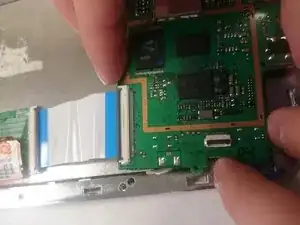
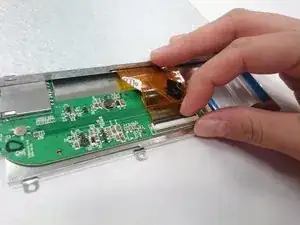
Use a Phillips #00 screwdriver to remove three 4 mm screws from the circuit board containing the headphone jack and power jack.
-
To reassemble your device, follow these instructions in reverse order.
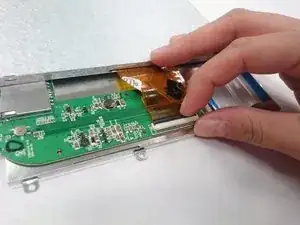
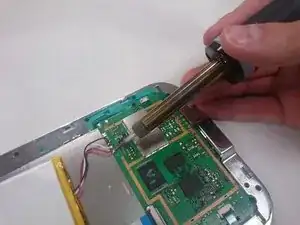
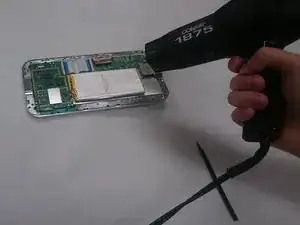
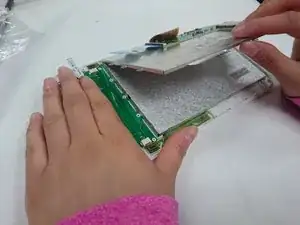
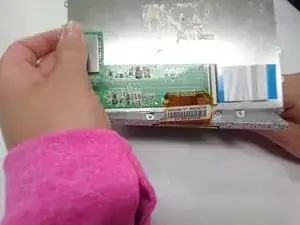
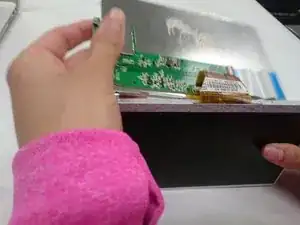
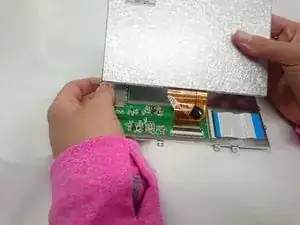
For my model, 1637287 it was actually designed to slide out like a battery cover on a cell phone. The only place that might have reqired a little prying was on the white part of the case near the card reader/reset hole. There is a little plastic edge underneath, I pried that up then was able to wedge a spludger between the brown and white case line and slide up. Once I created a little space, I could push down and slide the white part up and off. To remove the brown case, there were 2 black screws revealed underneath that were holding it in place. Removed those, then I was able to do the same thing, push down and slide UP towards the top of tablet, the same direction as that the white case came off. Doing it the other way may brake some tabs, not sure how many models there were but this was the correct way to do it for mine. You wouldnt be able to fully pry off the brown part anyway because of how it is held in with 2 screws on mine.
N. Watson -