Introduction
In this guide we will show how to access and remove the plastic covering and protecting the LCD display.
Tools
-
-
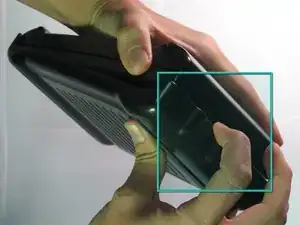
Grab the back of the calculator with one hand and the cover with the other.
-
Pull the cover off from one of the sides for easy removal.
-
-
-
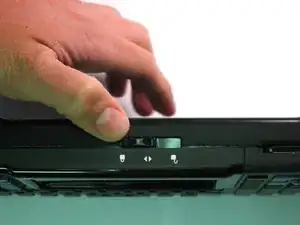
Orientate the calculator with the top facing towards you.
-
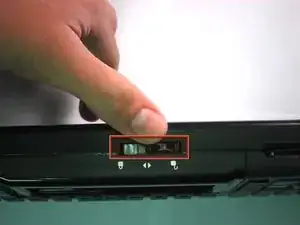
Slide the locking tab,found on the top part of the calculator, to the unlock position.
-
-
-
"Locking Tab"
-
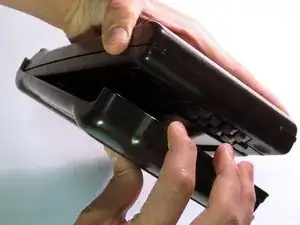
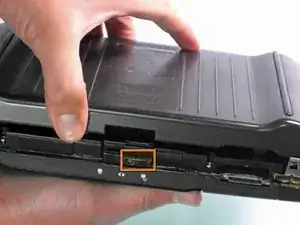
To remove the back cover, slide the cover away from the locking tab towards the bottom of the calculator until the cover no longer slides.
-
Then with the front of the calculator facing down, pull up on the back cover.
-
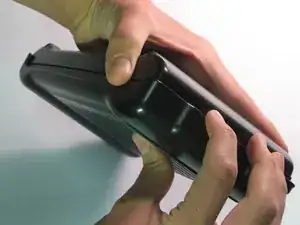
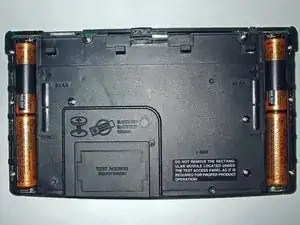
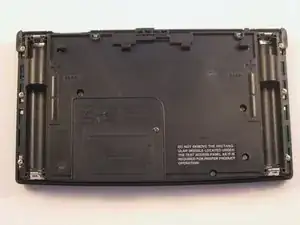
The calculator should now be orientated with the front facing down, as shown in picture 2.
-
-
-
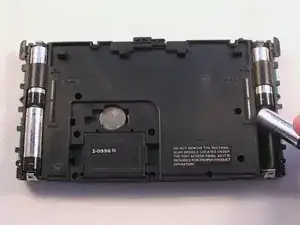
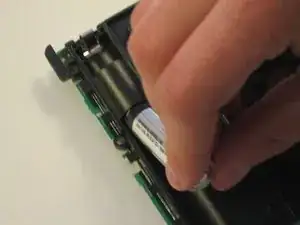
Remove the bottom batteries by pressing the battery towards you while pulling it out from the far end.
-
After the bottom battery has been removed push or slide the other(top) battery towards you until it is fully exposed in the battery slot.
-
Now simply remove the battery.
-
-
-
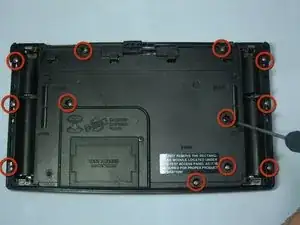
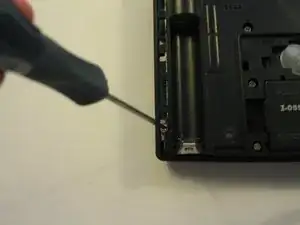
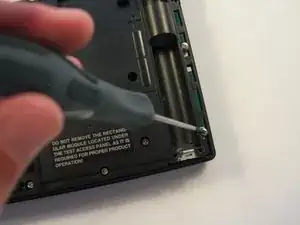
Using a Philips Screwdriver #00 unscrew the twelve 11.8mm screws shown in the picture and located on the back of the calculator.
-
-
-
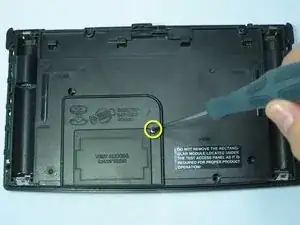
Unscrew the 19mm screw located near center of the back of the calculator.
-
Remove the panel being held by the screw.
-
-
-
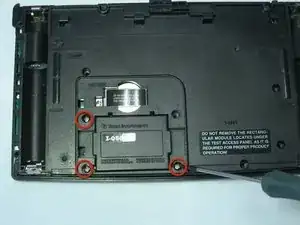
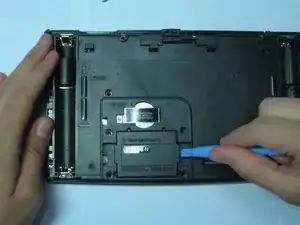
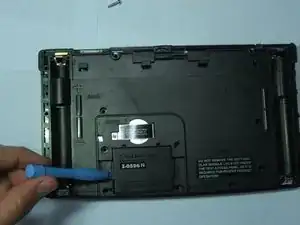
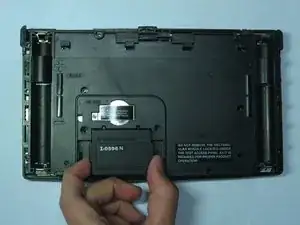
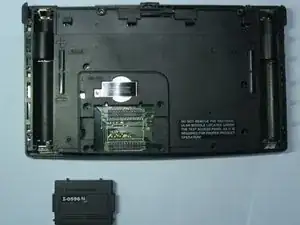
Using the Ipod Opening Tool pull up on both sides of the rectangular module while keeping the rest of the calculator flat on a surface face down
-
-
-
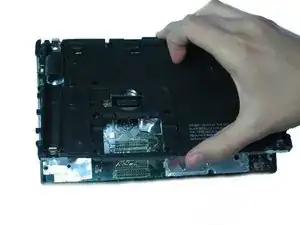
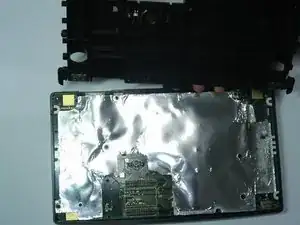
Now pull up on the back cover of the calculator while holding the rest of it flat on a surface.
-
-
-
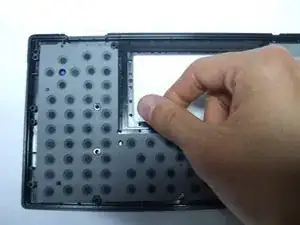
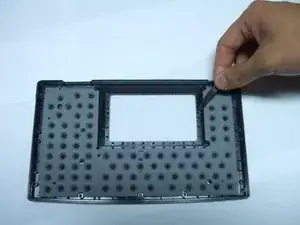
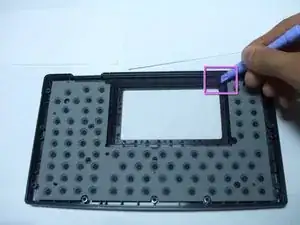
Lift one of the ends of the sticky black strips located around the screen.
-
This process will be facilitated by the use of the Ipod Opening Tools or a similar tool.
-
-
-
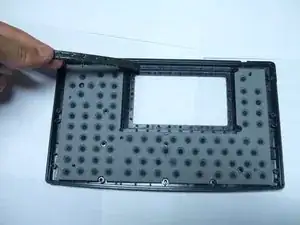
Start to remove the strips by pulling them outward carefully. Lift one end of the strip and peel it down to the other end.
-
If the strips are sticking to each other you do not need to separate them from each other, simply continue pulling outward on the strips around the edges.
-
-
-
If one of the remaining strips is sticking to the others and can not be easily removed, use a tool such as the Ipod Opening Tool to start pulling the strip up.
-
-
-
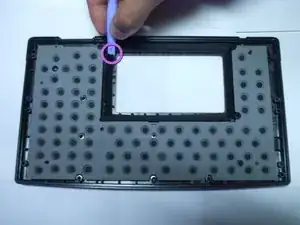
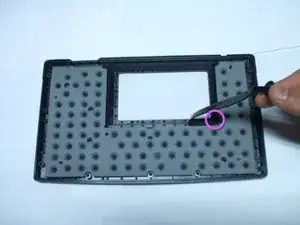
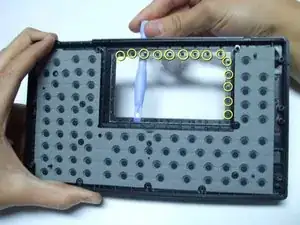
The yellow circles and the spots on the other side of the screen from the circles represent circular tabs holding the plastic screen cover in.
-
Use a flat tool such as the Ipod Opening tool to separate the screen from the tabs.
-
To reassemble your device, follow these instructions in reverse order.
