Introduction

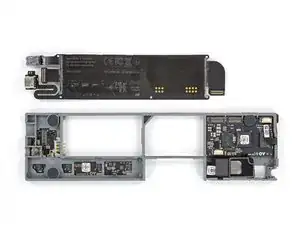
Use this guide to replace the highway flex cable in the OP-Z. The flex cable includes the USB-C port, and the line-out / headphone jack.

  1. 3P3PtudTARX4VYYo
    3P3PtudTARX4VYYo
    wV3ZGSxOE1EQcKRX
    kabawgJinAQaRfXx
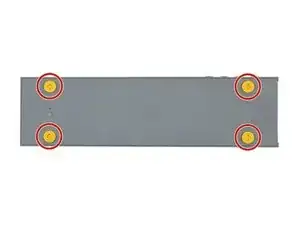
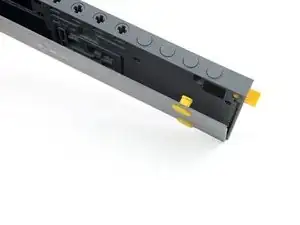
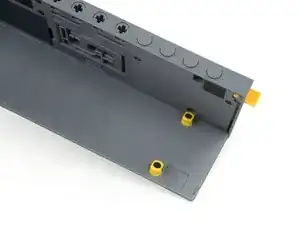
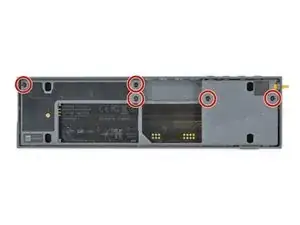
    • Unlock the four rubber feet by turning them 90° counterclockwise using your thumb or finger tip.

    • There is a tiny mark on every foot facing the bottom edge of the OP-Z. After turning them they should face towards the short edge where the on/off switch is.

  2. pueLJe1vTPDuZsOa
    pueLJe1vTPDuZsOa
    QbptcMmcnDwpxrCE
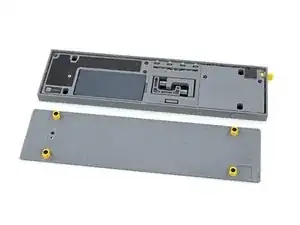
    • When turning the OP-Z over again the bottom plate should come off by itself (thanks gravity).

    • If the bottom plate won’t come off you might want to make sure every foot is rotated correctly and gently tug on one of them.

  3. QCjZngZMmxyi3pxU
    • Remove the bottom plate including the rubber feet.

  4. p3FkSHtKFCvwrqeh
    p3FkSHtKFCvwrqeh
    viRjEDse1dT2OS4X
    • Use your fingernail or a spudger to lift the battery on the right side where the notch is.

  5. y6hJwRZefWmmEoyh
    y6hJwRZefWmmEoyh
    vAo4CAkJUTfGyAjL
    • Remove the battery.

    • When installing the new battery make sure you put it in contact side first.

  6. XgfsXNdbNChaCItV
    XgfsXNdbNChaCItV
    iZLHrpyCV3hLsPxA
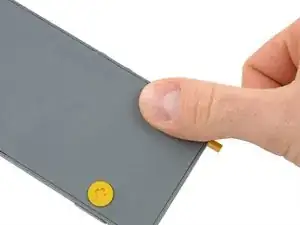
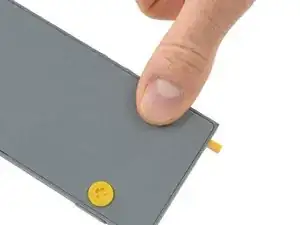
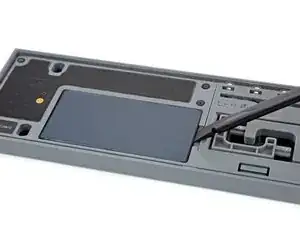
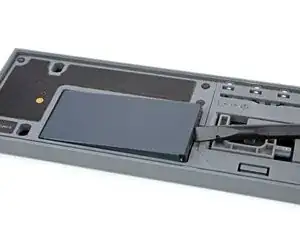
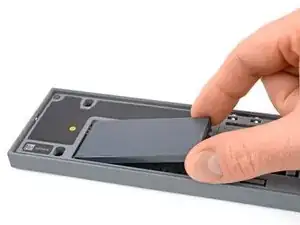
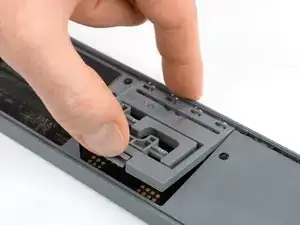
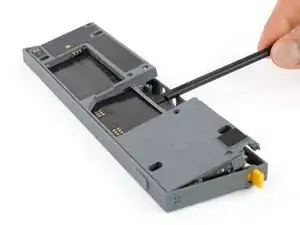
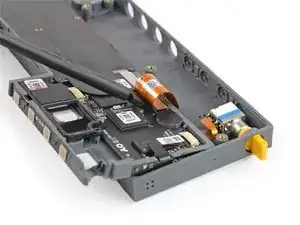
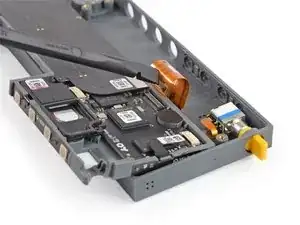
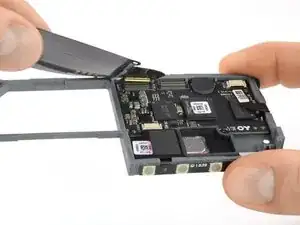
    • Use your finger or a spudger to push up on the small tab on the bottom of the module.

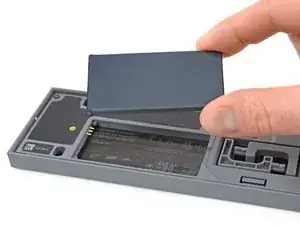
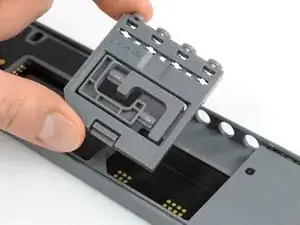
    • Lift the module up and out of its recess bottom first.

  7. 24rAVGncEwtxrq2c
    • Remove the module.

    • When inserting another module make sure you put it in outputs first. Then push down the bottom part for the tab to engage.

  8. jITUlDVHew4Tk6jG
    • Remove the five Torx T4 screws.

  9. jEjjakdWPfPVCLfV
    jEjjakdWPfPVCLfV
    356PLic2YIghgbwH
    • Place a spudger in the cutout of the extension module to lift the midframe.

    • Be careful not to damage the highway flex cable underneath.

    • Don’t remove the midframe yet. It is still connected to the rest of the OP-Z.

  10. K36FYIB6YETIaIqa
    K36FYIB6YETIaIqa
    WofBDtn2woT3g4DZ
    kBLJXjtNWgi5bRUa
    • Flip the midframe over to gain access to the flex cable connector underneath.

  11. O1DGquvrAsqNIBJF
    O1DGquvrAsqNIBJF
    OLba64cQMSshZHEI
    • Use the flat end of a spudger to disconnect the flex cable from the front panel assembly.

  12. xJ3LNW1TIPFTCDy2
    xJ3LNW1TIPFTCDy2
    eKRuknk3Uw2MxgDT
    • Use a spudger to disconnect the highway flex cable from the DSP board.

  13. KZlCLY6GvwNYCe5q
    KZlCLY6GvwNYCe5q
    aeK24AwWPRlnUWQK
    • Use the spudger to disconnect the flex cable from the encoder board.

  14. IDT5avMF2jbgqHaH
    IDT5avMF2jbgqHaH
    Ka5aVK5EDYrxDiyA
    vCCEH1qIPOBVjMtE
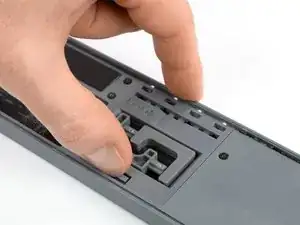
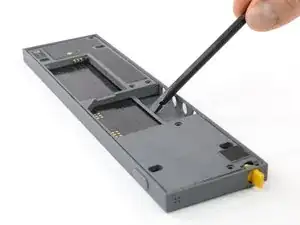
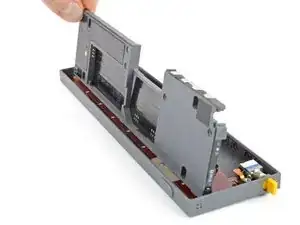
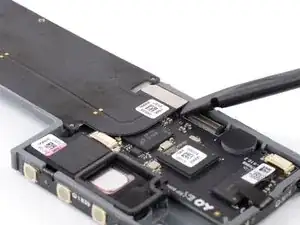
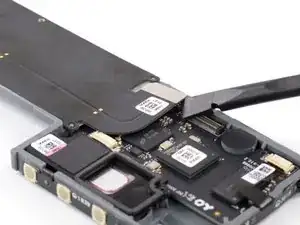
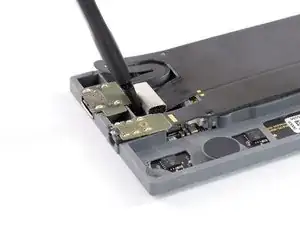
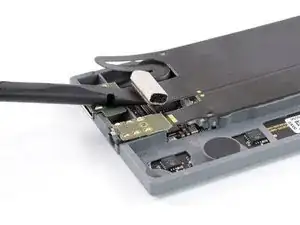
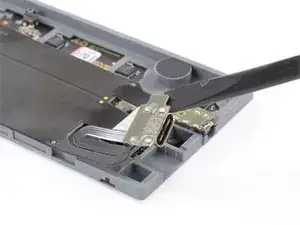
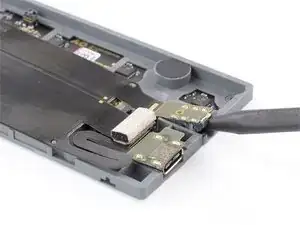
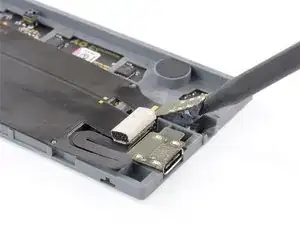
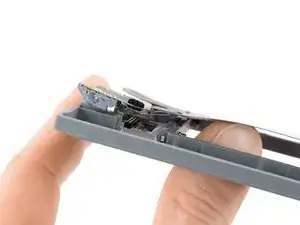
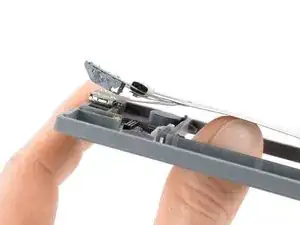
    • Slowly pry the USB-C connector out of its recess. Use the flat end of a spudger on the small nib on the USB-C board.

    • The connector is slightly glued down.

  15. RdFLuIhaIld4yymQ
    RdFLuIhaIld4yymQ
    1ghWOIaH5yKWYLFq
    WgetNabA2E1SR5WZ
    • Insert the pointy end of the spudger into the line-out jack and lever it up carefully.

    • The jack connector might sit tight and is slightly glued down.

  16. Ptx3YyBnpdb5GGqr
    Ptx3YyBnpdb5GGqr
    EEJeHUZr3AoPWuM4
    LKA4U1RvR3LIEQ6U
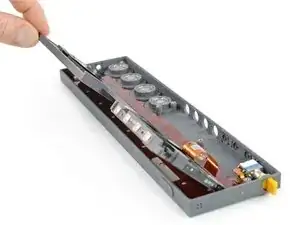
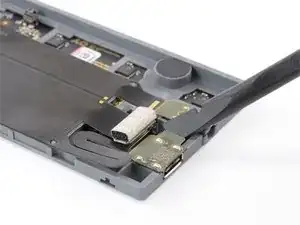
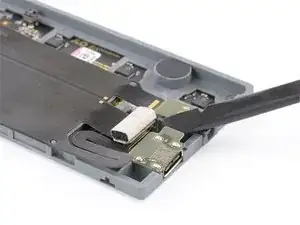
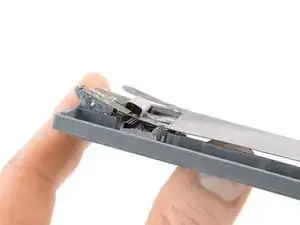
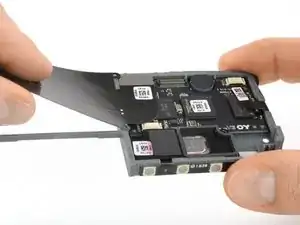
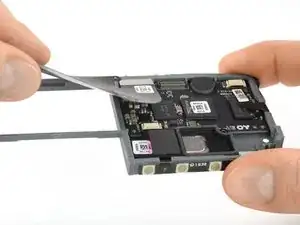
    • The highway flex cable is slightly adhered to the midframe. To remove it, gently push it out from underneath.

    • A small transparent part may pop out. This is the light guide for the bluetooth indicator. Just hinge it back onto the midframe as seen here.

  17. mbEyBeo5ELJppJGD
    mbEyBeo5ELJppJGD
    RumqEHBUtuVV5IK4
    HWRh2A2O5HRLhVUr
    • Peel the highway flex cable off the midframe and remove it.

Conclusion

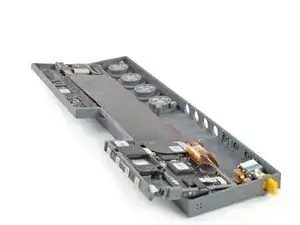
To reassemble your device, follow these instructions in reverse order.

Tobias Isakeit

Member since: 31/03/14

116775 Reputation

3 comments

It worked! Sort of. I bought a highway flex cable replacement and a new battery hoping it would solve an issue. The good news is I was able to replace it, and it’s function as before I replaced the flex cable. The only challenge really was that the audio cable plug in the new flex cable assemble was slightly bigger than the one I removed. I really had to force it down. During reassemble it was important to start left to right too - and it was easier to plug that last cable before installing the audio and USB C sockets. The issue I was trying to solve: My OP-Z will only power on when plugged in. I bought the OP Z used, and it worked fine for a while. But for reasons I can’t explain it stopped working with battery power alone. I tried all the solutions I found online including resetting the battery, firmware, etc. I’m just sharing this in case someone else has the same issue. Other than that, the new flex cable works just like the one it replaced, and I have an extra one now! Thank you!!!

thompsonkmt -

I didnt replace my highway flex cable but I did repair the rotary encoders cuz the magnet holders kept popping out of the bearings.

Eric M -

ATTENTION, some devices do not have Torx 4 screws, but much smaller ones! Why hasn't this been corrected here all this time? ...I really wonder what the point of this kind of tutorial is, if the dimensions are wrong...?

Hybyscut -