Introduction

Use this guide to replace the function key plastic buttons of your OP-Z.

The actual button flex cable is a separate guide/part. Please disassemble and check your device before purchasing any parts.

  1. 3P3PtudTARX4VYYo
    3P3PtudTARX4VYYo
    wV3ZGSxOE1EQcKRX
    kabawgJinAQaRfXx
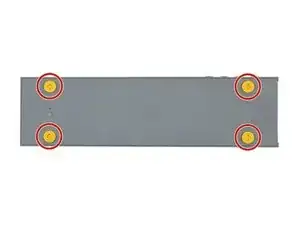
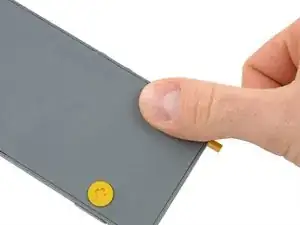
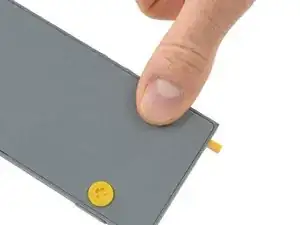
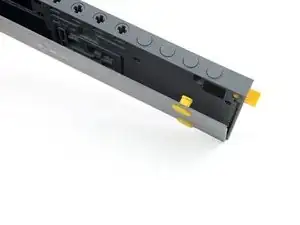
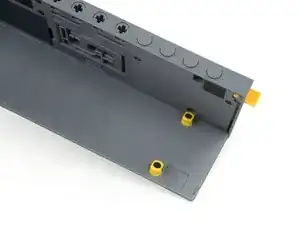
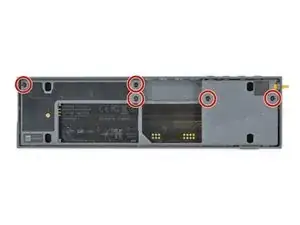
    • Unlock the four rubber feet by turning them 90° counterclockwise using your thumb or finger tip.

    • There is a tiny mark on every foot facing the bottom edge of the OP-Z. After turning them they should face towards the short edge where the on/off switch is.

  2. pueLJe1vTPDuZsOa
    pueLJe1vTPDuZsOa
    QbptcMmcnDwpxrCE
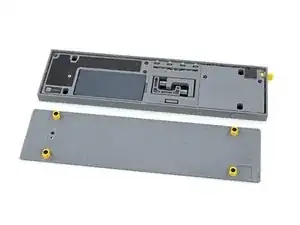
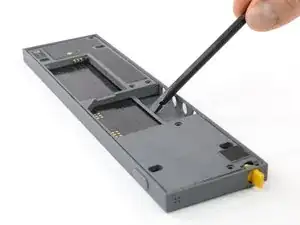
    • When turning the OP-Z over again the bottom plate should come off by itself (thanks gravity).

    • If the bottom plate won’t come off you might want to make sure every foot is rotated correctly and gently tug on one of them.

  3. QCjZngZMmxyi3pxU
    • Remove the bottom plate including the rubber feet.

  4. p3FkSHtKFCvwrqeh
    p3FkSHtKFCvwrqeh
    viRjEDse1dT2OS4X
    • Use your fingernail or a spudger to lift the battery on the right side where the notch is.

  5. y6hJwRZefWmmEoyh
    y6hJwRZefWmmEoyh
    vAo4CAkJUTfGyAjL
    • Remove the battery.

    • When installing the new battery make sure you put it in contact side first.

  6. XgfsXNdbNChaCItV
    XgfsXNdbNChaCItV
    iZLHrpyCV3hLsPxA
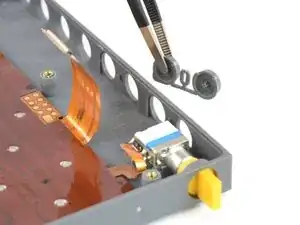
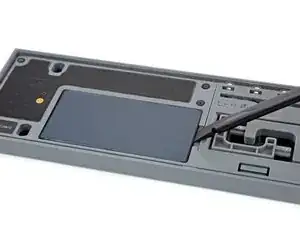
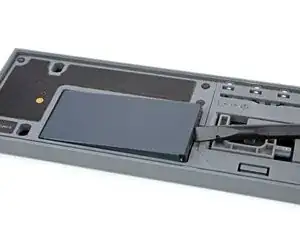
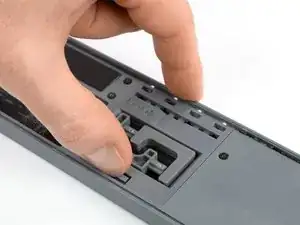
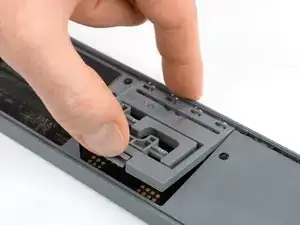
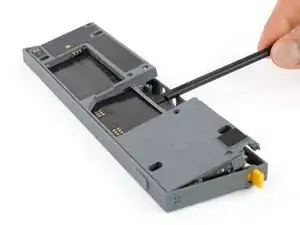
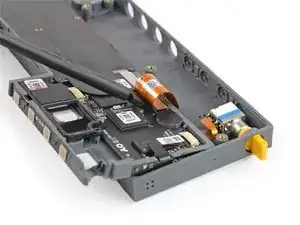
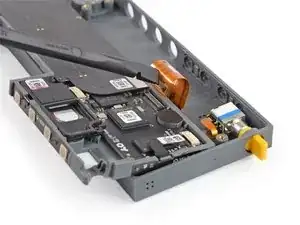
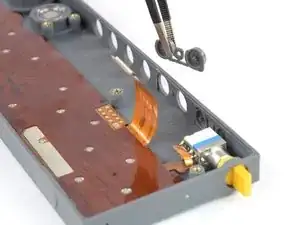
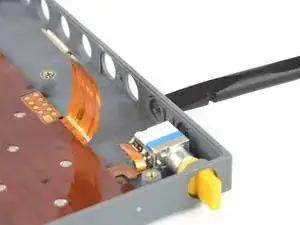
    • Use your finger or a spudger to push up on the small tab on the bottom of the module.

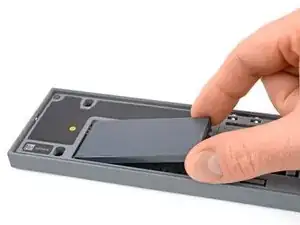
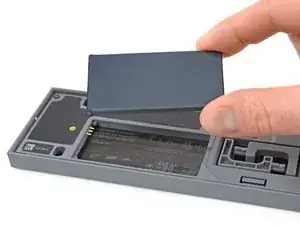
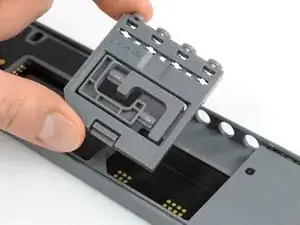
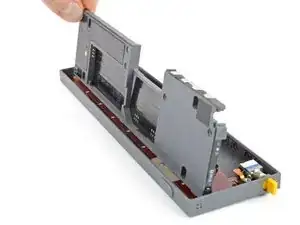
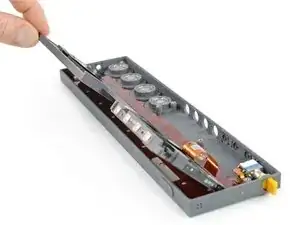
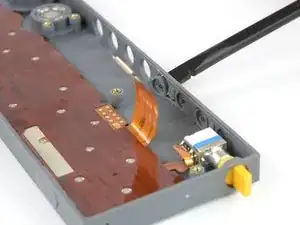
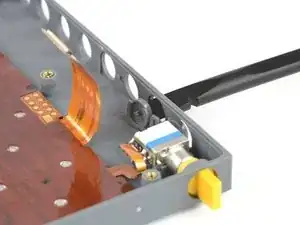
    • Lift the module up and out of its recess bottom first.

  7. 24rAVGncEwtxrq2c
    • Remove the module.

    • When inserting another module make sure you put it in outputs first. Then push down the bottom part for the tab to engage.

  8. jITUlDVHew4Tk6jG
    • Remove the five Torx T4 screws.

  9. jEjjakdWPfPVCLfV
    jEjjakdWPfPVCLfV
    356PLic2YIghgbwH
    • Place a spudger in the cutout of the extension module to lift the midframe.

    • Be careful not to damage the highway flex cable underneath.

    • Don’t remove the midframe yet. It is still connected to the rest of the OP-Z.

  10. K36FYIB6YETIaIqa
    K36FYIB6YETIaIqa
    WofBDtn2woT3g4DZ
    kBLJXjtNWgi5bRUa
    • Flip the midframe over to gain access to the flex cable connector underneath.

  11. O1DGquvrAsqNIBJF
    O1DGquvrAsqNIBJF
    OLba64cQMSshZHEI
    • Use the flat end of a spudger to disconnect the flex cable from the front panel assembly.

  12. jWLHHJWPgXE1FgHs
    jWLHHJWPgXE1FgHs
    cFEDKRHaqqc1koTT
    • Use a spudger to push the first set of function buttons inwards.

  13. AkO3exfo4u6k1Vlm
    • Remove the first set of function buttons.

    • This pair has a circular alignment post between the buttons and a dot mark on one of the buttons.

  14. JY4ycoTefIUbokNO
    JY4ycoTefIUbokNO
    dnYMGkYxSPEqVJqP
    • Use a spudger to push the second set of function buttons inwards.

  15. wLffEGO4dyyaUPTZ
    • Remove the second set of function buttons.

    • This pair has an elliptical alignment post between the buttons and a straight mark on one of the buttons.

Conclusion

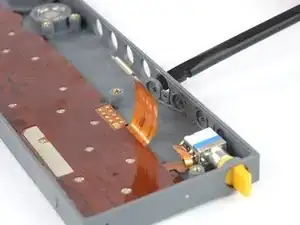
To reassemble your device, follow these instructions in reverse order.

Tobias Isakeit

Member since: 31/03/14

116775 Reputation

One comment

Torx t4 screwdriver doesn’t work! Seems too big. Wasting too much money so far to fix something that shouldn’t have worn to breaking point so quickly. Gutted.

Sam Lsn -