Introduction
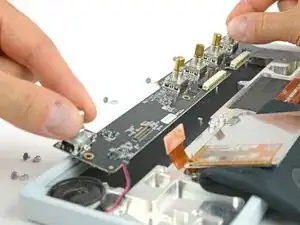
The UI board is responsible for the knobs and keyboard action and connects to the speaker. If it fails there will be no fun at all.
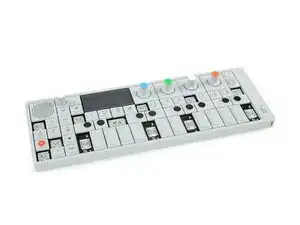
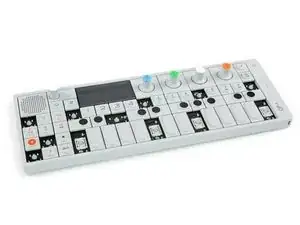
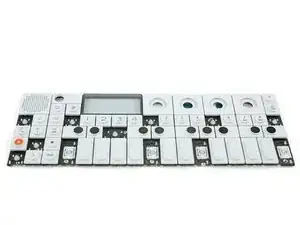
This guide will show you how to replace the UI board of your OP-1.
Tools
Parts
-
-
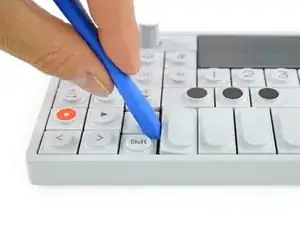
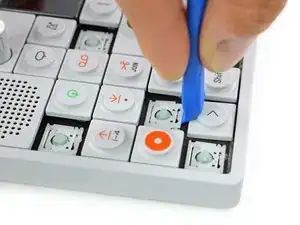
The four longer keys from the fingerboard are to be handled from the left side to get them off.
-
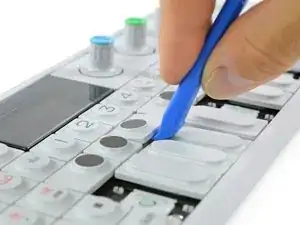
The eight smaller keys need to be levered from the bottom up.
-
-
-
The scissor mechanism of the eight small keys are obstructing the underlying screws.
-
By using again an opening tool or opening pick these can be snapped off easily.
-
-
-
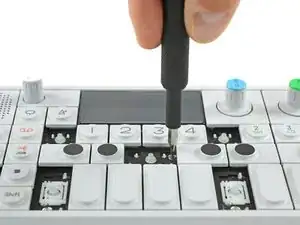
Loosen those 12 screws with a Phillips #00 screwdriver.
-
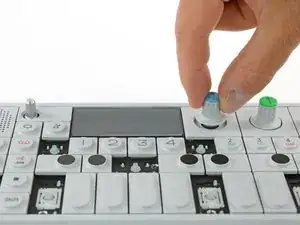
Then just pull off the four rotary knobs and the volume knob.
-
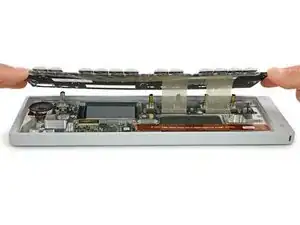
Now it is possible to slightly lift the keyboard and set it back.
-
-
-
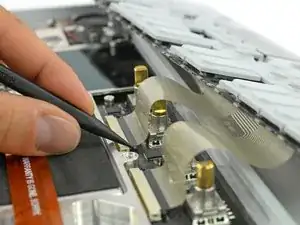
Unlock the flex cables by pushing the two black nibs on both sides of each connector.
-
Now you can pull the flex cables out and remove the keyboard completely.
-
-
-
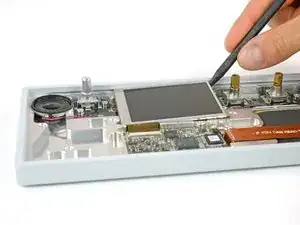
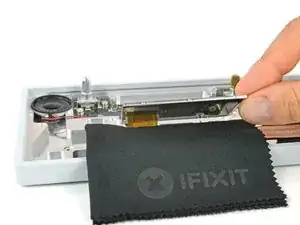
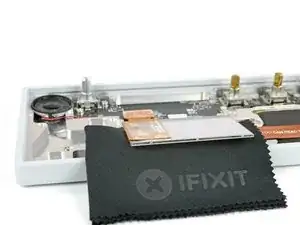
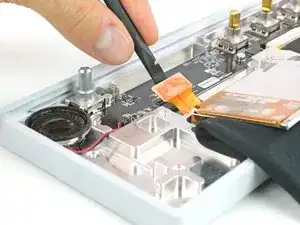
The display is held in place with a mild adhesive. A spudger helps you to get it free.
-
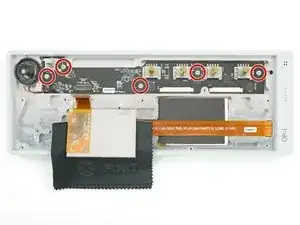
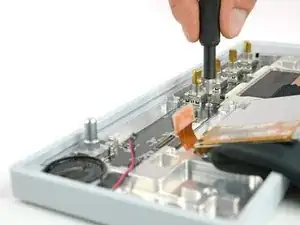
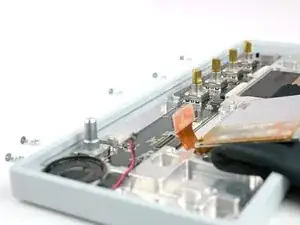
Make sure the display won't be damaged when you flip it over to the front to access the UI board.
-
-
-
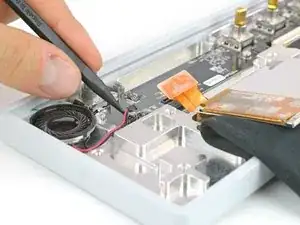
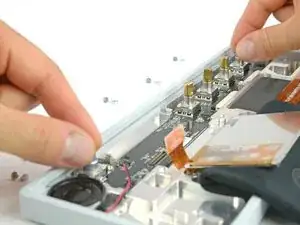
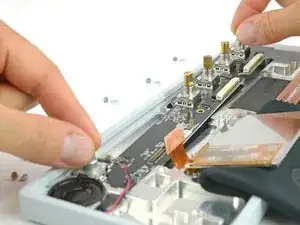
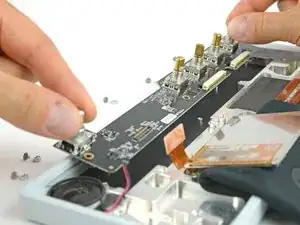
Now the UI board is free to take out. You can grab it by the knobs and start lifting it on the right side half way out.
-
On the left side the speaker and its cable might be in the way to get it out straight. Just move it diagonally to the right to get it out completely.
-
To reassemble your device, follow these instructions in reverse order.
2 comments
Can anyone recommend a good adhesive tape to fix the screen in place after doing the repair?
No need to replace the adhesive tape as long as you leave it attached to the op1 or to the back of the display itself. So when you go to put everything back together, slot the display back into place, the adhesive tape that is there should stick very gently and when you go to put the keyboard with the display glass back, everything will be held in place.
Also, this guide skips over detaching the ribbon cables when you are removing the keyboard, the two connectors each have two (2 on each port) very small black colored locking mechanisms on the left and right of the cable's port, using a spudger you can push those locking mechanisms up about 2mm, and the ribbons should detach from the ui board seamlessly allowing you to gently pull them out. When putting it back together, insert the ribbon cable evenly to the new port, and push the locking mechanisms into place (reverse from what you did before).
