Introduction
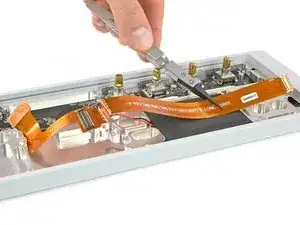
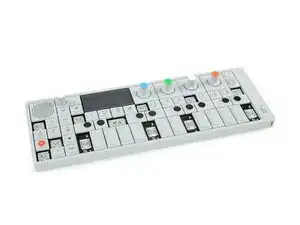
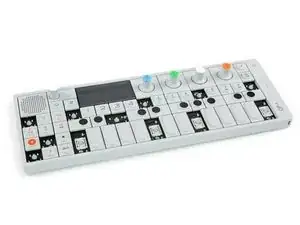
What the spinal cord is for your body that is the flex cable for the OP-1. In case of a lumbago in your favorite musical device you can change the flex cable to get going again.
Tools
Parts
-
-
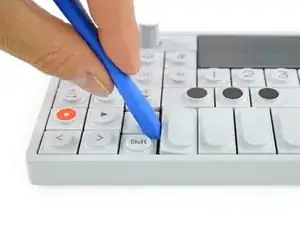
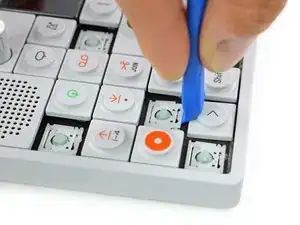
The four longer keys from the fingerboard are to be handled from the left side to get them off.
-
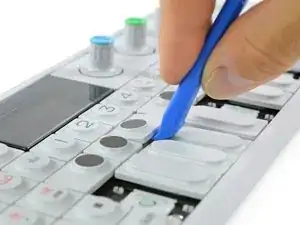
The eight smaller keys need to be levered from the bottom up.
-
-
-
The scissor mechanism of the eight small keys are obstructing the underlying screws.
-
By using again an opening tool or opening pick these can be snapped off easily.
-
-
-
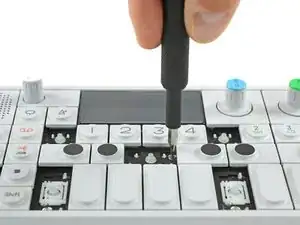
Loosen those 12 screws with a Phillips #00 screwdriver.
-
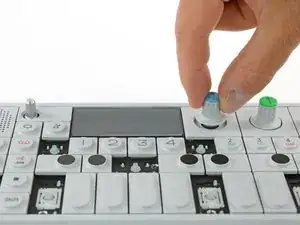
Then just pull off the four rotary knobs and the volume knob.
-
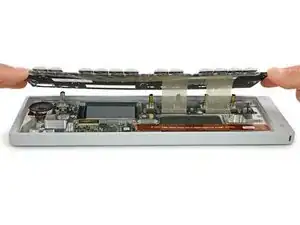
Now it is possible to slightly lift the keyboard and set it back.
-
-
-
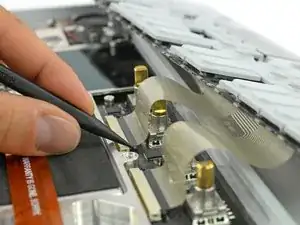
Unlock the flex cables by pushing the two black nibs on both sides of each connector.
-
Now you can pull the flex cables out and remove the keyboard completely.
-
-
-
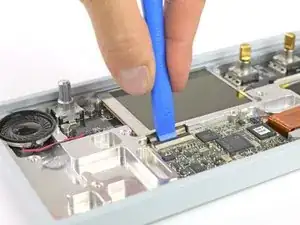
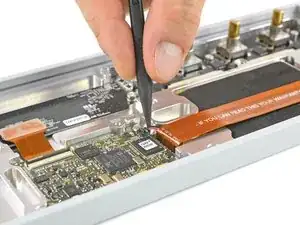
Open the display cable connector by using a plastic opening tool to flip the latch upwards.
-
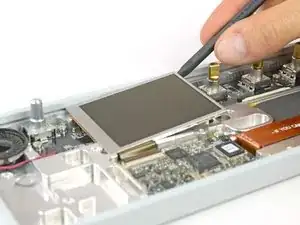
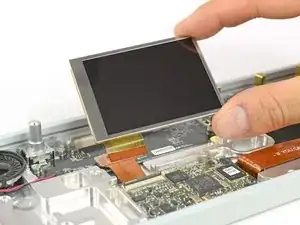
The display is held in place with a mild adhesive. A spudger helps you to get it free.
-
Now you can unplug the cable and take out the whole display.
-
-
-
Disconnect the battery connector from the DSP board.
-
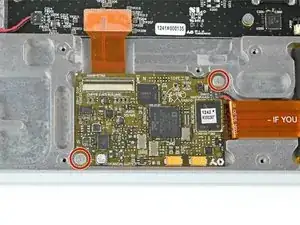
Unscrew the two Phillips #00 screws holding the board down.
-
-
-
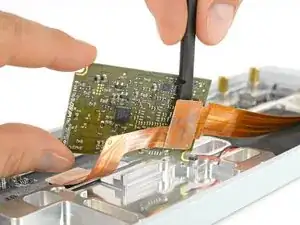
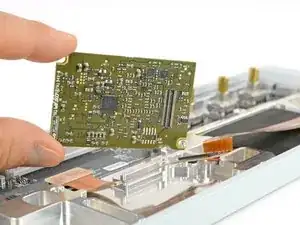
Now you can carefully lift the DSP board to access the flex cable connector underneath.
-
Disconnect the flex cable by using a spudger and remove the DSP board.
-
-
-
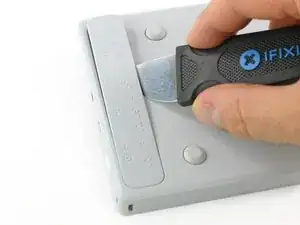
Flip the OP-1 over to open the back panel giving you access to the connector board.
-
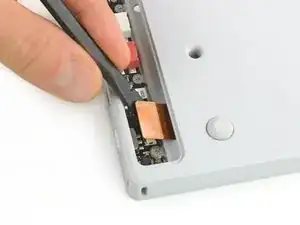
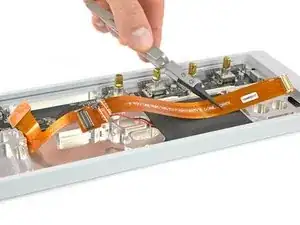
Disconnect the flex cable from the connector board.
-
-
-
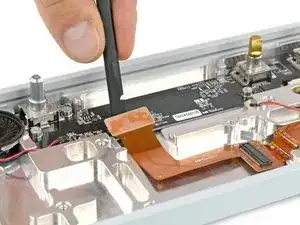
Returning to the front side you can unplug the flex cable from the UI board.
-
Now the flex cable is free and can be pulled out completely.
-
To reassemble your device, follow these instructions in reverse order.
