Introduction
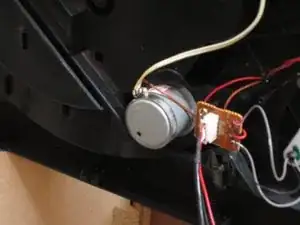
If you have identified that your record player needs to have its motor replaced, this guide will show you how to safely do so. The motor is what controls the speed the record plays at, and may wear down or completely fail over time and with use. Replacement is easy if these steps are followed. Note that it is first important to complete the Disassembly Guide.
Tools
-
-
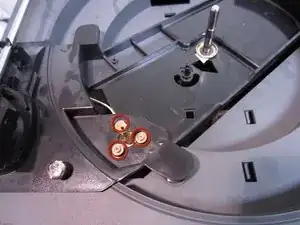
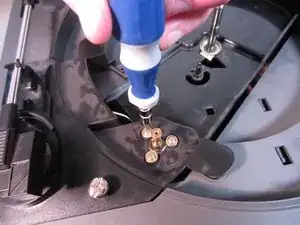
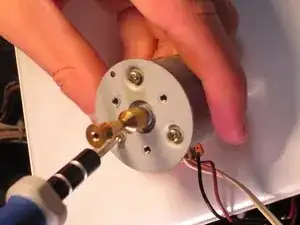
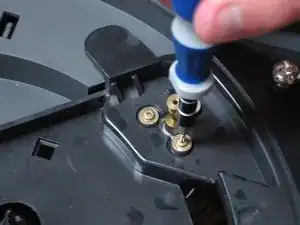
Using the phillips #1 screwdriver, remove the three screws that are holding the circular mounting bracket to the motor.
-
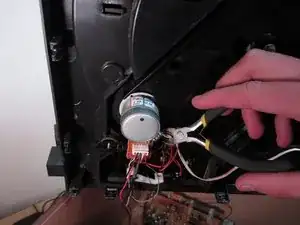
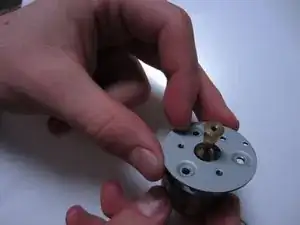
Remove the circular mounting bracket from the motor.
-
-
-
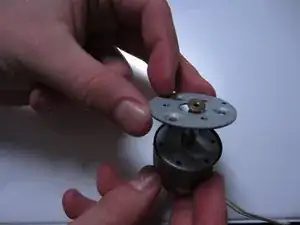
Attach the mounting bracket to the new motor.
-
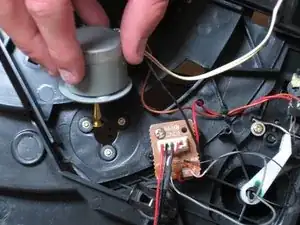
Insert the new motor.
-
Flip the turntable over making sure the motor stays in place, and insert the screws underneath the turntable.
-
To reassemble your device, follow these instructions in reverse order and complete the disassembly guide in reverse order.
