Introduction
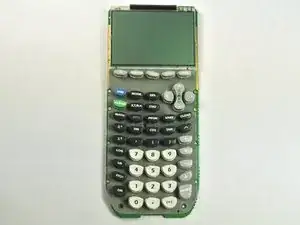
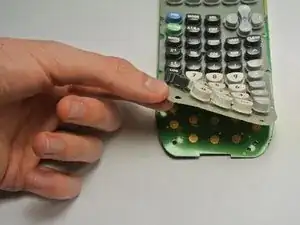
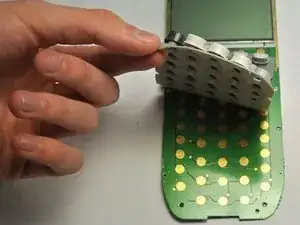
If some of the buttons of the TI-84 Silver Plus Edition do not work but the buttons appear to be intact, you may need to replace the keyboard mat.
Tools
-
-
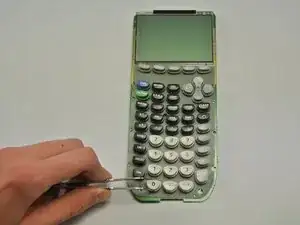
Insert your index finger in the open slot below the keys.
-
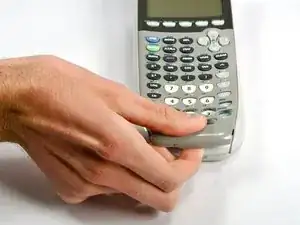
Apply a firm upward force until the bottom two tabs located near the bottom of the plate come off.
-
-
-
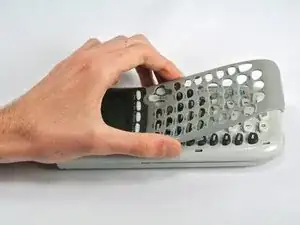
Grab the face plate on each side near the middle and apply a gentle upward force on each side until the middle tabs come off.
-
Lift the face plate upward until the top three tabs come off and the face plate is completely detached.
-
-
-
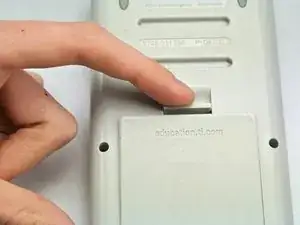
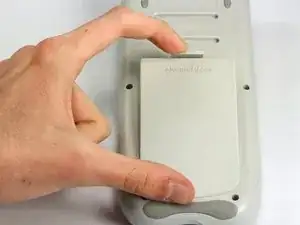
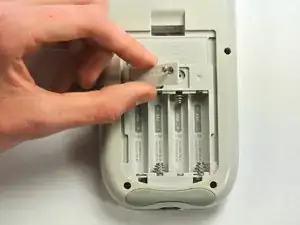
Push firmly down on the tab located on the back of the calculator near the center.
-
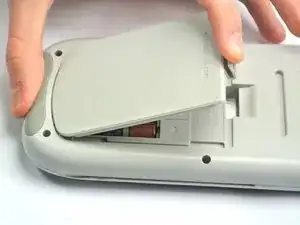
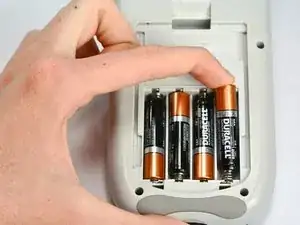
Pull the tab up, lifting it off of the calculator and exposing the batteries.
-
-
-
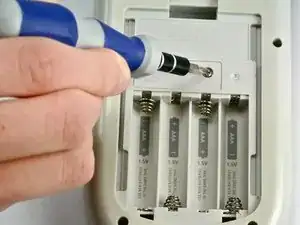
Using the Phillips #00 Screwdriver, unscrew the 15 mm screw holding the backup battery cover, located above the main battery area.
-
-
-
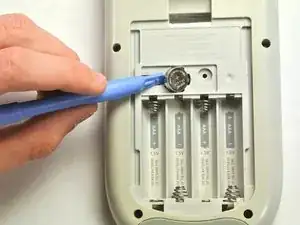
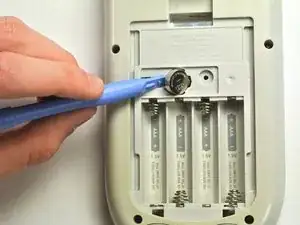
Wedge the small plastic opening tool under the backup battery in the gap to the left of the backup battery.
-
Push gently downward until the backup battery pops out.
-
-
-
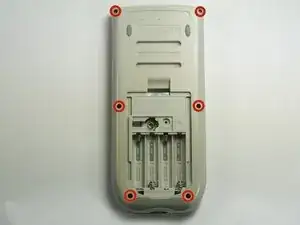
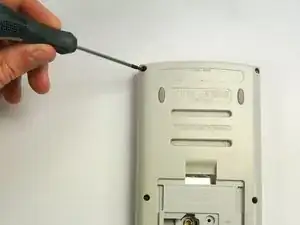
Unscrew the six 8.5 mm screws located on the perimeter of the back cover using the Precision T6 Torx Screwdriver.
-
-
-
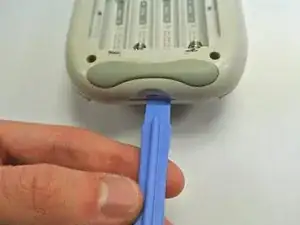
Wedge the large plastic opening tool in the gap at the bottom between the top and bottom covers.
-
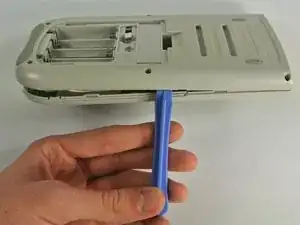
Apply a gentle downward force to separate the top cover from the bottom cover.
-
Wedge the large plastic opening tool in the gaps along each side to unhook the side clips.
-
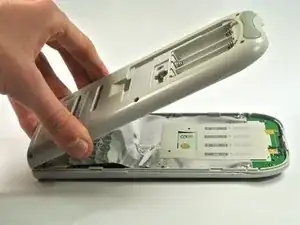
Pull the bottom cover apart from the top cover.
-
-
-
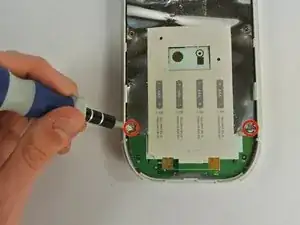
Unscrew the two 5 mm screws at the bottom of the silver sheet using the Phillips #00 Screwdriver.
-
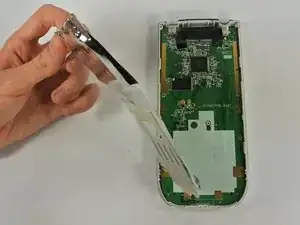
Pull up on the silver sheet from the top to remove it from the calculator.
-
-
-
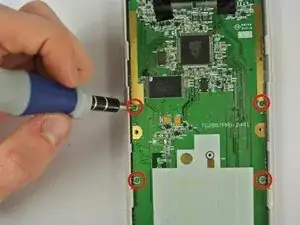
Unscrew the four 5 mm screws on the sides of the mother board Phillips #00 Screwdriver.
-
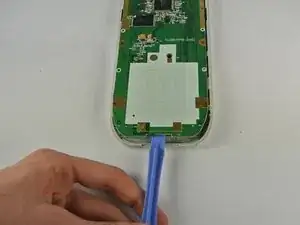
Pry the motherboard out from the bottom of the front casing using the large plastic opening tool.
-
To reassemble your device, follow these instructions in reverse order.
