Introduction
For this guide you will remove the back cover, battery cover, and battery in order to replace the solar panel.
Tools
-
-
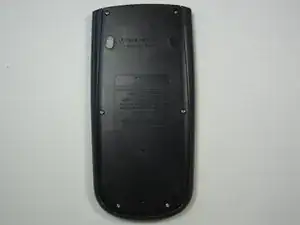
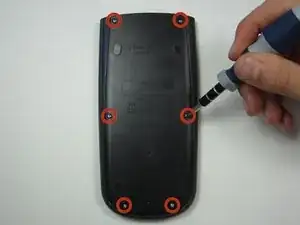
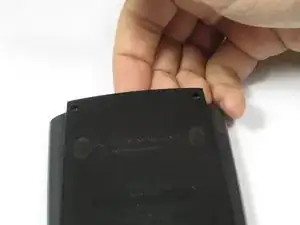
Using a Phillips #1 screwdriver, remove the six 6mm screws from the back of the case and place them to the side.
-
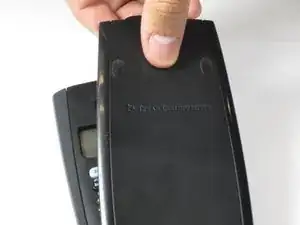
Start from the notches on the top edge and use your fingers or a prying tool to carefully pry the back cover from the calculator.
-
-
-
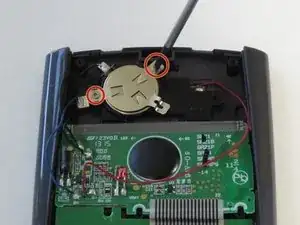
Use a Phillips #00 screwdriver to remove the two 7.5 mm screws holding the battery cover to the case.
-
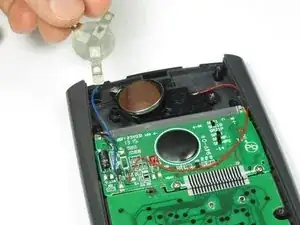
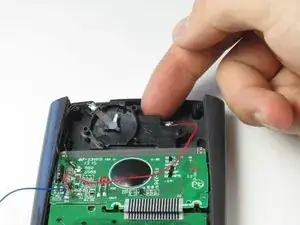
Use your finger to move the battery cover to the side.
-
-
-
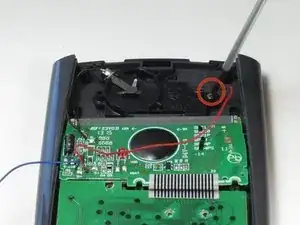
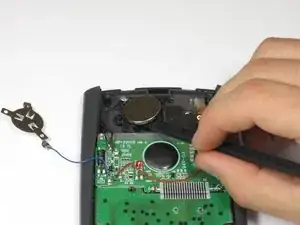
To detach the solar panel, use a Phillips #00 screwdriver to remove the 4.5mm screw that connects the solar panel to the calculator.
-
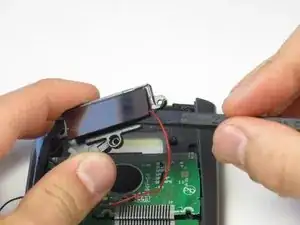
Once the screw has been removed, you may lift the top of the black solar panel cover with your finger and gently pull away from the green circuit board.
-
-
-
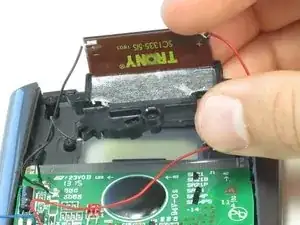
Turn the black cover so the solar panel is facing you.
-
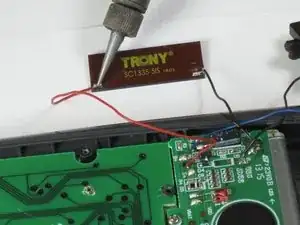
Insert the flat end of the spudger between the solar panel and the black cover at the corner where the red wire connects.
-
Carefully slide the spudger all the way underneath the solar panel until it detaches from the tape.
-
To reassemble your device, follow these instructions in reverse order.
