Introduction
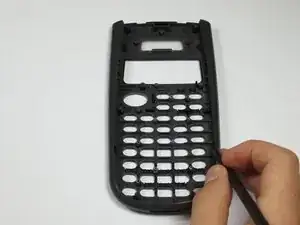
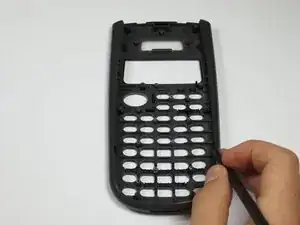
For this guide you will remove all of the internal components in order to access the front cover.
Tools
-
-
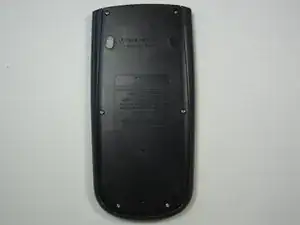
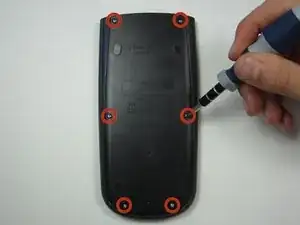
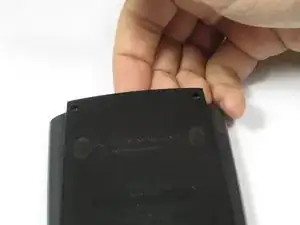
Using a Phillips #1 screwdriver, remove the six 6mm screws from the back of the case and place them to the side.
-
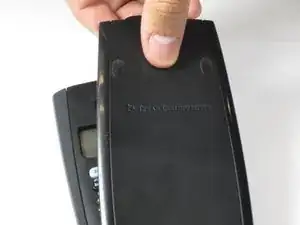
Start from the notches on the top edge and use your fingers or a prying tool to carefully pry the back cover from the calculator.
-
-
-
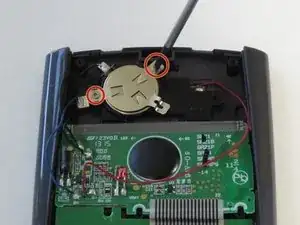
Use a Phillips #00 screwdriver to remove the two 7.5 mm screws holding the battery cover to the case.
-
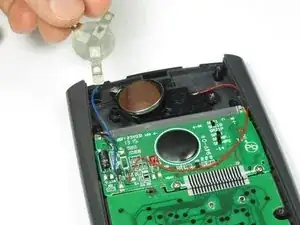
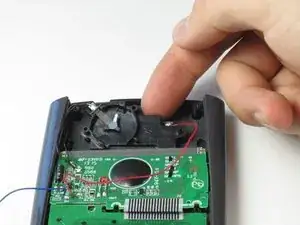
Use your finger to move the battery cover to the side.
-
-
-
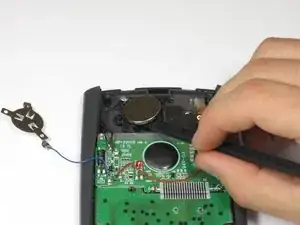
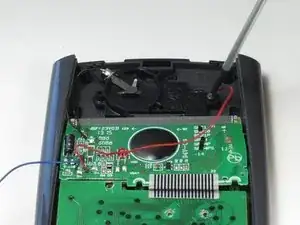
After removing the battery, use a Phillips #00 screwdriver to take out the 4.5mm screw directly to the right of the solar panel.
-
-
-
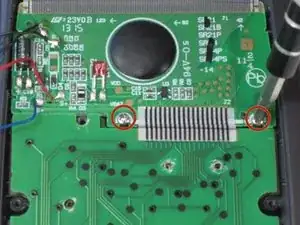
Next, use a Phillips #00 screwdriver to remove the two screws located on each side of the striped ribbon between the two green circuit boards.
-
-
-
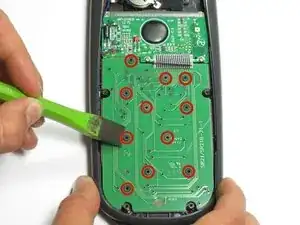
Carefully chisel off the 11 circular pieces that connect the lower circuit board to the calculator.
-
-
-
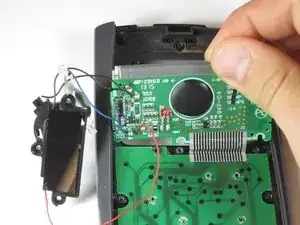
Lift the top edge of the solar panel with a finger and slide it away from the circuit board to disconnect it from the calculator.
-
Carefully pry the screen out of the calculator with a prying tool or spudger.
-
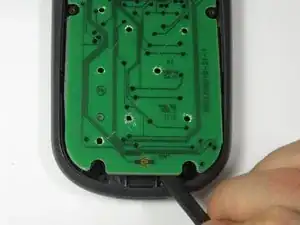
Pry the lower circuit board from the calculator by inserting a prying tool between the base of the calculator and the circuit board.
-
-
-
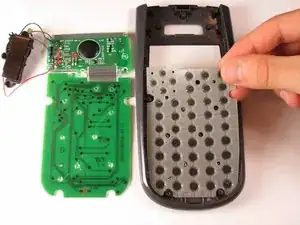
Empty the buttons into a bag or place them somewhere that they will not be lost.
-
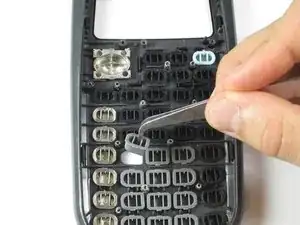
Using a spudger, undo the 5 clips around the edge of the casing that connect the front cover to the calculator.
-
To reassemble your device, follow these instructions in reverse order.
