Introduction
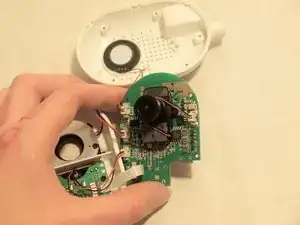
This guide will explain the process of removing and replacing the internal camera of the Swann Wi-Fi Indoor Security Camera. This is the component that provides visual surveillance. It is best to be very gentle when handling electrical components and removing connections as being rough can damage them. It is recommended to use a Phillips #0 screw driver and a plastic prying tool (blue) to pull the device apart. If the camera lens is broken, as outlined in the troubleshooting page for this device, use this guide to replace it.
Tools
-
-
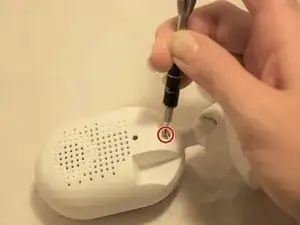
Use the Phillips #0 to remove the screw located on the back of the camera above the mount.
-
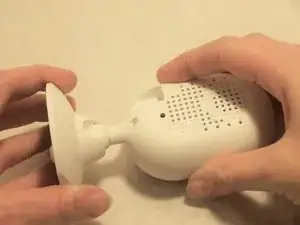
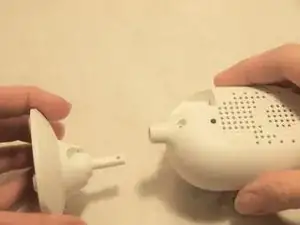
Slide the mount out from the bottom of the device.
-
-
-
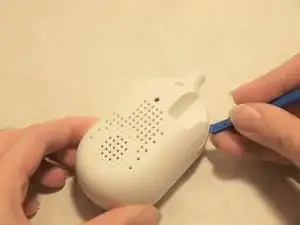
Remove the back of the case by placing a iFixit opening tool underneath the edge of the case and prying it up.
-
-
-
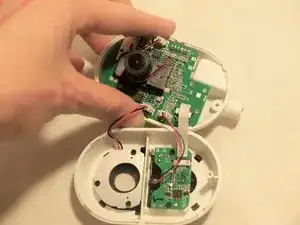
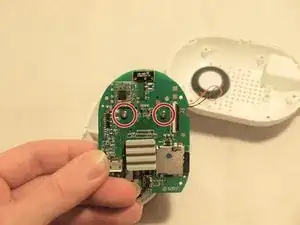
Carefully remove the back of the case without pulling the cables connected to the motherboard and the speaker on the back of the case.
-
-
-
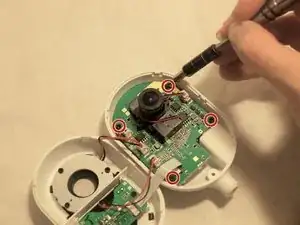
Facing the front of the camera, remove the four 2.0 mm Phillips #0 black screws that hold the back of the motherboard to the case.
-
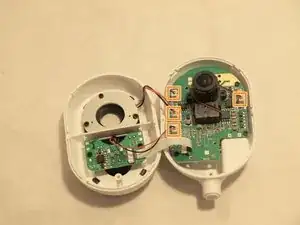
Release the four camera cable connections on the motherboard.
-
-
-
Facing the back of the motherboard, remove the two 2.0 mm Phillips #0 screws connecting the camera to the motherboard.
-
To reassemble your device, follow these instructions in reverse order.
One comment
is there a place i can buy a replacement lens for my swann security camera please
sn 10050062001244
