Introduction
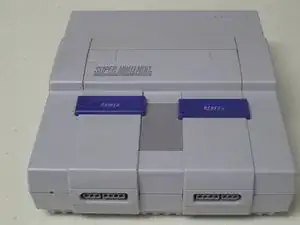
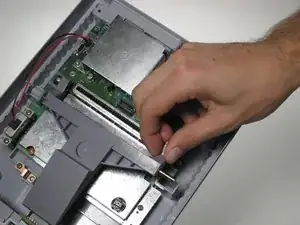
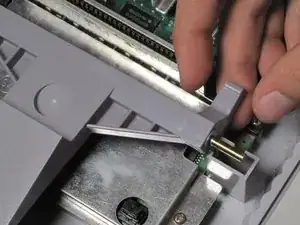
This guide will have you remove the upper case using a gamebit screwdriver and then in order to reveal the ribbon to the system from the controller port you will have to remove the reset button. This process will require only the gamebit.
Tools
Parts
-
-
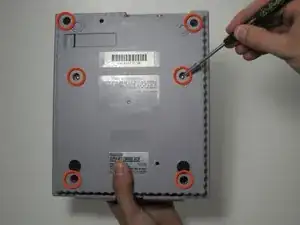
Remove the six screws located on the underside of the system using the Gamebit 4.5mm screwdriver.
-
-
-
Carefully flip the unit back over.
-
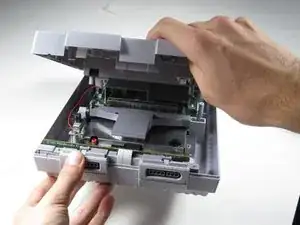
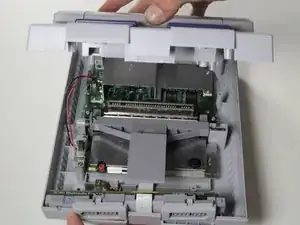
Locate the seam. Lift and separate the upper half of the case from the lower half of the case.
-
-
-
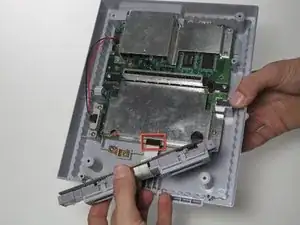
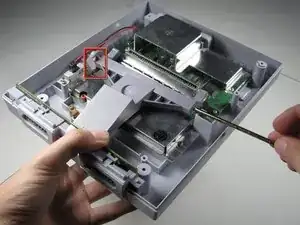
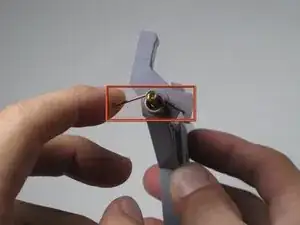
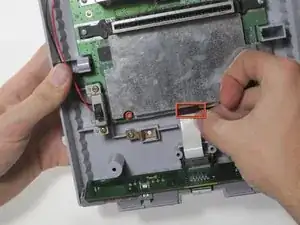
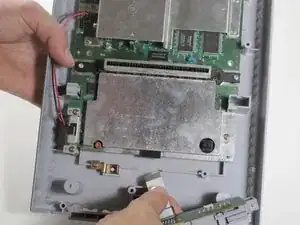
Lift the controller ports out of the housing, this should be done without much force. Take note of the location of the ribbon cable connection.
-
To reassemble your device, follow these instructions in reverse order.
2 comments
I did a complete teardown of my 26 year old super Nintendo because I had to fix the AV jack. the hardest part was the de soldering. however upon putting it back together I could get the games to play, however it was in black and white…or even a grayish hue…and the controllers didn't work. shortly after the ribbon connecting the controller input to the system snapped on one end. do you think this was the issue, and where do I find a new one? Thanks.
This isn’t complete. How about taking the face plate off?

In order to prevent damage to the fuse, make sure that you always cycle the power before doing so with the power supply disconnected.
Raucedine -
There is a step missing from these instructions. There are two philips head screws where the AV/Power ports are on the back of the motherboard that need to be removed before you can remove the motherboard itself.
phoenixknight8082 -
I replaced my controller port, thinking that it was the culprit, but my SNES is still having issues. Nothing works for controller port 1 and only a few buttons work for controller port 2. I tried switching out the controllers and the issue seems to be isolated to the SNES itself. Does anyone have any other suggestions for fixing my issue?
Thanks in advance.
Mike Watts -
For those facing a black screen on startup (after having cleaned pins on cartridges and cartridge slot) WITH power light coming on, turn off console, remove power, and try shorting out the capacitor leads. My SNES stopped working suddenly after a single power cycle, and shorting out the leads (while UNPOWERED) revived it.
Austin Barnett -
Could you further explain how to short the capacitor leads?
Will Pulman -