Introduction

  1. DGSJJKTrxSoLsNFp
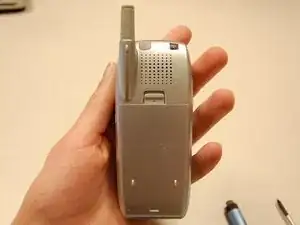
    • Flip the phone over so that the screen is facing down.

  2. FHbabPA2x3G423lq
    FHbabPA2x3G423lq
    nLv1ZqmsNhqwOH2c
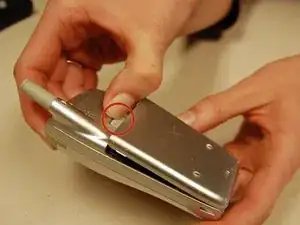
    • Push the gray lever up towards the top of the phone.

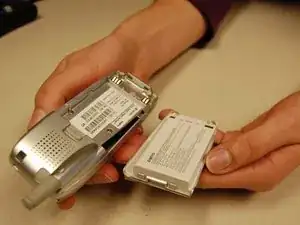
    • Pull up on the battery pack and completely separate it from the phone.

  3. nTxspPwTspIuPqRY
    nTxspPwTspIuPqRY
    cqrTOWiautcQhB23
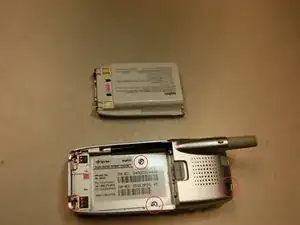
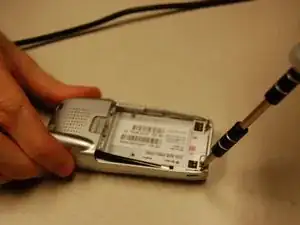
    • Locate the five screws around the back casing.

    • Use a three-prong screw bit to remove all five screws.

  4. TCPaCAYnSFYYylQv
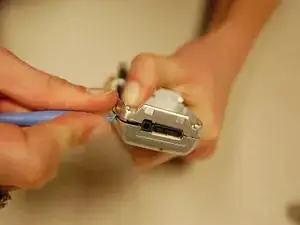
    • Use the plastic opening tool and slide it around the phone to pull apart the front and back casing.

  5. vpfJ2hdMtvnvf4YZ
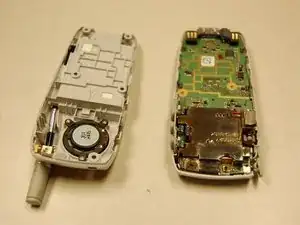
    • Separate the two cases.

  6. U532SADIwedFTfZn
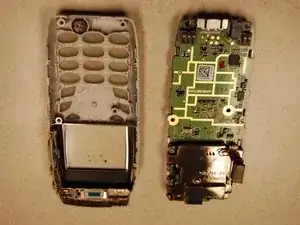
    • Use the plastic opening tool to remove the motherboard from the front case.

  7. uRMlnTYJAXd3jBnr
    uRMlnTYJAXd3jBnr
    BoAvVaRGUy1XFcbh
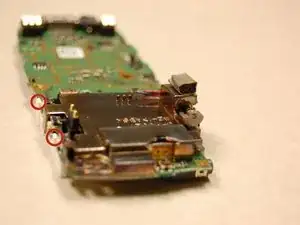
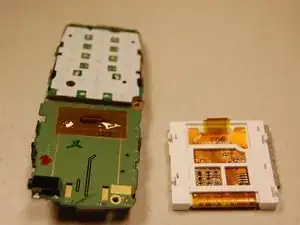
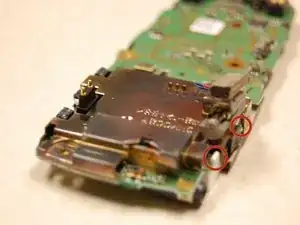
    • Locate the 4 white clips of the dispaly.

  8. DrTZ1oHHJUrqoRHN
    DrTZ1oHHJUrqoRHN
    GbwbqRVMpgNTJFWF
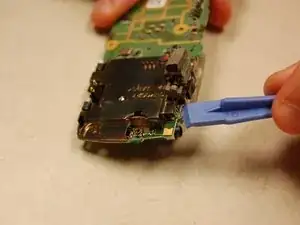
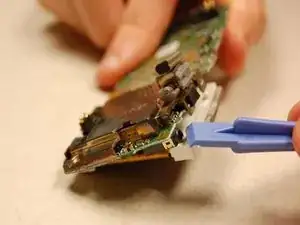
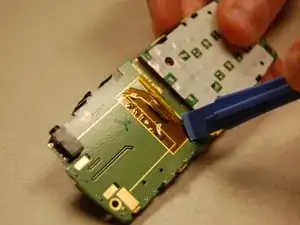
    • Using the plastic opening tool, pull the white clips of the display away from the printed circuit board to unclip display.

  9. eBgnXWVHnlVHDPNN
    eBgnXWVHnlVHDPNN
    dBKrbXhRK6VXShkV
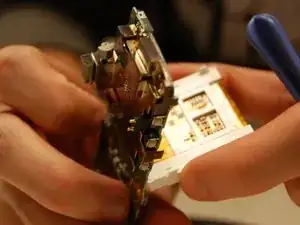
    • Grasp the display on both sides and carefully pull the display off of the printed circuit board.

  10. Cbt5IXXPKSuPafDW
    Cbt5IXXPKSuPafDW
    hlLXOTVsxBDyukUt
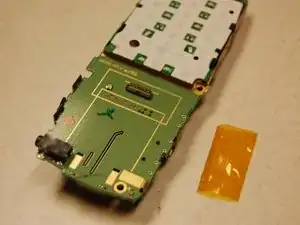
    • Using the plastic opening tool, carefully remove the yellow film covering the display connector.

    • Do not damage the yellow film. Ensure that it stays in one piece and does not tear.

Conclusion

To reassemble your device, follow these instructions in reverse order.
Patrick Olmstead

Member since: 23/10/13

240 Reputation

0 comments