Introduction
Tools
Parts
-
-
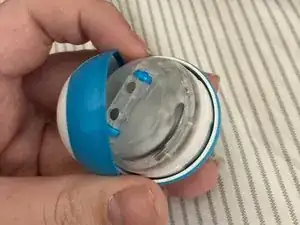
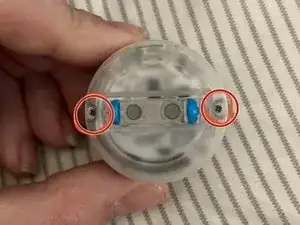
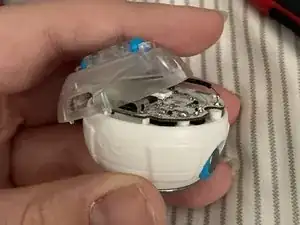
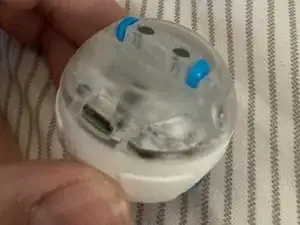
Next, you’ll need to open the casing. Unscrew the 2 phillips screws on either side of the idler wheels.
-
-
-
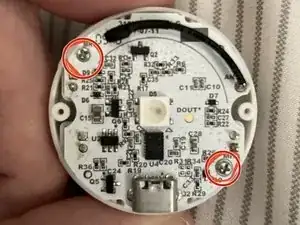
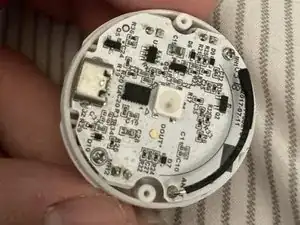
The main board is also held in with two screws - go ahead and remove them.
-
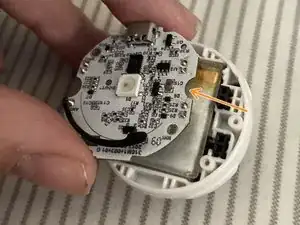
Once the screws are out, pull the board directly up.
-
-
-
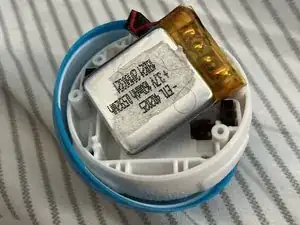
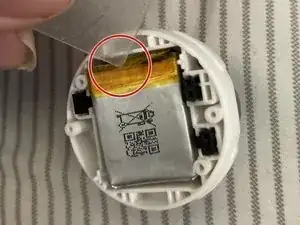
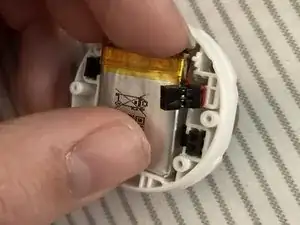
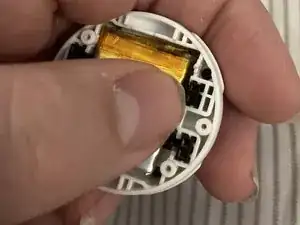
Use the plastic sheet to carefully pull upwards at the edge of the yellow tape on the battery. This should help release the small amount of adhesive.
-
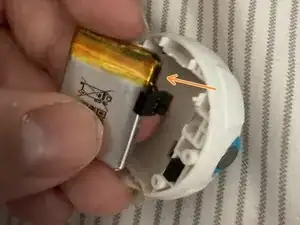
Once the adhesive releases, gently pull the battery out of the way.
-
-
-
Place the new battery into the slot.
-
Push the connector into the slot where the previous one was.
-
Stick that plastic sheet on top of the new battery.
-
-
-
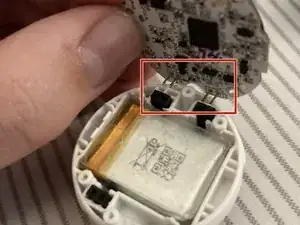
Align the pins on the bottom of the board with the connectors below.
-
Push the board down securely.
-
-
-
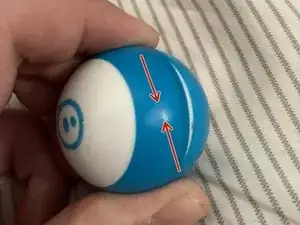
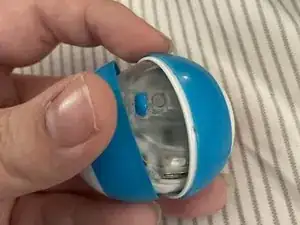
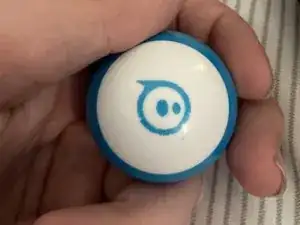
Again, this is self-explanatory - just pop the main thingimajig between the shell and snap it shut.
-
You did it! Hope this helps you get even more fun out of your Mini.

Thanks to whoever added the arrows and cleaned up my messy Markup circles!
Carter -