Introduction
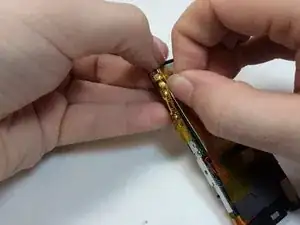
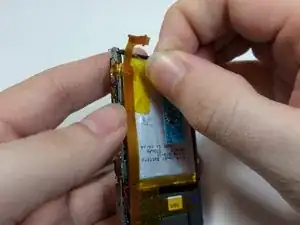
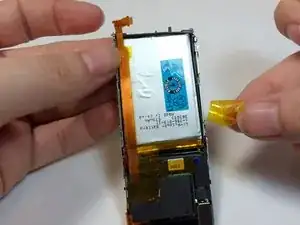
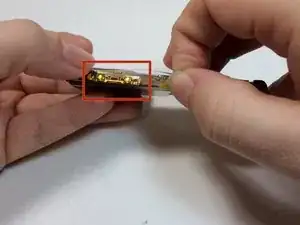
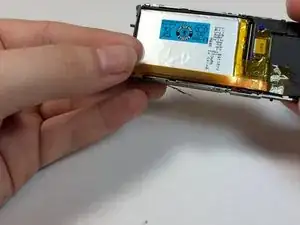
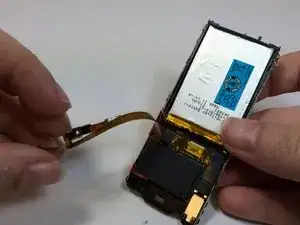
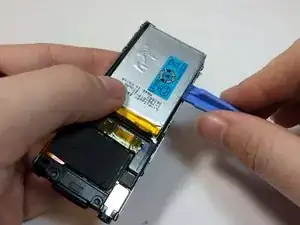
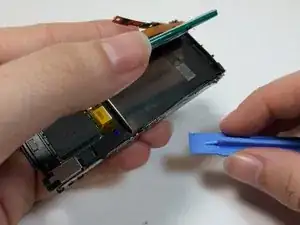
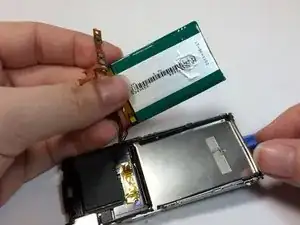
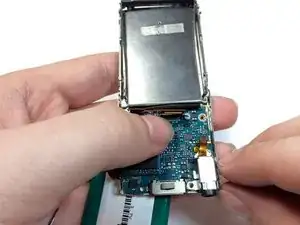
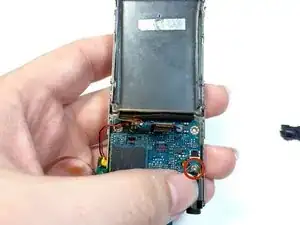
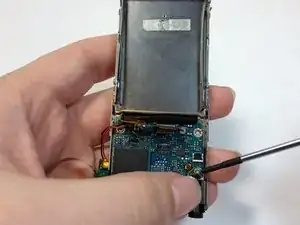
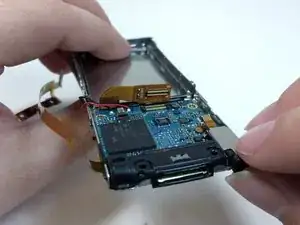
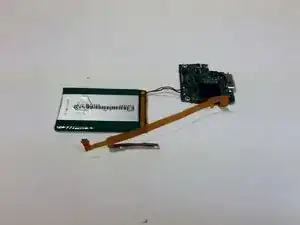
This Guide will walk you through the steps necessary to access the motherboard. This guide does not take into account the need to solder a battery to the new board, as the board may have been cannibalized from another device. If you need to replace the battery as well, please follow the battery replacement steps, which include these steps, swapping out the new board.
Tools
-
-
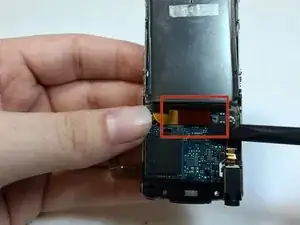
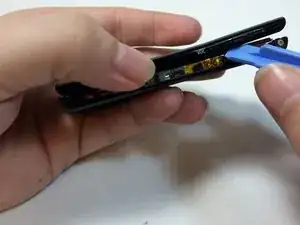
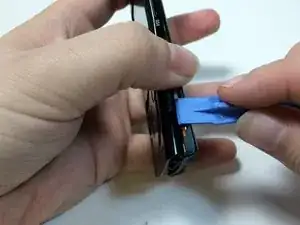
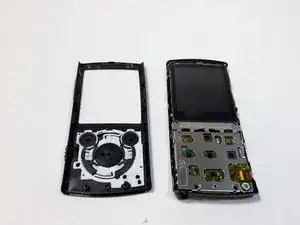
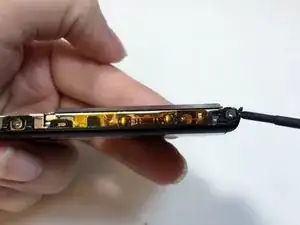
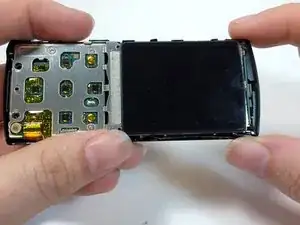
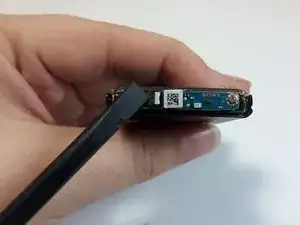
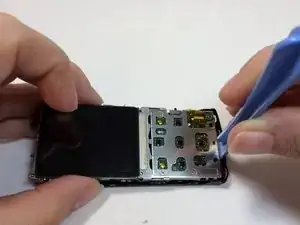
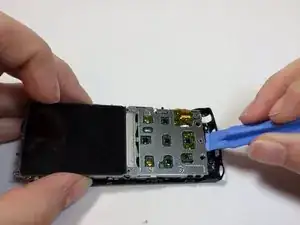
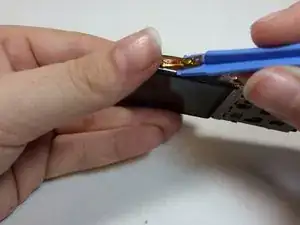
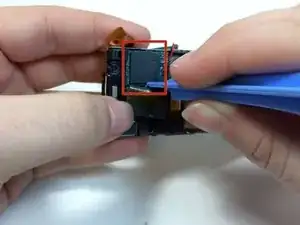
Using a plastic opening tool, work your way around the edges of the device, carefully prying off the front panel.
-
-
-
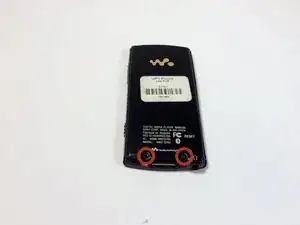
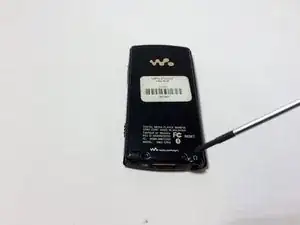
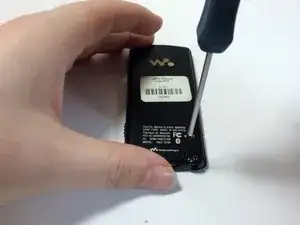
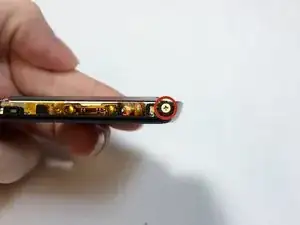
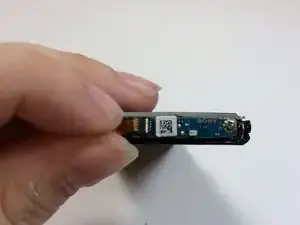
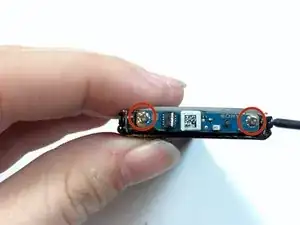
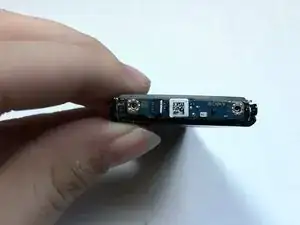
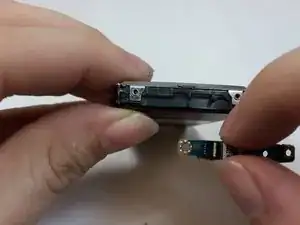
Remove the two 1.8mm silver Phillips screws on the Bluetooth module.
-
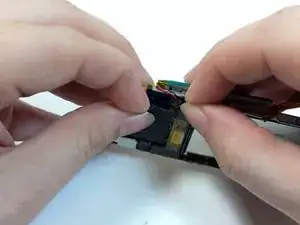
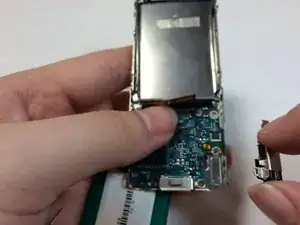
Lift up on and remove the Bluetooth module.
-
-
-
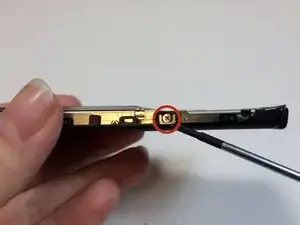
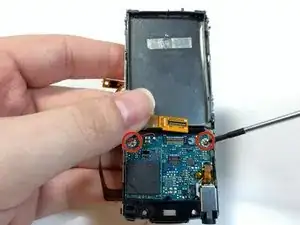
Remove the two 2.8mm silver Phillips screws on the sides of the frame.
-
Insert a plastic prying tool between the bottom of the case and the motherboard.
-
Pry up the assembly and lift it away from the case.
-
-
-
Remove the black shielding tape from above the Hard Drive.
-
Peel the foam cover away from the hard drive.
-
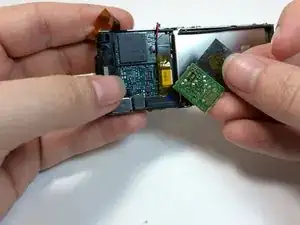
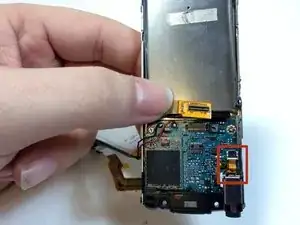
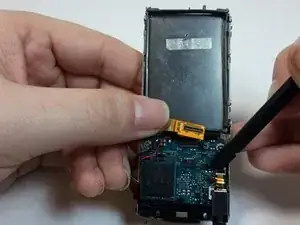
Use a plastic opening tool to remove the EMF chip from the motherboard.
-
-
-
Remove the mic casing by pushing up and in.
-
Remove the headphone jack and the bottom casing.
-
-
-
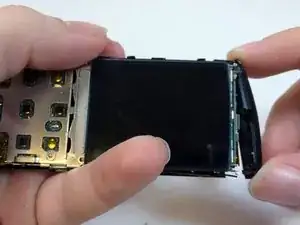
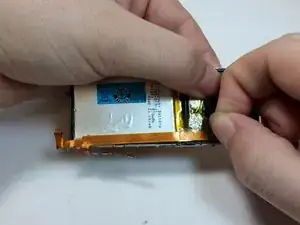
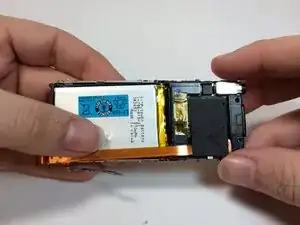
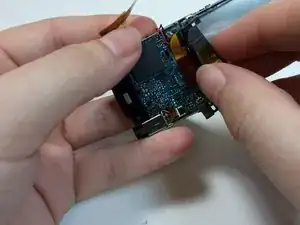
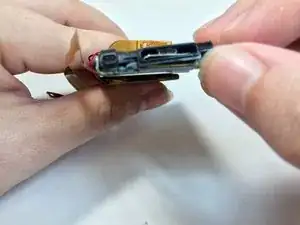
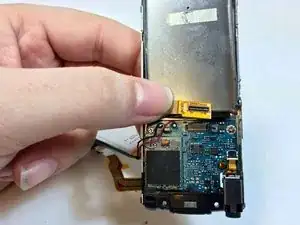
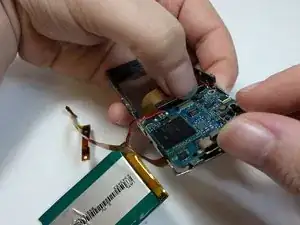
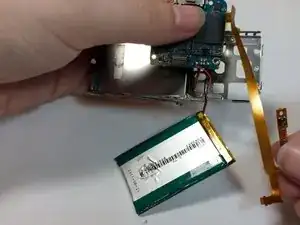
Lift the motherboard away from the frame with your thumb to remove it from the device.
-
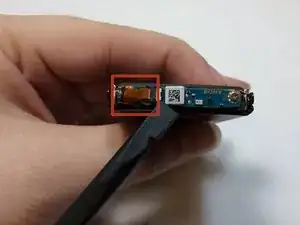
Pull the volume control module through the space in the frame.
-
To reassemble your device, follow these instructions in reverse order.
