Introduction
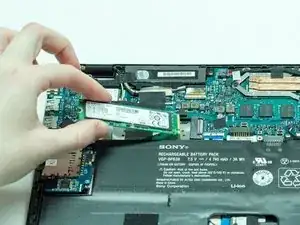
Replacement of SSD
Tools
Parts
-
-
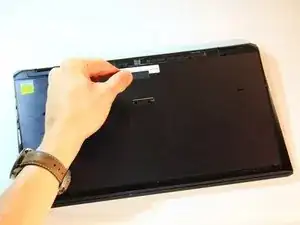
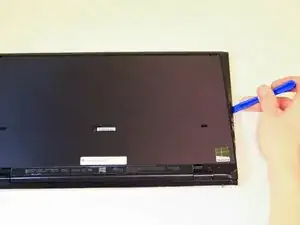
Remove cover for the extended battery connector. Use your finger nail or a plastic opening tool to remove it.
-
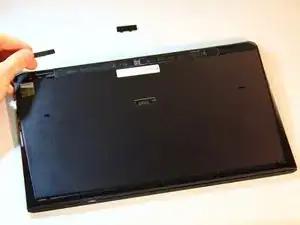
Remove the two rubber feet at the back of the computer, these can be removed in the same way.
-
-
-
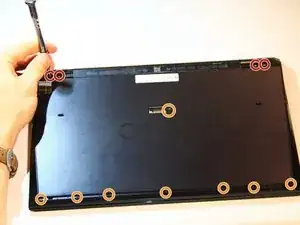
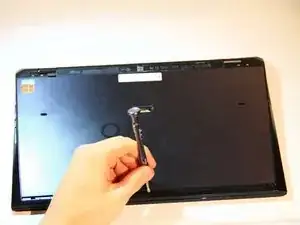
Remove the four 5.6mm Philips #00 screws located at the top of the computer.
-
Remove the eight 3.6mm Philips #00 screws on the base of the computer.
-
-
-
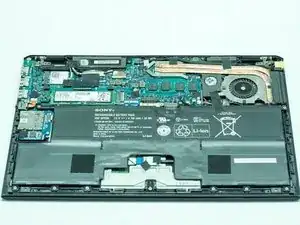
Using a plastic opening tool, pry the plastic casing away from the base of the computer, the remaining clips around the edges can be released using your hands.
-
-
-
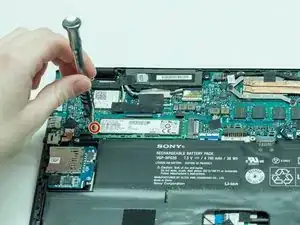
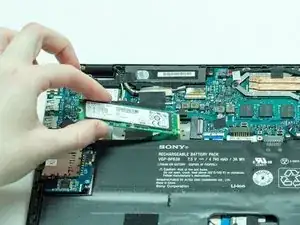
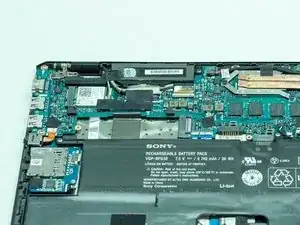
Remove the 4mm #0 Philips screw holding down the SSD
-
Lift the SSD up and slide out of the slot
-
To reassemble your device, follow these instructions in reverse order.
4 comments
My internal hard drive does not get detected sometimes. I had this same problem a few months back. Upon getting it repaired by computer technician, I was told the issue was in the hard drive cover which connects the SSD to the PC. The issue got fixed at a cost of $100. I am not sure what that meant but the same issue has returned.
I don't believe I have to replace my solid state drive. Can anyone offer me any solutions?
Hello Sagar, I have the same issue, did you get it fixed eventually?
Thanks! Olivier
I have the same issue. Once I replace the SSD - the new one is not recognized on boot. If I boot an external OS, I can access the SSD - so it seems to work but for some reason the BIOS does not see it on boot up.
Any ideas/solutions out there?
Mad Sony -
Yes, if this one slot stick on Sony 13Pro, it needs to be ahci-pcie, not nvme. NVME does not boot without editing bios code.
