Introduction
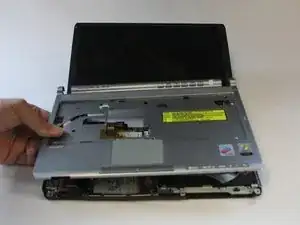
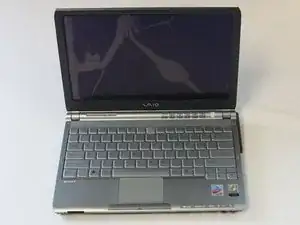
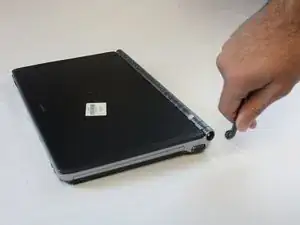
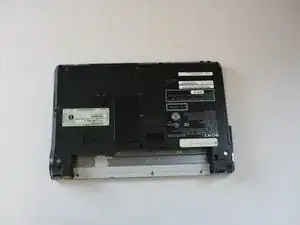
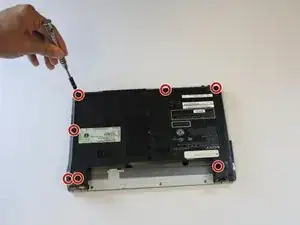
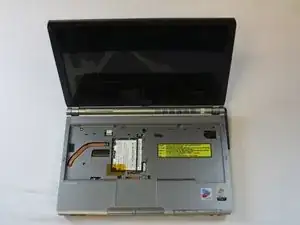
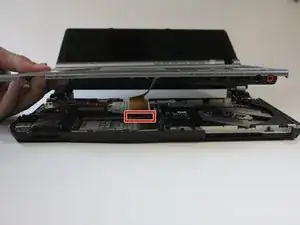
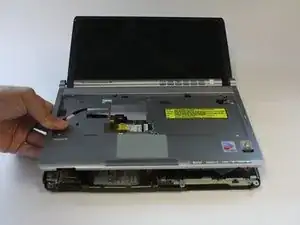
Common reasons for replacing the plastic casing are: controls on casing do not work, casing is cracked, or casing is scratched.
In this guide, you will learn how to replace the plastic casing for your device. Please remember to unplug the charging cable, since it could result in electric shock.
Tools
-
-
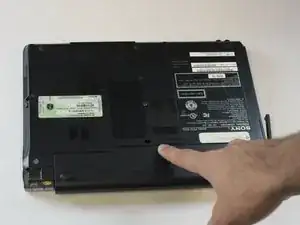
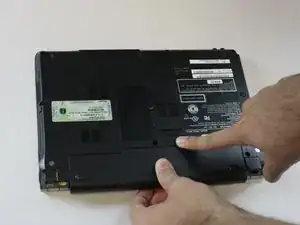
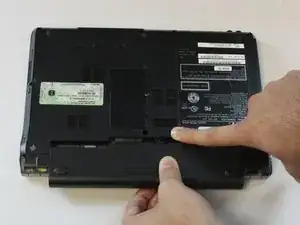
Apply pressure with your thumb on the grip.
-
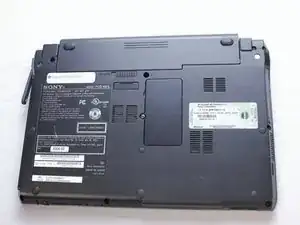
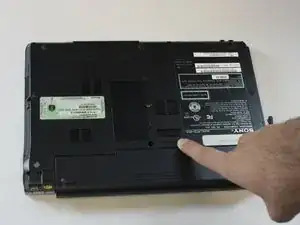
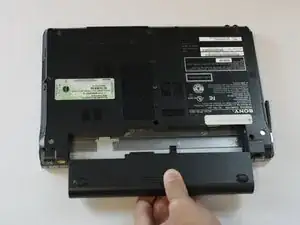
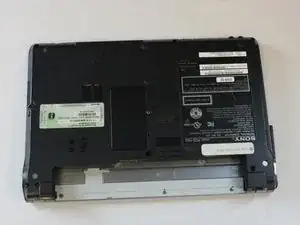
Pull the battery out while simultaneously holding the battery release toggle switch in the release position.
-
-
-
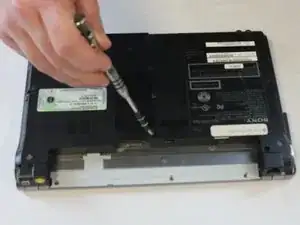
Remove one 5 mm Phillips #1 pan head screw, in the middle of the laptop, using a Bit Driver with Phillips PH1 bit.
-
-
-
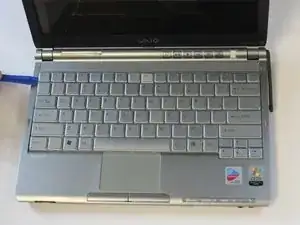
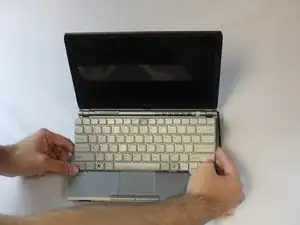
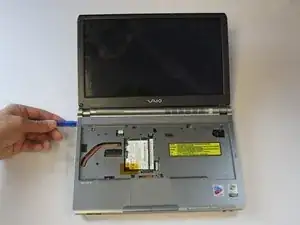
While using a plastic opening tool, carefully lift the keyboard by inserting the tool under the edge.
-
-
-
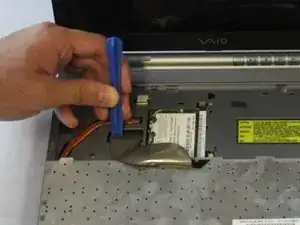
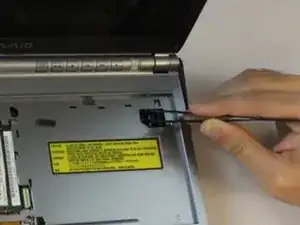
Use the plastic opening tool to release the clamp.
-
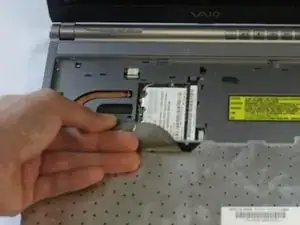
Using slight pressure, remove the ribbon cable with your fingers.
-
-
-
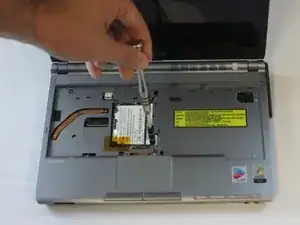
Disconnect the cable by using the precision tweezers.
-
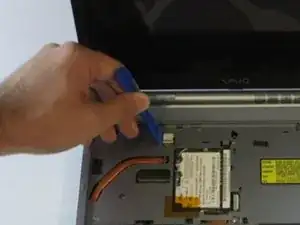
Slowly pry out the ribbon cable by using the plastic opening tool.
-
To reassemble your device, follow these instructions in reverse order.
