Introduction

This guide will show the steps for removing each speaker from the box and the procedure for removing all wires from the speakers.

  1. jJonODOAVC4JLjDs
    jJonODOAVC4JLjDs
    UMoAVnlg1M1LDXlB
    mEcsrFvRZaGPjiHT
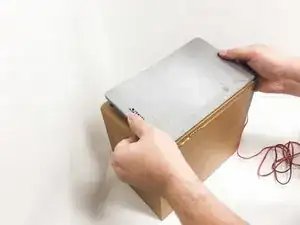
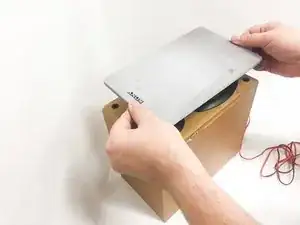
    • Pull screen cover from the edges for removal. This will not require much effort.

  2. BdRHTSAXygn1erhj
    BdRHTSAXygn1erhj
    AKQFvFlUVT3R3UYJ
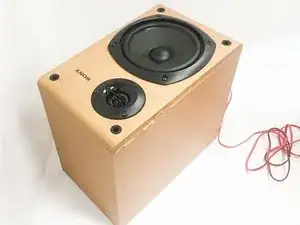
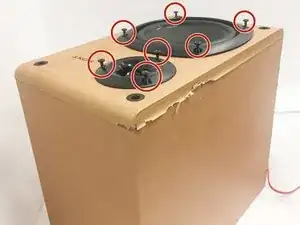
    • Remove the seven 18.06mm PH1 screws.

  3. 61SFUM2HJZpCMxQN
    61SFUM2HJZpCMxQN
    3rRkTNpdsJEjbuSQ
    rHZ1QOmCRYMTJVLW
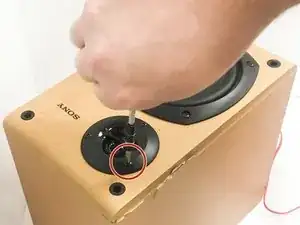
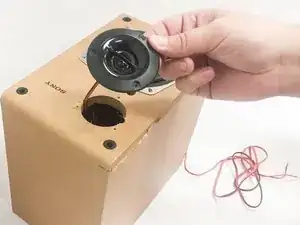
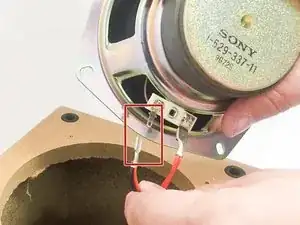
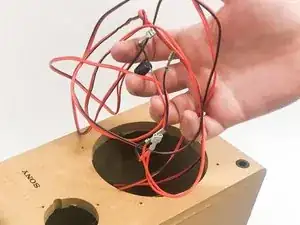
    • Remove the crimps from the tweeter speaker.

    • If its not connected too tightly the crimps can be removed by hand pressure only.

    • If its too tight to be removed by hand, then you can use a pair of pliers to removed the crimps.

    • Never remove by pulling on the cables. Always pull by the metal crimps.

  4. 44YtJDE32UQRADjN
    44YtJDE32UQRADjN
    mVG24ZxGkejEYWmJ
    XLBcKtOBT3cRHTFN
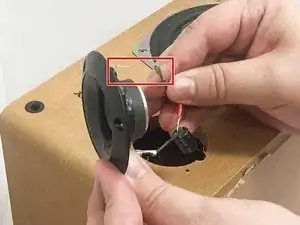
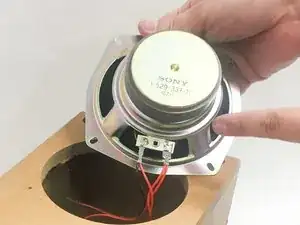
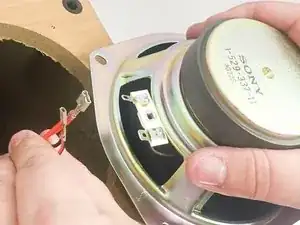
    • Remove the crimps from the 12cm loudspeaker.

    • If its not connected too tightly the crimps can be removed by hand pressure only.

    • If its too tight to be removed by hand, then you can use a pair of pliers to removed the crimps.

    • Never remove by pulling on the cables. Always pull by the metal crimps.

  5. cDCuMjvtHuQ1KukU
    cDCuMjvtHuQ1KukU
    yuiK6nmf5dAn6OoN
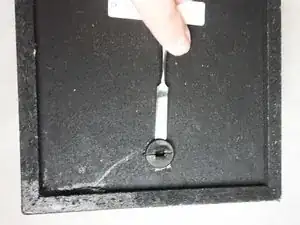
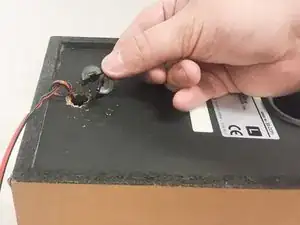
    • Remove the grommet using an object with a flat edge.

    • The grommet is not made of rubber, it is made of plastic. Be careful when removing it, as it can break easily.

  6. v2Ot6W5vbUjS6Fiu
    v2Ot6W5vbUjS6Fiu
    mvpRylZ6ZBWQtpSO
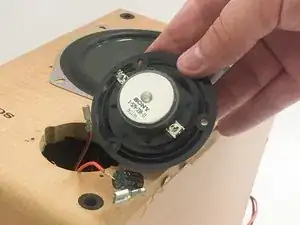
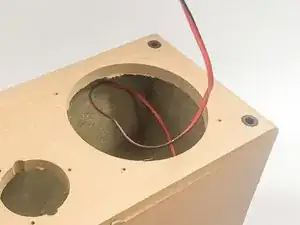
    • Feed the speaker cable through the front of the box.

    Muy buenos días, podríais indicarme de que potencia RMS es este altavoz. No lo encuentro por ningún sitio (antes Sony lo publicaba). He usado el de 6” para reparar un bafle de 3 viás (como sustituto del altavoz de medios).

    maff27372 -

Conclusion

To reassemble your device, follow these instructions in reverse order.

Dallas

Member since: 11/10/16

892 Reputation

0 comments