Introduction

  1. MeQPGBkEGUjdsMOi
    MeQPGBkEGUjdsMOi
    qsvwcKMaHVGdGLZH
    1beN3eoX6wNJotYo
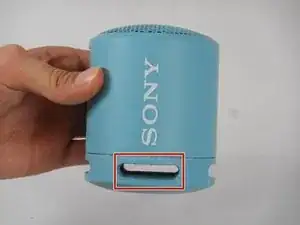
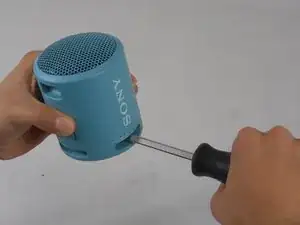
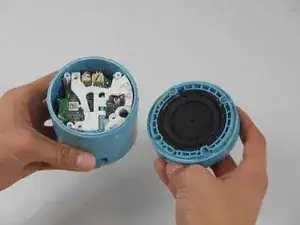
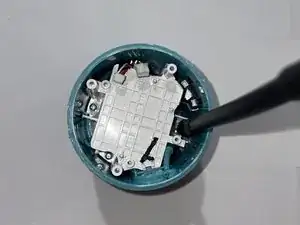
    • To get the bottom part of the speaker off, take a long and sturdy screwdriver and put it through the holes at the bottom of the speaker.

    • When you have the screwdriver through the holes, you'll want to push down very firmly. Rotate between the holes and repeat this process until the bottom piece pops off.

    • It can be quite difficult to pry the bottom off due to the adhesive connecting the parts. Prying the bottom off may cause damage to the outside of the speaker.

    • You may find it easier to open the device if you use a heating element (heat gun or hairdryer) around the seam of the device where it is glued shut. Evenly apply heat all around the device, then attempt to pry for this method.

    • Opening the speaker will nullify its waterproof capabilities.

  2. EHCZTjBJbH5ZNdSv
    EHCZTjBJbH5ZNdSv
    cRKiXSiWglhtWHCG
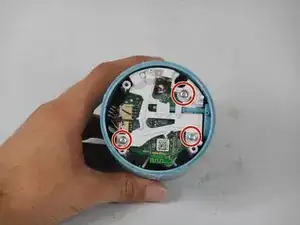
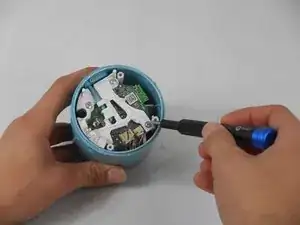
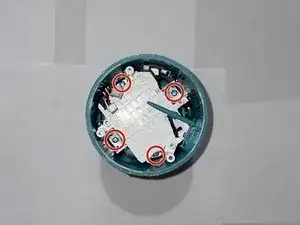
    • You should see three 11 mm screws once the bottom of the device is off. Use a #1 Phillips screwdriver to remove these screws.

  3. kcJvLZPZwoPLRG1G
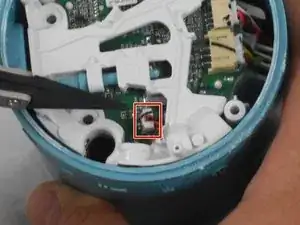
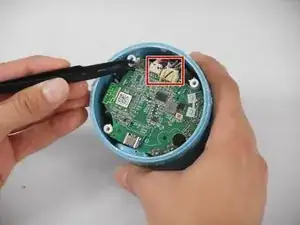
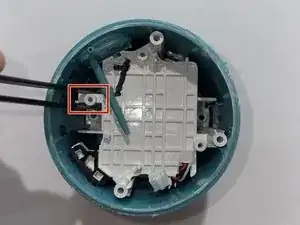
    • To unplug the microphone from the motherboard, use the nylon tipped tweezers to clamp the white block that is attached to the red and white wires.

    • Pull up and away from the motherboard until the block is fully disconnected from the slot.

    • The white block is plugged into the motherboard via a beige-colored slot.

    • Do not tug or pull on the red and black wires when attempting to disconnect the microphone. Doing so can severely damage the wires that power the microphone.

  4. rnXOYjxcuQvJLDLy
    rnXOYjxcuQvJLDLy
    T4EokxCc5MBH3bkl
    lJ3nTNRrDYGQmLhF
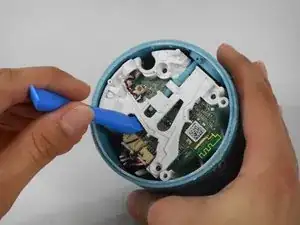
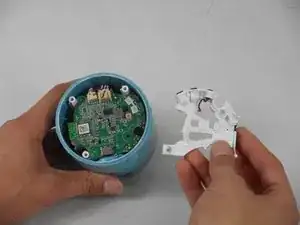
    • Place one end of the ifixit opening tool underneath the white bracket that sits above the motherboard, so that it latches onto the bottom side of the bracket.

    • With the opposite end of the tool, apply a gentle but firm downward motion to slowly pry the bracket from its position.

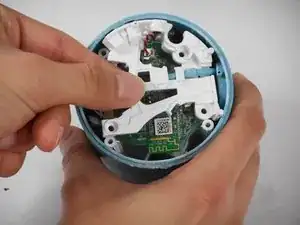
    • The microphone is embedded within the white bracket, so to replace the microphone, you must replace the bracket.

    • Once enough separation has occurred between the bracket and the motherboard, you can use your fingers to finish fully prying the bracket from its position.

    • The bracket has multiple edges that can be latched onto with the opening tool. It is recommended to use the opening tool in a counterclockwise pattern around the bracket. This helps prevent damaging the bracket, and smoothly releases it from its position.

  5. 3VIYVQqxV3LKuOur
    3VIYVQqxV3LKuOur
    1nNFTmlEtQGULmeD
    YLZMwlVAoC11BL2Z
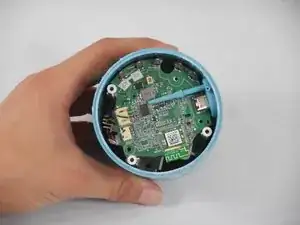
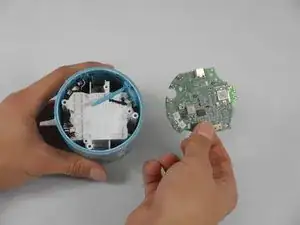
    • Using the precision tweezers set, pinch the tabs on the electric plugins and gently pull outwards to disconnect the wires from the motherboard.

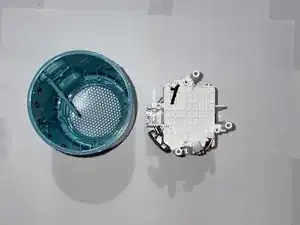
    • Insert a finger under the motherboard and gently lift it out of the casing.

    • Make sure to be gentle when taking the motherboard out, as being too rough can cause damage to it.

  6. Gm4pOxGoDrLhVvU5
    Gm4pOxGoDrLhVvU5
    MQxOJKSQ3EkpPbUl
    • Locate the four 11 mm screws along the base of the white center block.

    • Use the Phillips #1 screwdriver with the 150mm flex extension from the Mako Driver kit to unscrew and remove the screws from their positions.

    • If you have difficulty reaching the screws with the screwdriver and extension, you can use a metal spudger to unscrew them.

    • Using an alternative method to reach the screws in such a tight space is viable, but be wary of damaging the screws in the process.

  7. DQ5mBJxoEKTnBD5a
    DQ5mBJxoEKTnBD5a
    vwnbjtf2CqWGpnkh
    • Use the blunt tweezers from the precision tweezers set to clamp down on a solid piece of the white center block.

    • With a firm grip, pull upwards with the blunt tweezers until the white center block is released from its position.

    • There are multiple sections of the white center block that can be used to pull it from its position. You may need to work around the block with the tweezers to get it to fully release.

  8. jCrfHGrVioMTnoOa
    jCrfHGrVioMTnoOa
    YjQWWR4YOyalXLyU
    mt6445ATfvkoZXoM
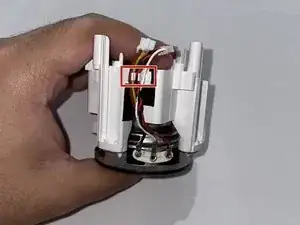
    • Locate the small brackets along the side of the white center block that hold the red, yellow, black, and white wires in place.

    • With your fingers, gently pull the wires away from the center block so that they are no longer held up by the brackets.

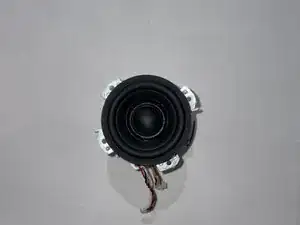
    • Flip the white center block over so that the black speaker is facing upwards.

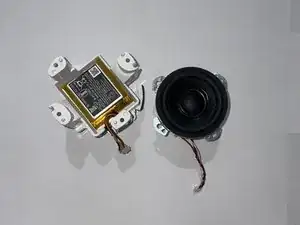
    • Firmly grasp the speaker with your hands and pull it up and away from the center block until it fully disconnects from it.

    • The speaker is attached to the center block via the 4 metal slots along its edges.

  9. JiHjZcTQqCDsJOju
    JiHjZcTQqCDsJOju
    daQReKw3clCs4Jtm
    1omhMBfTvlyqoiGI
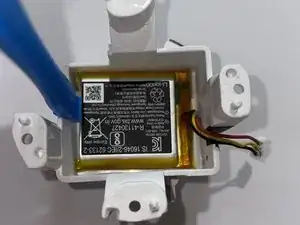
    • Follow the red, yellow, and black cables to below the speaker.

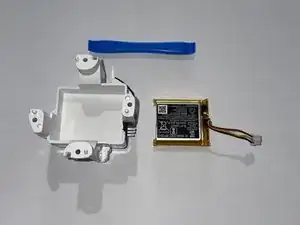
    • Using the iFixit spudger, pry the battery from the case.

Conclusion

To reassemble your device, follow these instructions in reverse order.
Joe Wilson

Member since: 08/09/23

293 Reputation

0 comments