Introduction
The removal of the main navigation button involves removing the rear casing and carefully prying off the button as to not damage the sensitive components.
Tools
-
-
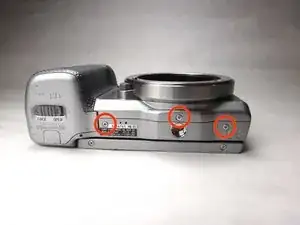
Remove the three (3.5 mm) screws from the bottom of the camera with the Phillips screwdriver.
-
-
-
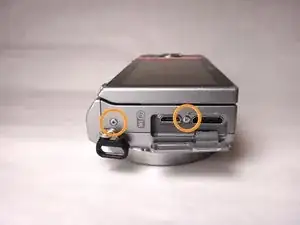
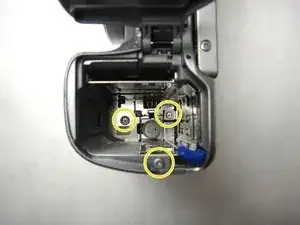
Remove the two 4mm screws from the interior of the battery pack, and one 3.5mm screw from beside it.
-
-
-
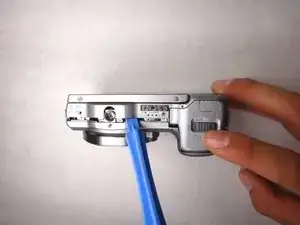
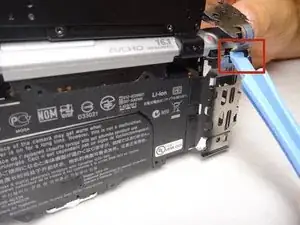
Looking at the bottom of the camera, use the spudger to lift the rear case away from the camera body.
-
-
-
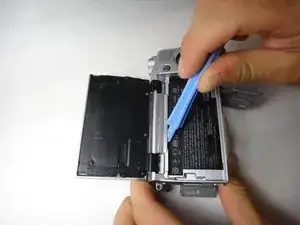
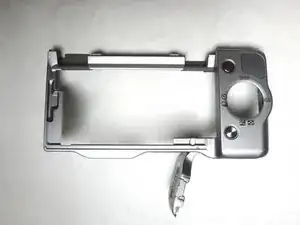
Using the spudger again, carefully pry from the top of the camera to remove the back frame.
-
The back frame is fragile, so use the spudger gently.
-
-
-
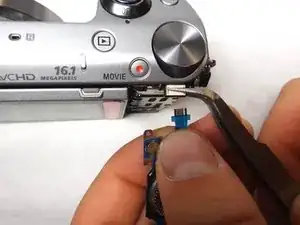
Squeeze the lead with the tweezers and hold the lead teeth tightly with your fingers. Pull straight out to disconnect.
-
-
-
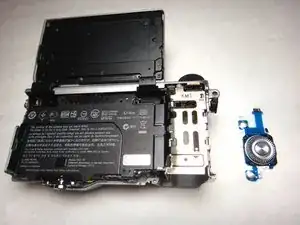
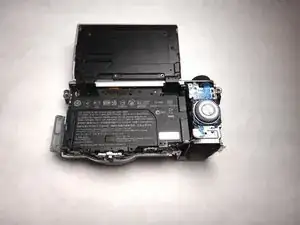
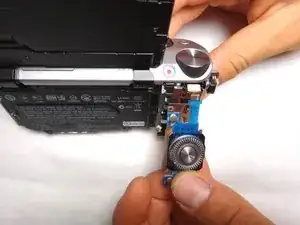
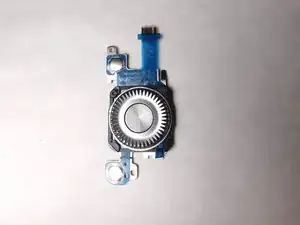
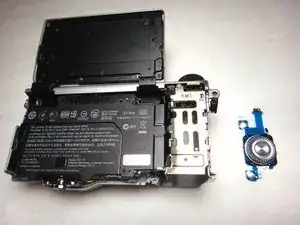
The navigation button component should now be separate and able to be replaced with new component. The camera and navigation button should appear as shown.
-
To reassemble your device, follow these instructions in reverse order.
