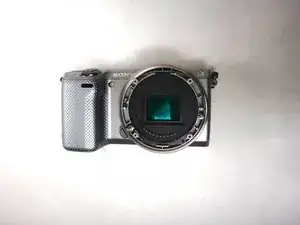
Introduction
Replacing the lens mount requires removing any lens that is already attached then simply removing the casing of the lens mount.
-
-
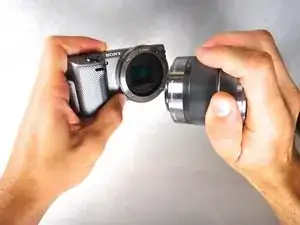
Hold lens and camera securely with two hands.
-
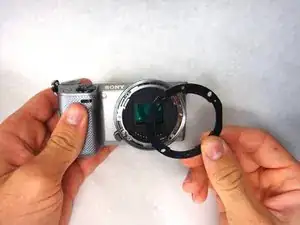
With the hand holding the camera, push down on the lens button. Twist the lens counterclockwise and pull out to release lens.
-
-
-
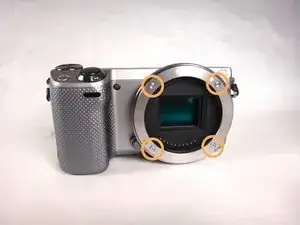
Using your screwdriver, remove the four (3.5 mm) Phillips screws on the front face of the lens mount.
-
-
-
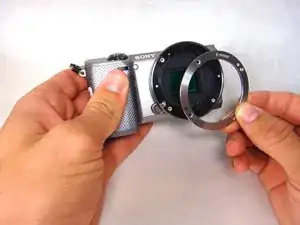
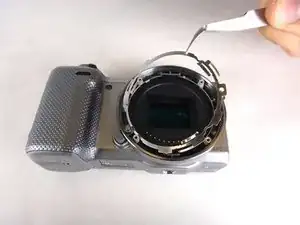
Now the black plate should be exposed. You can remove this again by gently pinching with your fingers and lifting up.
-


Conclusion
To reassemble your device, follow these instructions in reverse order.