Introduction

Need to clean the inside of the camera? Start by taking off the back cover.

  1. 5Y2QBubgjuqieDOS
    5Y2QBubgjuqieDOS
    qTpVcVUWgSBPMY3X
    NdoNDZiXf6Ca3AMy
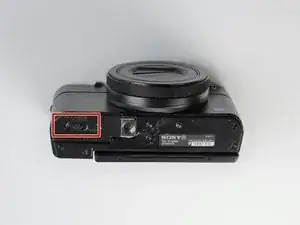
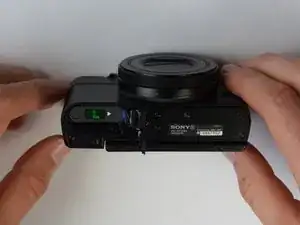
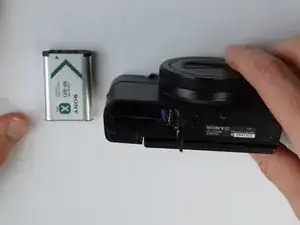
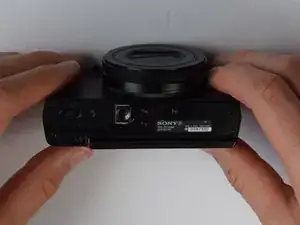
    • Remove battery by sliding the tab to open the cover

  2. Z3KEOwyuBVtSEtx6
    Z3KEOwyuBVtSEtx6
    vMvnSSMe5R5kUY3M
    MlnwUdLYcgHPyeGb
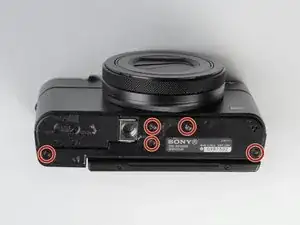
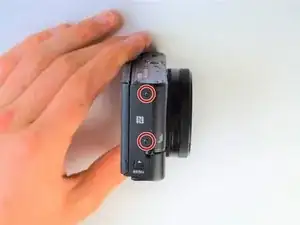
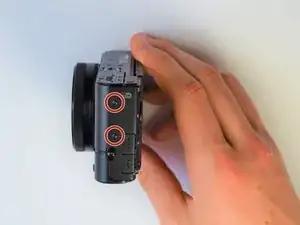
    • Using the screwdriver, remove all screws (black 2.5mm) from outermost layer of the assembly.

    • All screws in the camera can be removed with the PH 0 driver head.

    Split this step up into multiple steps based on where screws are being removed from or specify how many screws are removed in this step

    Alberto Rodriguez -

  3. GG2aQQtS1CsNUUhJ
    GG2aQQtS1CsNUUhJ
    IwUu5k2QkIRbVrCy
    3yZCDQOcYkUHrBLs
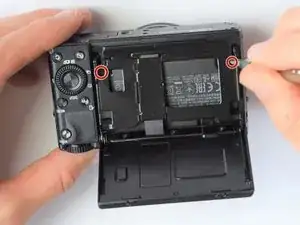
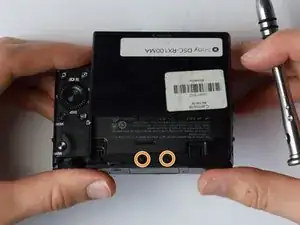
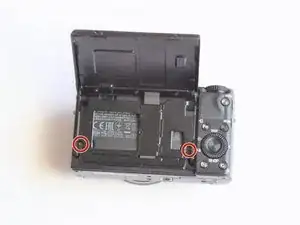
    • Also using the screwdriver, remove screws (black 1mm) underneath articulated LCD screen.

    • Remove the marked 2.5 mm screws with the screwdriver

    2 different types of screws are removed in this step: specify the types

    Alberto Rodriguez -

    It is not necessary to remove the hinge screws. It is much easier to remove the back panel with the LCD still attached and not flopping about everywhere.

    cheez -

  4. Xr6yoceDwVfYLRHB
    Xr6yoceDwVfYLRHB
    GniLMdDCx3nG4ohr
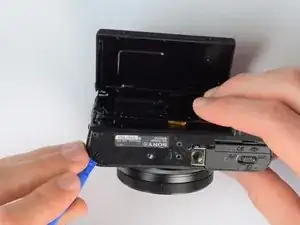
    • Using the plastic opening tools, carefully pry off the bottom plate.

    • Do not pull too hard as you may break the plastic casing.

  5. JU6eJ5bmNvjDbREs
    JU6eJ5bmNvjDbREs
    VWIhdEEYGZMxWIxe
    16QlMwHqRJSrm6xt
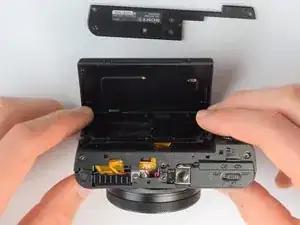
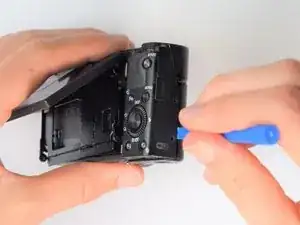
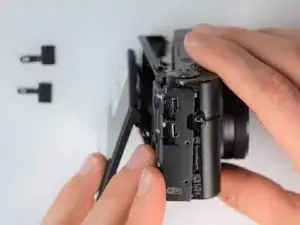
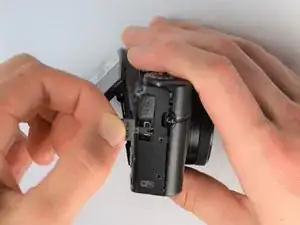
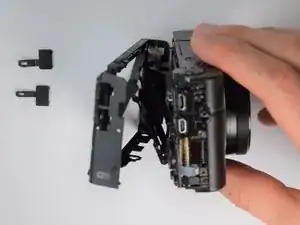
    • Using the same plastic opening tools, separate the screen and back assembly from the front portion of the camera

    • Once the back assembly is slightly detached, pull the media covers for the HDMI and Multimedia ports

  6. XEbRkOZPBxegUcI5
    XEbRkOZPBxegUcI5
    YxBiZDRVQfEZAWue
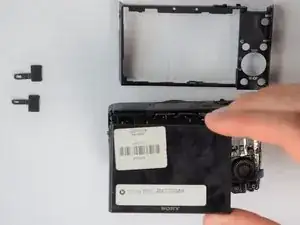
    • Remove the back cover

Conclusion

To reassemble your device, follow these instructions in reverse order.
KC Egger

Member since: 10/02/17

291 Reputation

0 comments