Introduction
This guide will help you remove the motherboard in the Sony Cyber-shot DSC-WX350 camera for replacement.
-
-
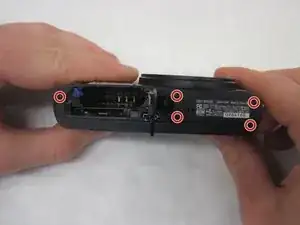
Remove 6 Phillips 4mm screws from the bottom and sides of the device.
-
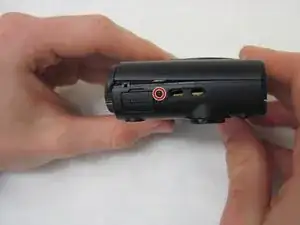
Remove the 1 Phillips 4mm screw from under the battery cover.
-
-
-
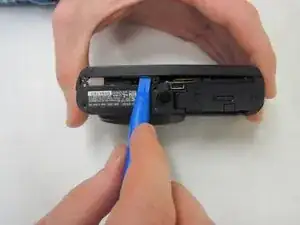
Insert the plastic opening tool between the back cover and the bottom plate. Gently pry the cover off.
-
-
-
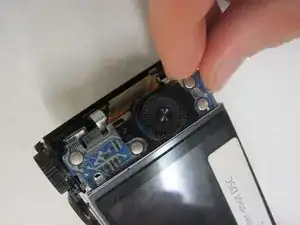
On the left side of the camera, pull the LCD off the back plate.
-
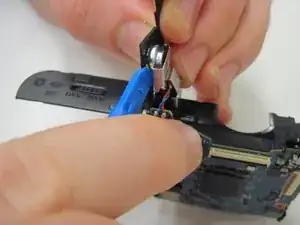
There will be a ZIF connector by the control wheel, release the connector and remove the LCD.
-
-
-
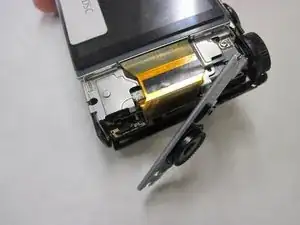
Once the LCD is off use the J00 screwdriver to take out the two 4mm silver screws. Once the screws are taken out pull off the piece with your fingers.
-
-
-
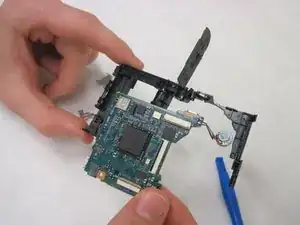
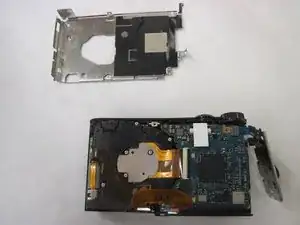
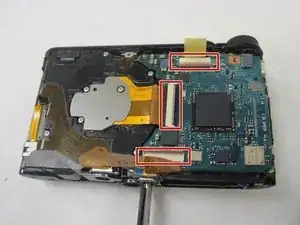
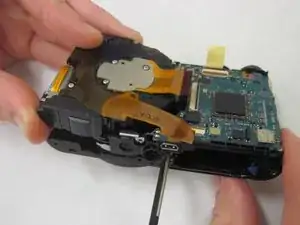
Remove the lens assembly and motherboard from the front of the case.
-
The lens assembly should separate when removing the front.
-
-
-
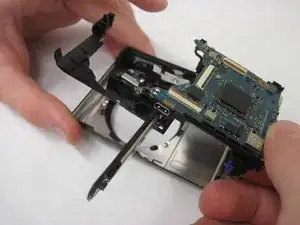
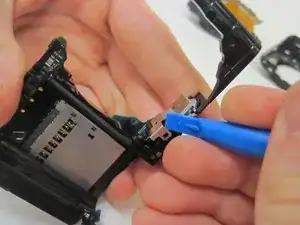
On the backside of the motherboard, a silver clip is holding the motherboard to the plastic shell. Insert the plastic opening tool under the clip and pry gently until it releases.
-


To reassemble your device, follow these instructions in reverse order.