Introduction
This guide will teach you how to replace or clean a lens assembly in a Sony Cyber Shot DSC-WX350
-
-
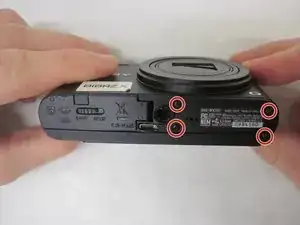
Use the J00 screwdriver to take out the four 3mm black screws on the bottom and both sides of the camera.
-
-
-
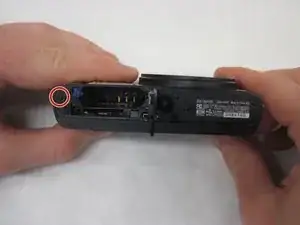
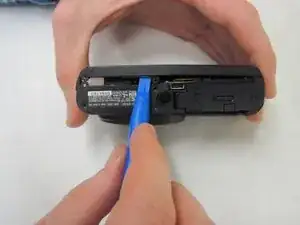
On the bottom of the camera slide the button over to open the battery case. Inside the battery opening use the J00 screwdriver to take out the single 3mm black screw.
-
-
-
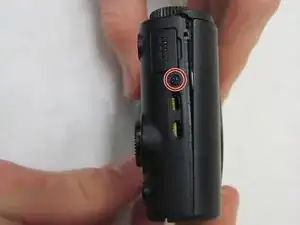
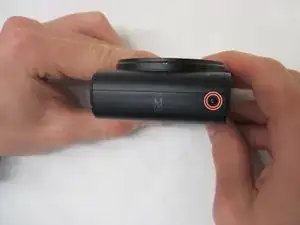
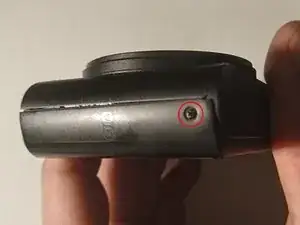
Use the J00 screwdriver to take out the single 3mm black screw on the left side of the camera .
-
-
-
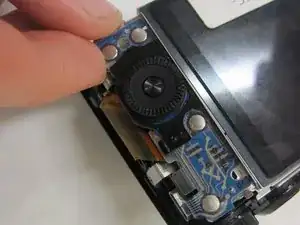
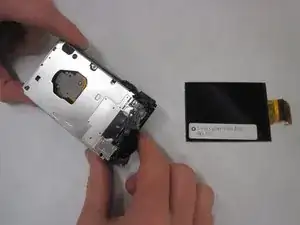
Use your fingers to slide out the controller wheel board 's lower end, then unhook the other end.
-
-
-
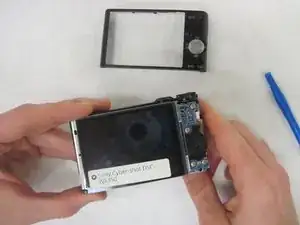
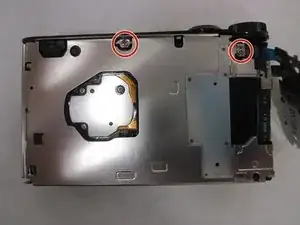
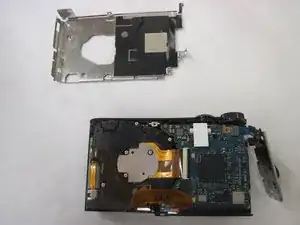
Once the LCD is off use the J00 screwdriver to take out the two 3mm silver screws. Once the screws are taken out pull off the piece with your fingers.
-
-
-
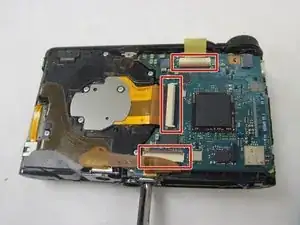
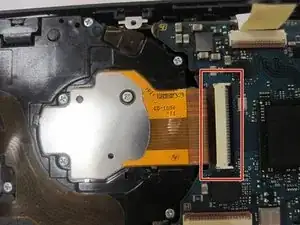
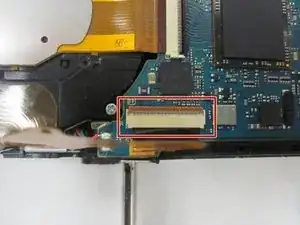
Now take out the 3 zifs by first opening the zif latch with your fingers and then sliding it out.
-
-
-
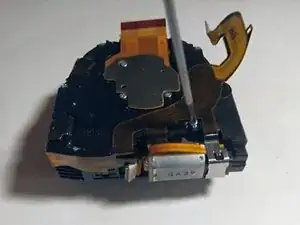
In order to access the CCD, loosen the 3 screws holding its metal lid.
-
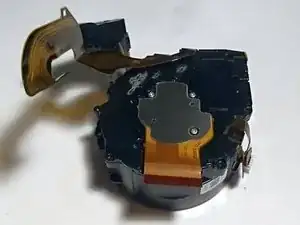
In order to access the lens mechanics, take out the 4 3mm screws on the edge of the lid, then the single 3 mm screw next to the motor.
-
-
-
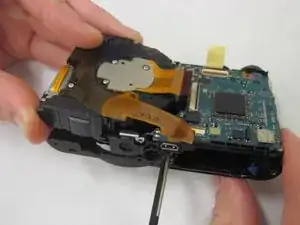
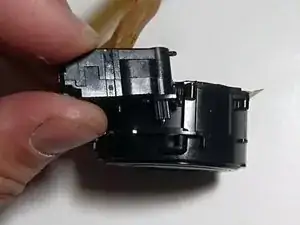
Pull out the cogwheel with the drive unit.
-
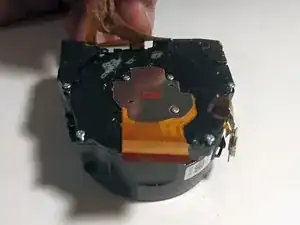
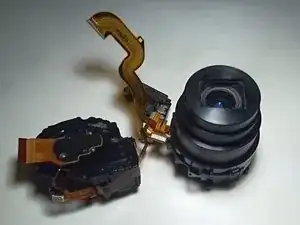
Now you can access the lens inner mechanics. You might wanna cover the CCD and the inner lens opening with tape to prevent dust from entering before you try to clean anything.
-
To reassemble your device, follow these instructions in reverse order.
2 comments
Hi, I think on my sensor chip is some dust. Is it possible to clean that or is it one unit with lens? There is no picture about this detail….
Arno -
Hi there, does anyone know who I could go to to fix the lens (replace them) on my Sony wx-350 camera Thank you!