Introduction

This guide shows how to replace the camera's screen if damaged.

  1. MSD1FfiUuULWGPE4
    • Slide the gray switch from lock to open position.

  2. Fkl4VbJljIiOYBVf
    Fkl4VbJljIiOYBVf
    fiTHTSEcNtMVJDxC
    • Pull down on the blue tab to release the battery.

  3. klUlOMPDXNcSDsfG
    klUlOMPDXNcSDsfG
    igQCDvj2HxpjqUbL
    vGsbYOaY3EBT3RLt
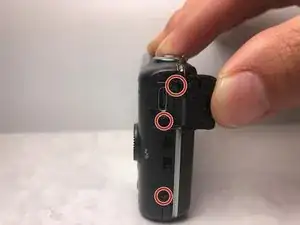
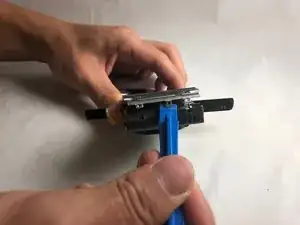
    • Use a PH00 screwdriver to remove the five 3.5 mm screws.

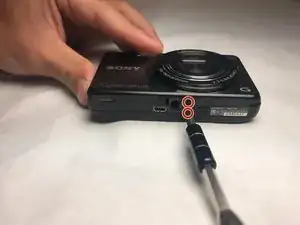
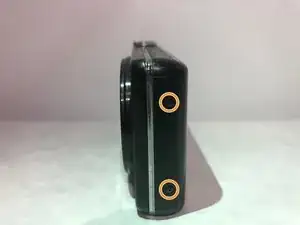
    • Use a PH00 screwdriver to remove the two 2.5 mm screws.

  4. 33nZjriXMxouoBiP
    33nZjriXMxouoBiP
    iBNJOmOh1DSOWNHN
    • Pry apart the case gently using a plastic opening tool.

  5. GPKKmpjxetDwwjLY
    • Pry back the panel to the right of the screen using a plastic opening tool.

  6. uogJKORC4BrkRWXE
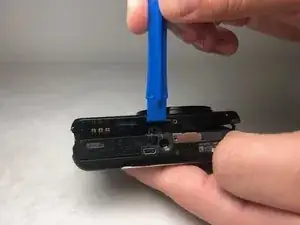
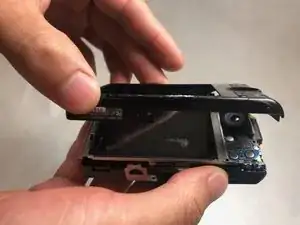
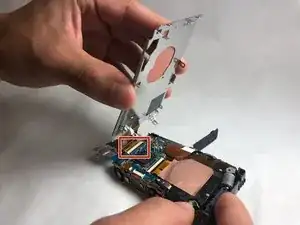
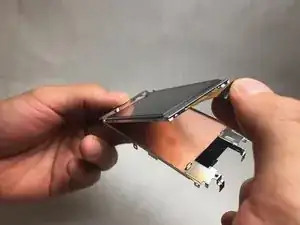
    • Working on the left side of the screen, pry the metal panel off from the motherboard housing using a plastic opening tool.

  7. InbVL2AXGi61RnZO
    • Pull out the ZIF cable from the motherboard.

    • When removing the ZIF cable, pull it straight out to avoid damaging the cable.

  8. hJNGe2kDoIFUuain
    • Lift the LCD screen from it's metal housing.

Conclusion

To reassemble your device, follow these instructions in reverse order.

Kate Glazer

Member since: 20/03/18

621 Reputation

0 comments