Introduction

If the flash assembly is broken or not working properly, follow this guide to replace it.

  1. MSD1FfiUuULWGPE4
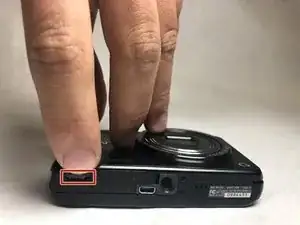
    • Slide the gray switch from lock to open position.

  2. Fkl4VbJljIiOYBVf
    Fkl4VbJljIiOYBVf
    fiTHTSEcNtMVJDxC
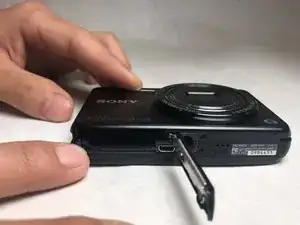
    • Pull down on the blue tab to release the battery.

  3. klUlOMPDXNcSDsfG
    klUlOMPDXNcSDsfG
    igQCDvj2HxpjqUbL
    vGsbYOaY3EBT3RLt
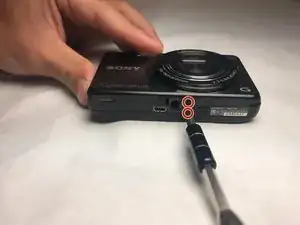
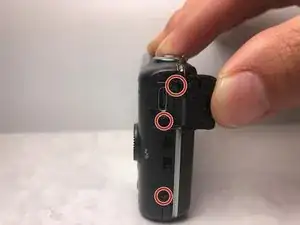
    • Use a PH00 screwdriver to remove the five 3.5 mm screws.

    • Use a PH00 screwdriver to remove the two 2.5 mm screws.

  4. 33nZjriXMxouoBiP
    33nZjriXMxouoBiP
    iBNJOmOh1DSOWNHN
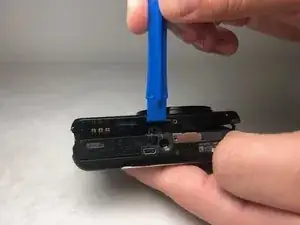
    • Pry apart the case gently using a plastic opening tool.

  5. CdoEKY4GuEl3HBCm
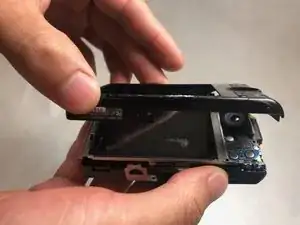
    • Pry back the panel to the right of the screen using a plastic opening tool.

  6. y3ZDjiMhdfSaPUir
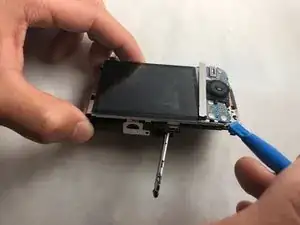
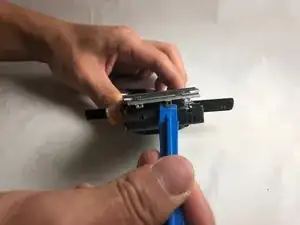
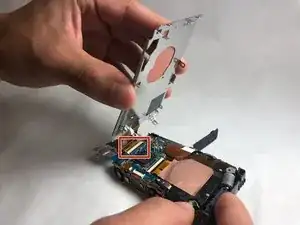
    • Working on the left side of the screen, pry the metal panel off from the motherboard housing using a plastic opening tool.

  7. p5nvlgLggKfxO4Ij
    • Pull out the ZIF cable from the motherboard.

    • When removing the ZF cable, pull it straight out to avoid damaging the cable.

  8. mvHLwYu6hJK3qXsZ
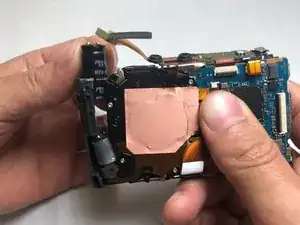
    • Pull the capacitor out of the shell.

    • Be careful not to shock yourself on the capacitor(metal components on the top)

  9. pWyUoCL6nJGwqDRw
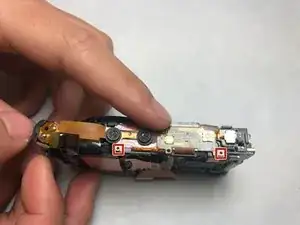
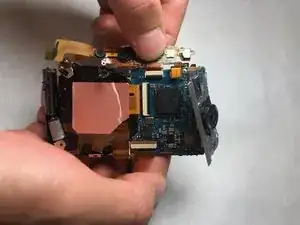
    • Unpin the flash assembly.

  10. X2dmMUhbKjt1wnt1
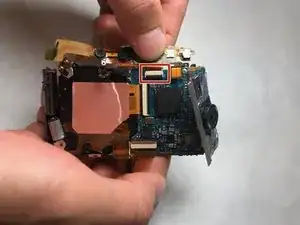
    • Lift flash component toward you and gently pull the ZIF cable up and away from the camera.

Conclusion

To reassemble your device, follow these instructions in reverse order.
Kate Glazer

Member since: 20/03/18

621 Reputation

0 comments