Introduction
Some things to consider before you work on the Sony Cyber-shot DSC W800 to replace the Lens:
- The Lens is an integral part of the device and any improper handling can cause issues in other parts of the camera.
- Be cautious when removing ribbon wires.
- Be sure to keep track of all pieces that are taken apart.
Tools
-
-
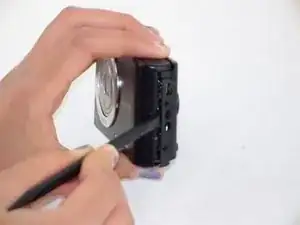
Using the Spudger, remove the back panel from the device.
-
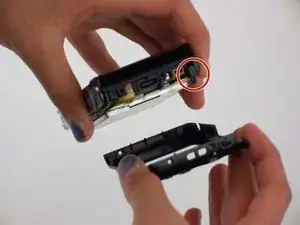
The loose piece circled in the picture will most likely fall off the camera housing.
-
-
-
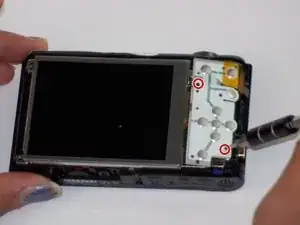
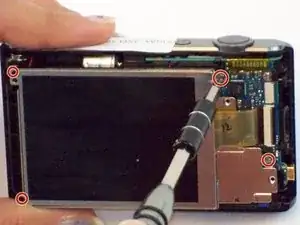
Remove the two 2.15mm Phillips #000 screws from the circuit board.
-
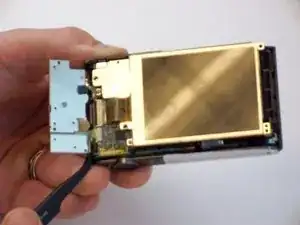
Gently pull on the ribbon wire from ZIF connector with the tweezers to remove the button board.
-
-
-
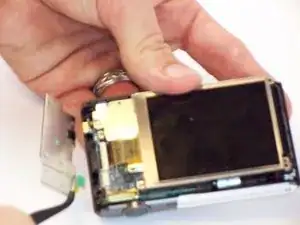
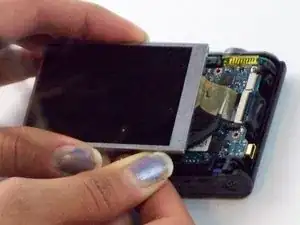
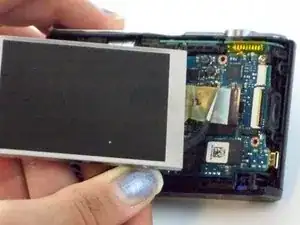
Gently pull on the ribbon wire disconnecting from the ZIF connector (connecting the LCD screen to the motherboard) with the tweezers.
-
-
-
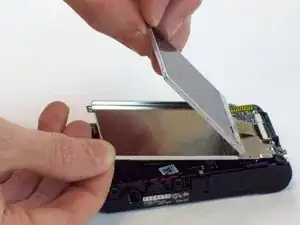
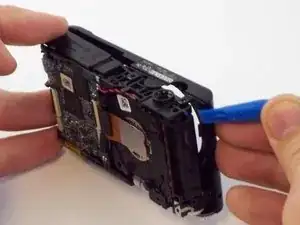
With plastic opening tool, gently pry loose the front panel.
-
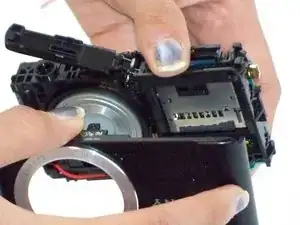
Separate front panel from the camera housing.
-
-
-
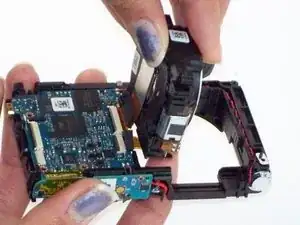
Remove the lens housing by pushing it, from the front, through the housing and lifting it out.
-
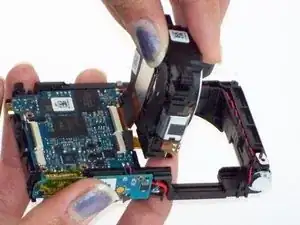
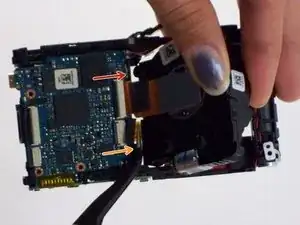
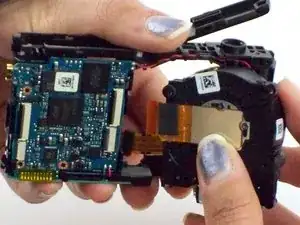
Gently pull on the large ribbon wire (connecting the Lens housing to the motherboard via ZIF connector) with the tweezers.
-
Gently pull on the small ribbon wire (connecting the Lens housing to the motherboard) with the tweezers.
-
To reassemble your device, follow these instructions in reverse order.
