Introduction
This could be a solution to the buttons on the back of the camera not working. This is an easy replacement. Just be careful with the ribbons.
-
-
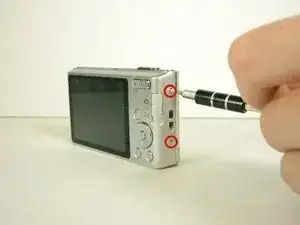
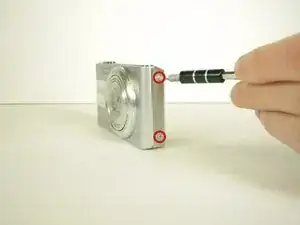
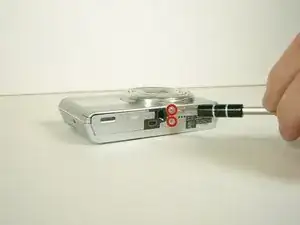
Open the battery/memory card door and remove the 6 screws (.35cm) with a Philips 000 screwdriver. There will be two screws on the left and right sides, and two on the bottom.
-
-
-
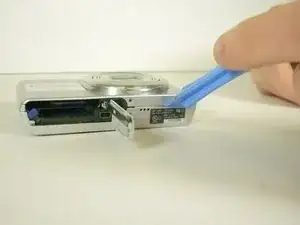
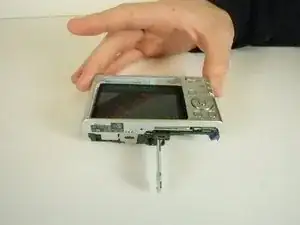
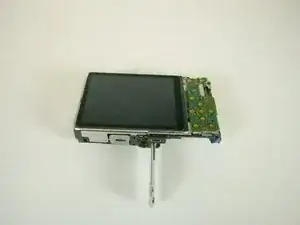
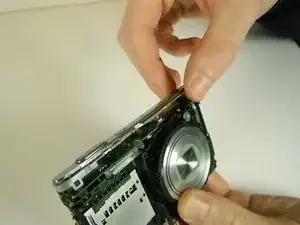
Unscrew the .45cm screw located on the upper right corner on the back of the camera. Once the screw is off, use the spudger and unclip the piece holding the top down on the upper left on the front of the camera. It should lift off with ease.
-
-
-
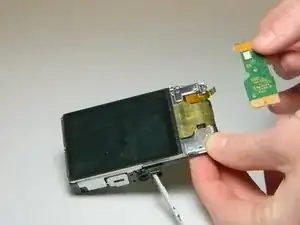
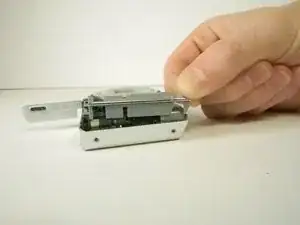
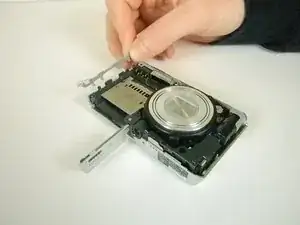
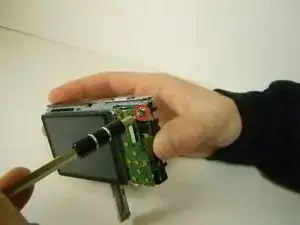
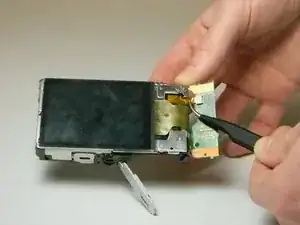
Flip over the control board then use tweezers to pull out the ribbon connecting the circuit board to the motherboard.
-


Conclusion
To reassemble your device, follow these instructions in reverse order.