Introduction
-
-
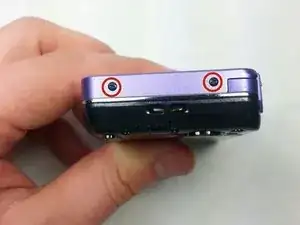
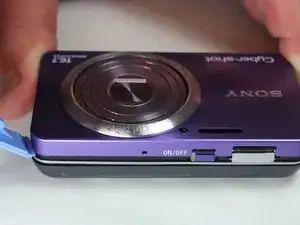
Turn the camera sideways so the left side is fasning upwards, remove the two Phillips head, 2.93 mm screws.
-
-
-
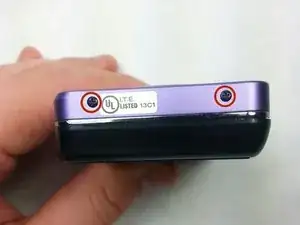
Now turn the device so the opposite side is fasning upwards and remove the last two Phillips head, 2.93 mm screws.
-
-
-
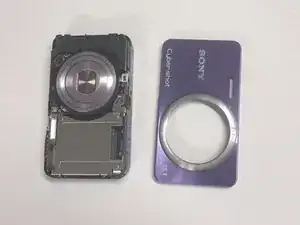
To remove the front cover, use a plastic opening tool gently pry the top cover.
-
Then gently lift the cover off.
-
-
-
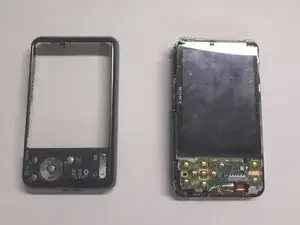
To remove the back case cover from the body.
-
First use a plastic opening tool gently pry along the side of the camera.
-
Then slowly and gently lift the cover off.
-
-
-
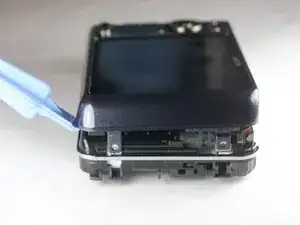
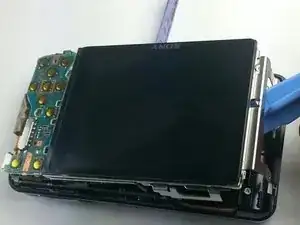
Remove the LCD screen from the side opppsite the battery terminals. Watch for the two cords mentioned in the previous step. These will still be connected.The side will flip up as shown in the next step.
-
-
-
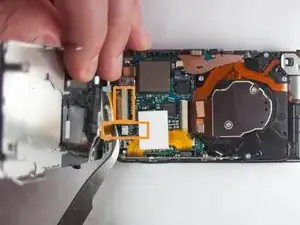
Pull these two cords straight back to disconnect them from the respective housings. Caution: The housing do not need to be moved or adjusted in anyway. Do not pull the cords at an angle, it can destroy the cords and the housing. Pull Straight Back!
-
-
-
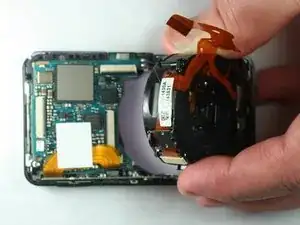
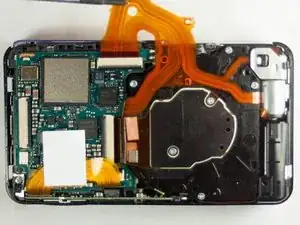
This is what the camera should look like after 2 cords and the screen have been removed. The lens cord is being held to the side for a clearer view.
-
-
-
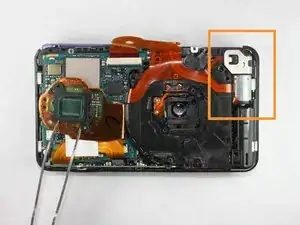
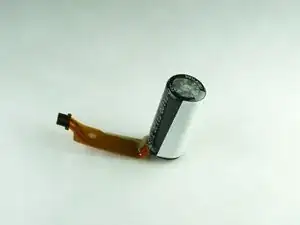
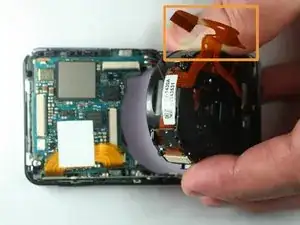
After camera is disassembled the capacitor will need to be removed. Use tweezers to gently pull away the ribbon from the connector.
-
-
-
With the camera lying face down, separate the tape that connects the rest of the lens using tweezers.
-
Gently remove the lens display using your fingers out of the camera body.
-
The lens assembly is now removed from the camera body and is able to be replaced if necessary.
-

To reassemble your device, follow these instructions in reverse order.