Introduction

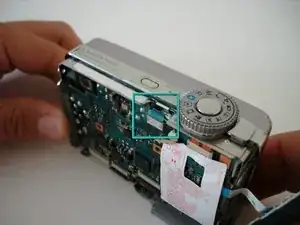
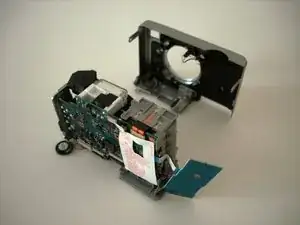
Disassembling Sony Cybershot DSC-W5 in order to get to the battery terminal so that it can be replaced.

  1. OZto6Jt2A5KOuRse
    • Remove Memory Stick Pro from the card reader slot on the bottom of the camera.

    • Remove both batteries.

  2. BI6WMS3rgTfEnSVu
    BI6WMS3rgTfEnSVu
    dQRhxlh1fTEaC4na
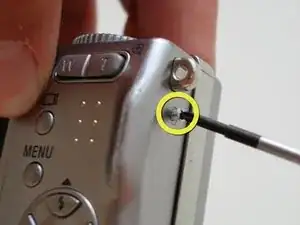
    • Remove the single visible screw from both sides of the camera.

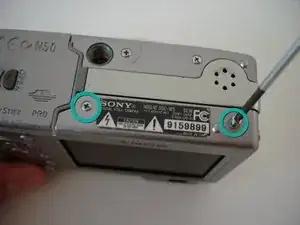
    • Remove the two screws that are adjacent to the warning label, which is on the underside of the camera.

    • Do NOT remove all four screws from the bottom.

  3. EHVhueSBRUkgN5Hu
    EHVhueSBRUkgN5Hu
    2Npne4OO1F521Zrw
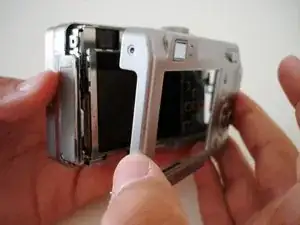
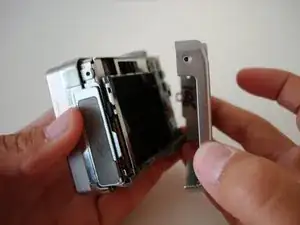
    • Gently remove the back cover from the camera.

    • The first time the case is removed, it will be stiff. Be patient and gently rock the cover back and forth until it slides free.

  4. Mer1hHoCnbKRvrwL
    Mer1hHoCnbKRvrwL
    aGUuYwqR3PtWLXFG
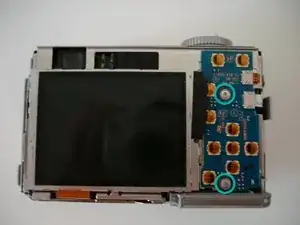
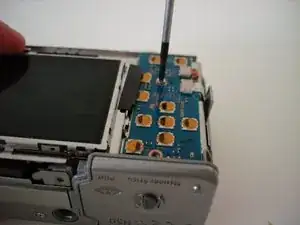
    • Remove the two screws holding the circuit board down.

    what to do if i cannot remove the screws

    aarushi salunkhe -

  5. l2FGKUVmCqmlXVYS
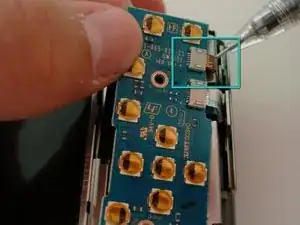
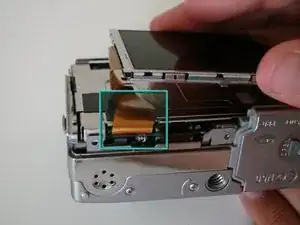
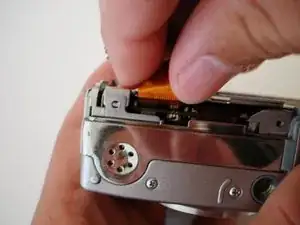
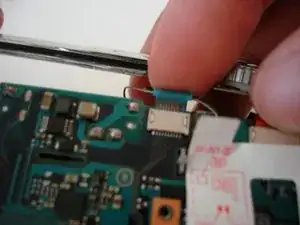
    • Detach the orange cable from the board.

    • Use a thin object, like a paperclip, to gently pry the cable off the connector.

  6. yYAwbFEi3veRRowN
    yYAwbFEi3veRRowN
    rMWVnnDDoVfmWqrC
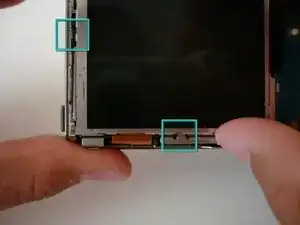
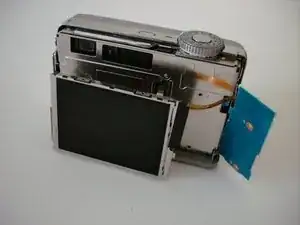
    • The LCD screen sits in two slots; one on the bottom, and one on the left edge.

    • Slide LCD screen from the two slots.

    • Do not attempt to completely remove the screen, as it is still attached to the camera.

  7. wUOeIoAWfeVXIjyo
    wUOeIoAWfeVXIjyo
    VYBEJZxplLwpBY5l
    53vFKqPUS1KT5KAA
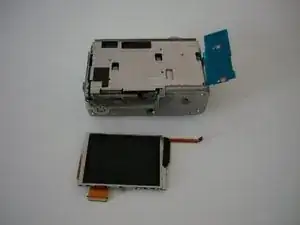
    • To remove the LCD screen, detach the orange cable from the board.

    • If needed, replace the LCD screen.

  8. UTOgrMMgXqFM4qv4
    UTOgrMMgXqFM4qv4
    AWpuvGFZAgNpyT4C
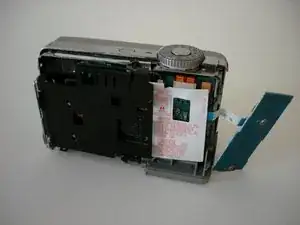
    • Remove the two screws holding down the steel back plate.

    • Remove steel back plate.

  9. ntmtKeHPypBLn5JZ
    ntmtKeHPypBLn5JZ
    wgqMKNbJGnEAK6RD
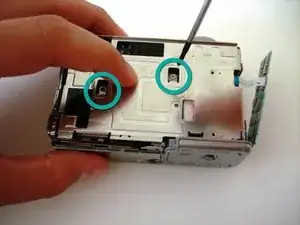
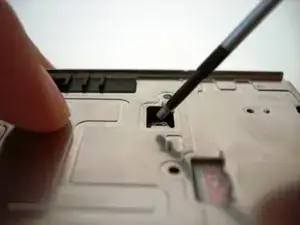
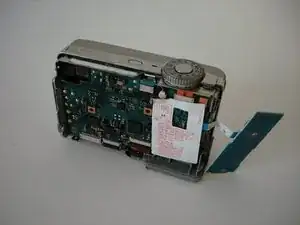
    • Now remove the plastic plate that covers the motherboard.

    Below and to the left of the viewfinder there is a vertical slot in the motherboard with a soldered connection to the flash capacitor on each side. Using a small screwdriver with an INSULATED handle, short these together for several seconds to discharge the potentially dangerous charge.

    Philip Le Riche -

  10. qsmDt1UR1pKBDgSM
    qsmDt1UR1pKBDgSM
    LwBxBsB6l2hRMCLg
    • Warning: Electric Shock From this point on, hold the camera by the chrome edges ONLY. Capacitors store electric charge even if the batteries are removed.

    • Remove the blue cable.

  11. SZk2BDGkDaAN4AaF
    SZk2BDGkDaAN4AaF
    VXTMmFViUslOMMQy
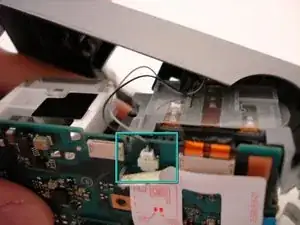
    • Disconnect the flash cable (black and white wires) before completely removing the front case.

    • Gently start to remove the case.

    • Once the cable is free, set aside the front case.

    If the front doesn't seem to want to come away, maybe the flash cable is caught around its socket.

    Philip Le Riche -

  12. xn2BnPsASMOD1TTr
    xn2BnPsASMOD1TTr
    hieu6plpEnRq4sjL
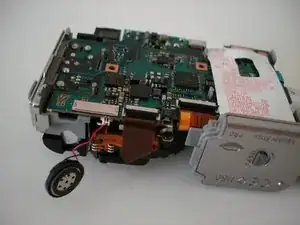
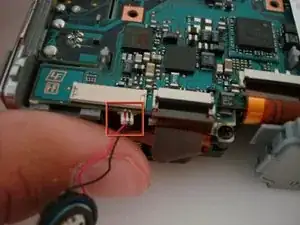
    • The speaker should now be clearly seen on the underside of the camera.

    • Gently unplug the speaker from the motherboard.

    • Replace the speaker.

  13. QISUAEs1LTAKiX1e
    QISUAEs1LTAKiX1e
    p5ITOKGpEjL31G5V
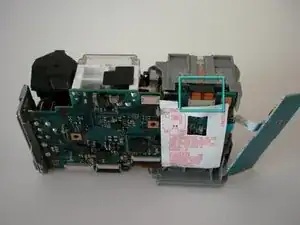
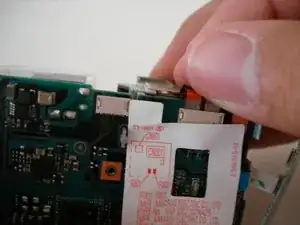
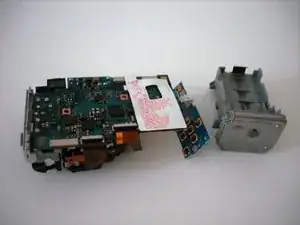
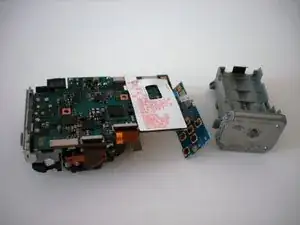
    • Remove the orange cable connecting the battery terminal to the motherboard.

  14. RdSvDlmDdxxmf4y5
    • The battery terminal is now free from the board and can be slid out.

Conclusion

To reassemble your device, follow these instructions in reverse order.

Thomas

Member since: 14/04/10

133 Reputation

One comment

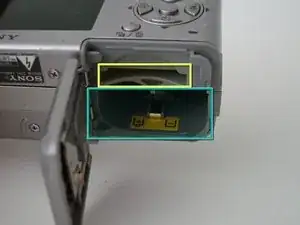
Clean the little nobs in the pattery-pack and problem solved! I also removed the black plastic ring that was on the +pole inside.
martinenjellie -