Introduction
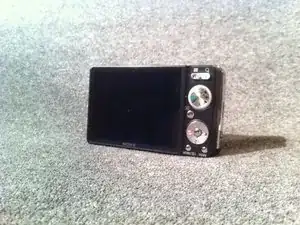
This guide will explain how to take the necessary components of the camera apart in order to replace a damaged LCD display screen.
Tools
-
-
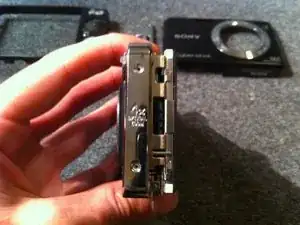
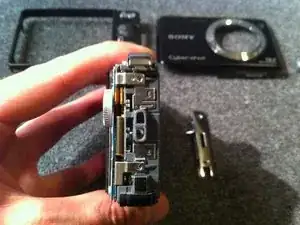
Align the camera so that the side with "4x Optical Zoom" is facing toward you.
-
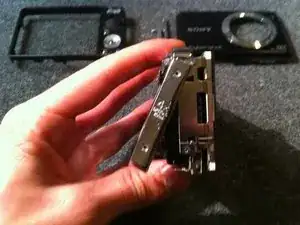
Gently twist the bottom corner clockwise until you feel the side panel unlock.
-
Lift off the side panel and set aside.
-
-
-
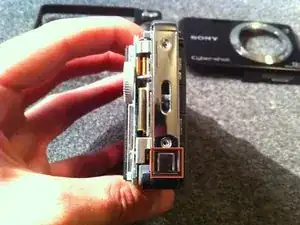
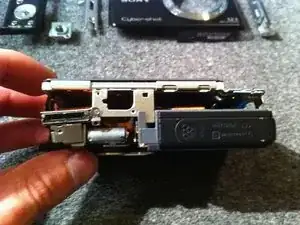
Rotate the camera 180 degrees to face the side panel with the lanyard loop on it.
-
Gently lift the panel vertically until it lifts off
-
-
-
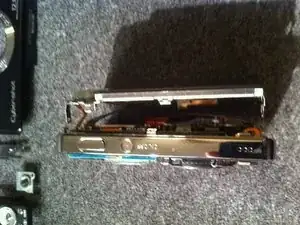
Position the camera so the bottom is facing up and the display away from the surface.
-
Gently pry the screen portion from the camera portion with your fingers or a plastic prybar.
-
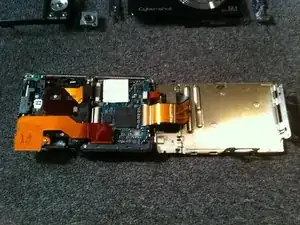
Lay the display flat to expose the circuit board and the display control ribbon cables.
-
-
-
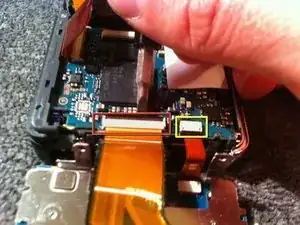
Using a flat head screw driver gently pry up the tab securing the ribbon cable from the display screen to the camera sensor and battery housing.
-
Remove the ribbon cable connecting LCD display to camera sensor and battery housing
-
Following the same procedure as above, uninstall the ribbon cable connecting the main camera controls to the camera sensor and battery housing
-
-
-
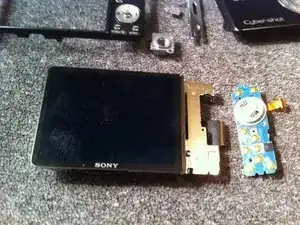
The LCD display screen is now removed from the camera sensor and battery housing.
-
The main camera controls are now removed from the camera sensor and battery housing.
-
-
-
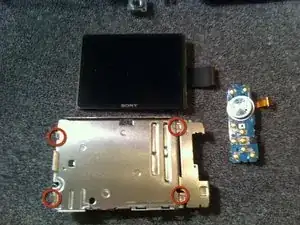
Unsnap LCD display screen from its mount by unsnapping it from the display screen using your finger nail.
-
Now the new LCD screen can be installed.
-
To reassemble your device, follow these instructions in reverse order.
