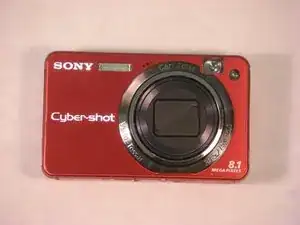
Introduction

This guide will instruct you on how to remove the front casing on the Sony Cyber-shot DSC W150. To successfully remove the front casing, a screwdriver should be used to remove a total of five screws. Once the screws are removed, you can use your hands to pull the front casing from the camera.

  1. oZ2kCBDPoBoX6E1G
    • The screws from the camera are extremely small, so it is a good idea to have a small container to hold all the screws as you remove them.

  2. eVBpEvhsibVfcPYP
    • Take your screwdriver and remove the four silver bottom screws of the camera.

    • The picture shows the lens facing away from you and the LCD facing you.

  3. cJBinqZBdaWrcmDX
    • On the right side of the camera, remove the two silver screws using the screwdriver.

    • The picture shows the lens facing away from you and the LCD screen facing you.

  4. ZSrklFeWWSxEXFnk
    • On the left side of the camera, remove the two silver screws using the screwdriver.

    • The picture shows the lens facing away from you and the LCD screen facing you.

  5. 5BtHYgj3YBtmBF15
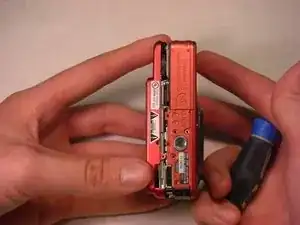
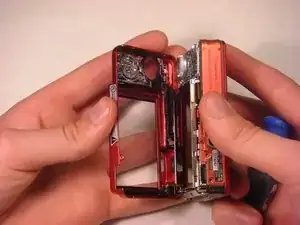
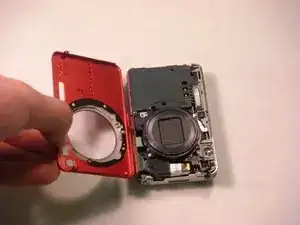
    • Gently detach the back cover by holding onto both sides of the camera and pulling them apart.

    Steps 5 and 6 could be combined.

    Rachelle Russell -

  6. I466pMPW3DxCSSYE
    • After detaching the back cover, carefully pull it off.

  7. i6QZ3QqVpyZO5bNf
    • The back cover should now be separated from the camera.

  8. lrZfIOqQPtbUHUgy
    • Keep track of the small screws that you remove.

    • Opening, removing, and/or replacing the front casing may void your manufacturer's warranty.

  9. hZl42MtxYqIPsiA1
    • Remove the two screws at the top of the camera casing.

    There was no screw in the left hand location shown, when disassembling my camera for the first time.

    Chas -

  10. PmqjEUmLWNUYHQlD
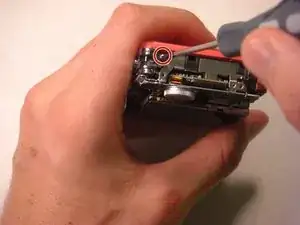
    • After removing the screws, gently pop open the plastic piece, as shown by firmly pulling it with your fingers.

  11. gtsDE5nZJWUjlaYe
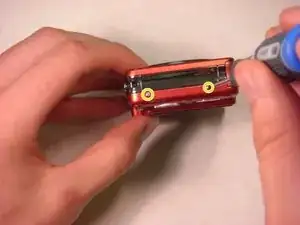
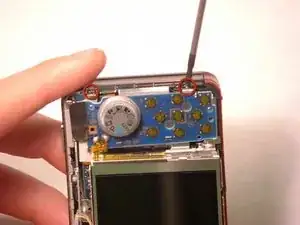
    • After popping open the plastic piece, there is a screw that needs to be removed.

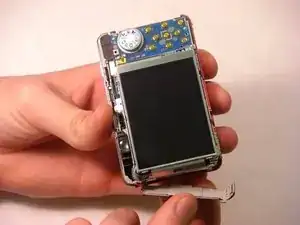
    • Remove the screw connecting the front casing to the electrical components.

  12. En5FyHHKmdxBFfae
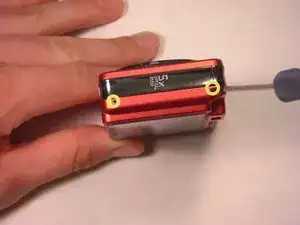
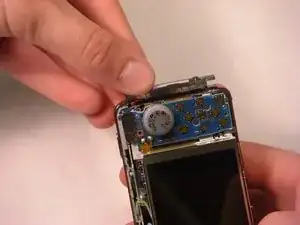
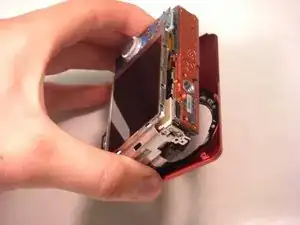
    • On the casing on the opposite side of the camera, gently loosen and remove the casing by firmly pulling with your fingers.

    • Be cautious not to break the fragile pieces or scratch the LCD screen.

  13. FLW2EjpSEaMFcZTJ
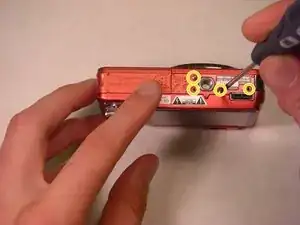
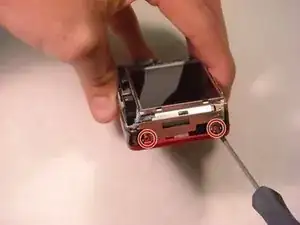
    • Remove the two screws connecting the front casing to the electrical components using a screwdriver.

  14. 4PmXA1ryvxRHEnC4
    • Gently loosen the front casing by gently using your fingers to pull it apart.

    • Be cautious not to scratch any of the exposed electrical components.

    Steps 14 and 15 could be combined.

    Rachelle Russell -

  15. X2Cua6FgmaQYjbbx
    • Fully remove the front casing from the camera and set it aside.

Conclusion

To reassemble your device, follow these instructions in reverse order.

Julio Maravilla

Member since: 16/04/10

191 Reputation

0 comments