Introduction
The back cover needs to be removed for most other repair guides in order to access more parts within the camera.
Tools
-
-
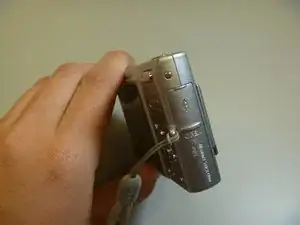
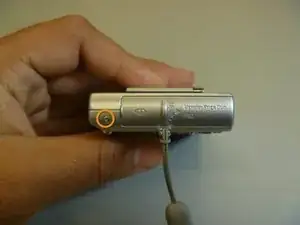
The battery cover is located on the right side of the camera.
-
Slide the cover to expose the battery.
-
-
-
Ensure that the battery lines up properly with the slot in the camera.
-
Slide battery in.
-
Slide cover closed.
-
-
-
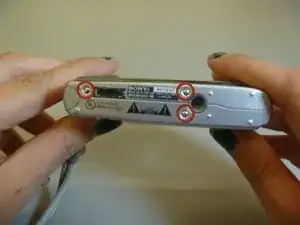
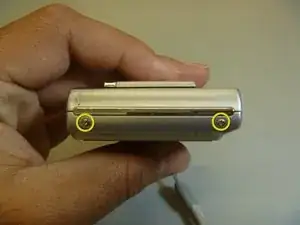
Remove screws from outside of camera. There are 6 screws total.
-
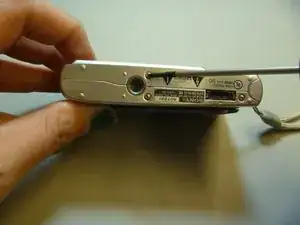
3 screws on underside.
-
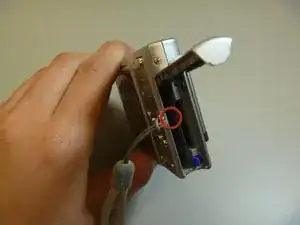
1 screw on right side, near battery cover.
-
2 screws on left side.
-
-
-
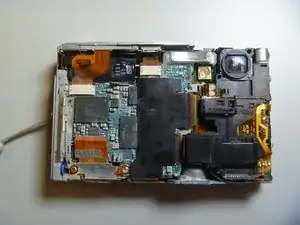
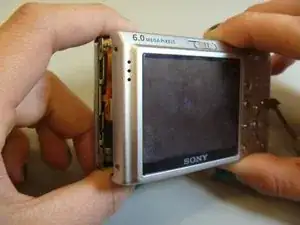
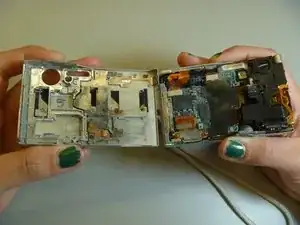
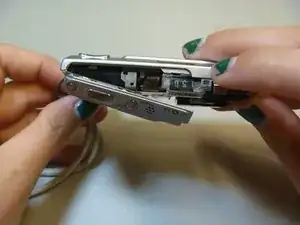
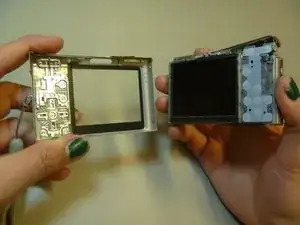
Gently pull the front cover off of the main camera.
-
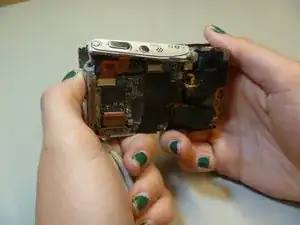
All of the inner parts of the camera are attached to the back screen.
-
-
-
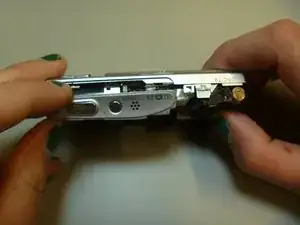
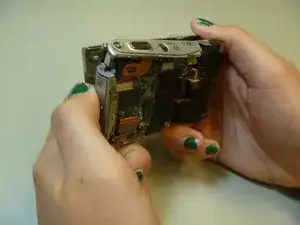
Remove tripod piece located at the bottom of the camera. This piece should slide out with ease.
-
-
-
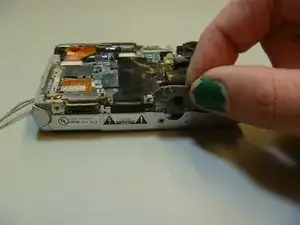
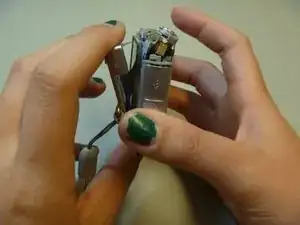
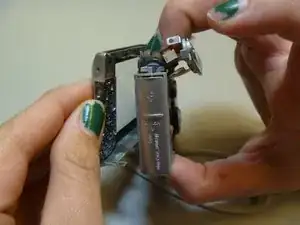
Slide open the top panel. This is located on the top of the camera, where the power button and shutter button are.
-
To reassemble your device, follow these instructions in reverse order.