Introduction
By following 4 easy steps, you will be able to open the camera, locate the tripod receptacle, and replace it.
Tools
-
-
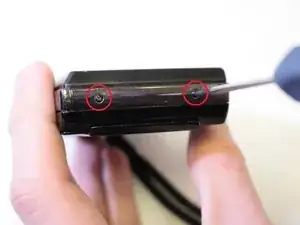
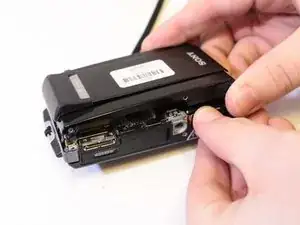
Remove all seven black 4 mm Philips #00 screws holding the front panel into place. Two on each of the sides of the camera and three on the bottom.
-
-
-
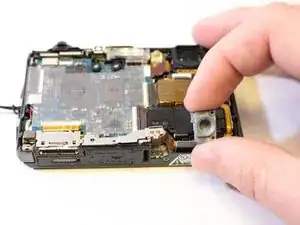
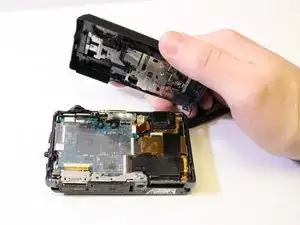
Gently lift the front panel up off the back of the camera prying up around the edges using a plastic opening tool or spudger if necessary.
-
-
-
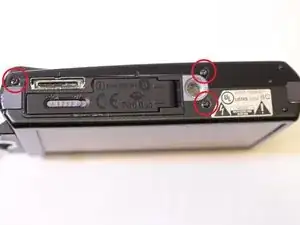
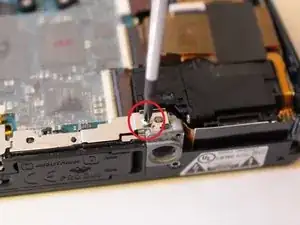
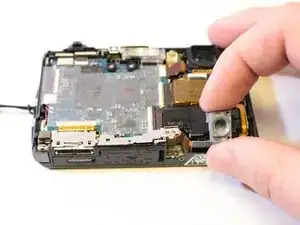
Remove the one sliver 4mm Philips #00 screw that is holding the receptacle in place near the bottom of the camera.
-
-
-
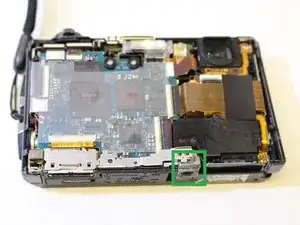
Remove the tripod receptacle by simply lifting it out with your hands or with tweezers if necessary.
-

Conclusion
To reassemble your device, follow these instructions in reverse order.